To create a listing that guests can find on booking channels, start by creating a property in Guesty, then list it on your connected channels. Information syncs automatically across platforms based on channel integration, ensuring every channel has the correct details.
Before you begin, decide which property type best suits your needs.
Learn more about the differences between properties, listings, and room types, and determine which channel integrations support multi-unit and complex properties.
Use existing properties
You can duplicate an existing single-unit property or import your existing Airbnb listings to Guesty. When creating a multi-unit, you can import the settings of another property into it, as described in the steps below.
You can also import the settings of an existing property to another existing property.
Channels information
Airbnb
Avoid recreating and publishing a property to Airbnb if it was flagged, suspended, or permanently deleted by Airbnb. This may lead to the removal of your Airbnb account.
Booking.com
You can only link existing complexes between Guesty and Booking.com; you can't publish them from Guesty.
To integrate a hotel, create each room type as properties under a complex on the Booking.com Extranet. The complex will be assigned a hotel ID with multiple room IDs. You can then link the hotel with the corresponding complex in Guesty and each room type with the corresponding property in Guesty.
Guesty Booking Engine
If you set your Guesty Booking Engine to include "All properties", Guesty automatically adds any property you create to the list of properties included in the Engine. You can change these settings to include only selected properties.
Create a property
Follow the instructions below to create a property. You can skip any optional fields and return to edit the property later.
Step by step
- Sign in to your Guesty account.
- In the top-right corner of your dashboard, click
 .
. - Click New property.
- Select the relevant property type: Single-unit, multi-unit, complex, or test property.
- You can't change the property type after creation, except when converting a test property to a single-unit.
-
If you select a multi-unit or complex, complete the relevant section below. Verify which channel integrations support multi-units and complexes.
Multi-unit- Select the "Connection method":
- If you have already created the sub-units, select Connect existing properties. Under "Connected properties", select the sub-units from the dropdown.
- If you haven’t created the sub-units, select Create new properties. Adjust the number of sub-units to add. Guesty automatically creates the sub-units when you finish the main unit setup.
Alternatively, select Single-unit (default) to create sub-units as single units and assign them to the multi-unit later.
- Select whether to auto-assign reservations to sub-units. If enabled, set how many days before check-in the assignment occurs.
- If disabled, you must assign reservations manually. Learn when auto-assignment does not apply.
- (Optional) Click Choose property under "Import settings from" to auto-fill fields from an existing property.
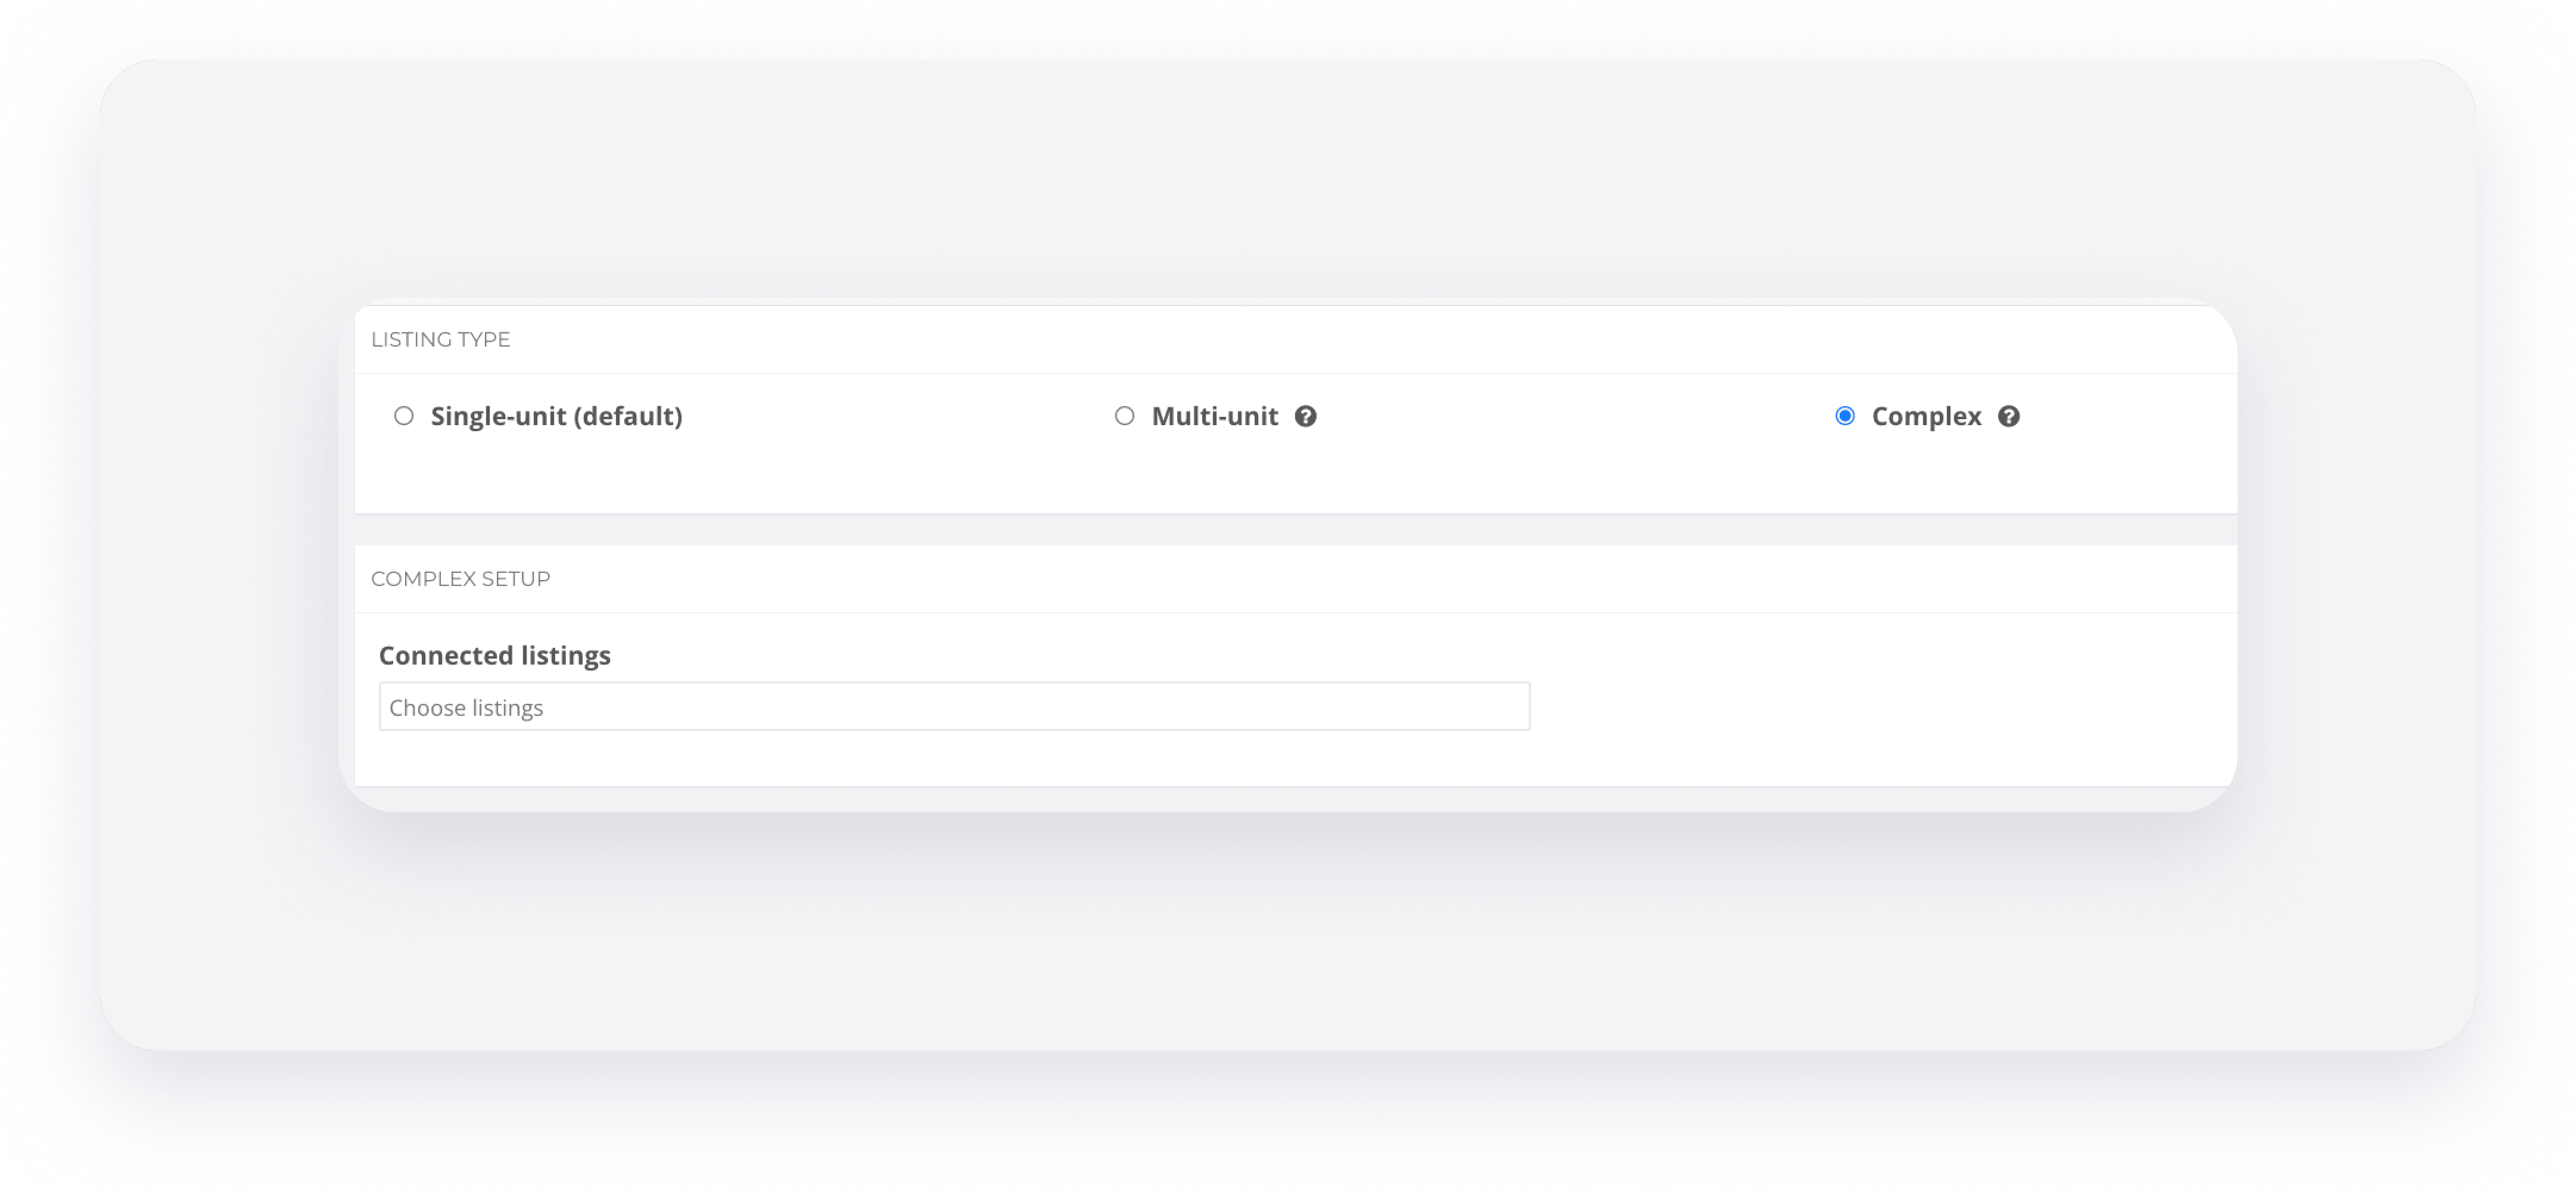
Complex- Select the composing units (single and/or multi-units) from the "Connected properties" dropdown.
- If you haven’t created the composing units, continue the setup and assign the units to the complex later.
- Select the "Connection method":
- Enter an internal "Nickname". Learn how the name determines the property sequence on the Multi-Calendar.
- (Optional) Add a tag to group the property and filter properties reports.
- Enter a name for the property. This is the title that will sync to booking channels and be seen by guests.
- Set the property’s Full address.
-
Add the property’s photos.
- During creation, the file size is limited to 5MB per photo. After creation, you can add photos up to 25MB.
-
(Optional) Under “Property”, you add additional information.
Additional information- Property type (entire home/apartment, shared property, or private property).
- Property type.
- Create a new property owner or select an existing one from the list.
- The property’s amenities.
- The property's occupancy.
- Set the property’s default minimum and maximum nights, and the default check-in and check-out times.
- Set the property’s default base price.
- Select the property’s currency.
- Click Save.
The property is activated automatically, and billing starts. You can always deactivate and reactivate the property.
Important:
The property isn't automatically published to booking channels; you must publish it yourself.
Connect to channels
Follow these steps to publish your property to booking channels:
- Check which channel integrations support multi-units and complexes.
- Use our direct booking solution: Connect your property to the Guesty Booking Engine. Connect your booking website to the Guesty Booking Engine via an API connection. Alternatively, build your own site using Guesty’s site-building platform.
-
Connect the property to external booking channels:
Channel list- Airbnb
- Booking.com
- Vrbo
- Expedia
- Agoda
- Premium channels: Google VR & HVMB
- Misterb&b
- Additional booking channels
- Learn where to manage your channel’s reservations, properties, and guest communication.
Configure additional settings
After the property is created, we recommend configuring the following additional settings.
If you're ready to receive reservations, allow the properties to be listed in booking channels. This option enables the property to be visible and bookable in all connected booking channels. Otherwise, set the property to be unlisted.
- Add your property license number (if you have one).
- Set a published address that can differ from the Full ("real") address.
- When creating a property, you can upload photos with a file size of up to 5MB each. Once the property is created, you can add additional photos, with each photo having a file size of up to 25MB.
- Configure the property’s room arrangement.
- Set up the property’s house rules, and add the property arrival instructions.
- For complexes connected to Booking.com: define the property's room type.
- Configure the property’s availability settings.
- For multi-units: You can set a consecutive availability limit, and auto-assign reservations to sub-units randomly or alphabetically.
- Set up commission formulas to divide revenue between the property manager and the owner (unless you’re using our Accounting feature).
- Set the property’s cleaning fee and extra person fee.
- Set additional fees and taxes. You can set them for all the properties in your account, or apply them to specific properties.
- Use our pricing tools to maximize your income and availability tools to control when a property can be booked, including the following:
- Guesty PrizeOptimizer
- Rate strategy
- Rate plans
- Length of stay discounts
- Markups and markdowns (after connecting with channels, see step 12).
- Third-party pricing tools
- Automatic blocks
- If you're not using rate plans, set your property’s cancellation policy.