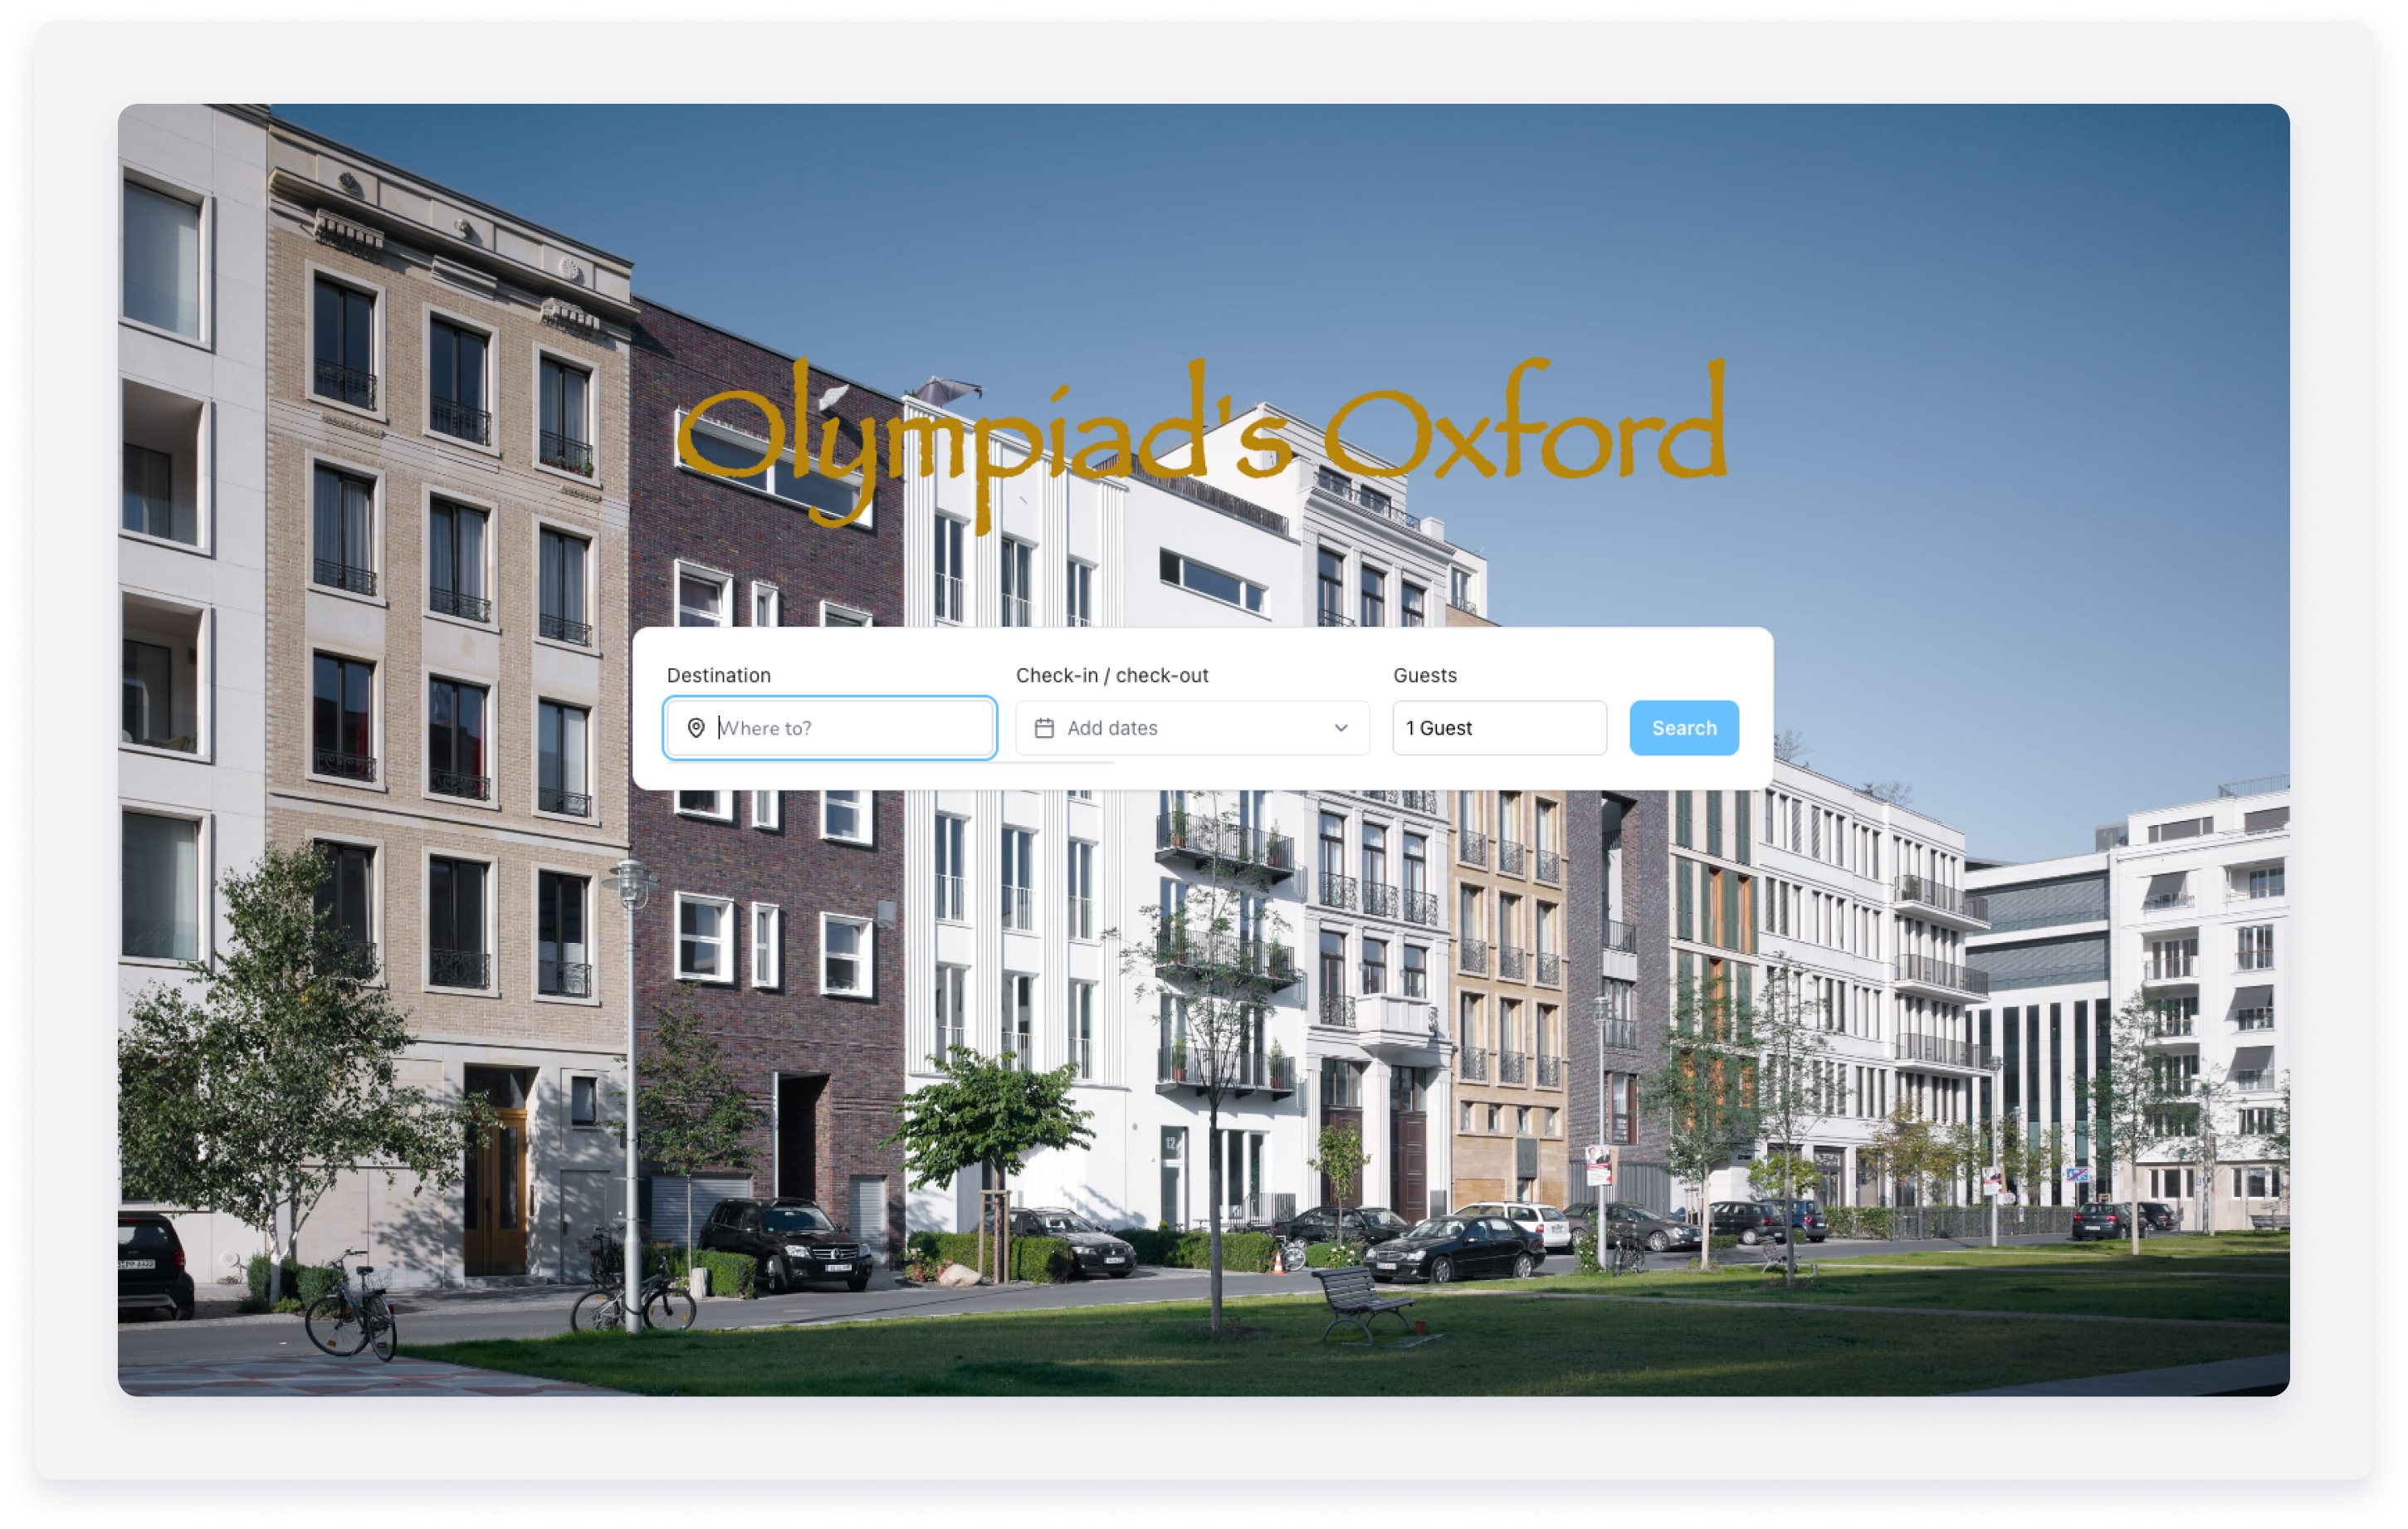
The Guesty Booking Engine is a simple, static booking portal where guests can view availability and book their reservations. Use the Guesty Booking Engine as a standalone booking site, or embed it as a widget on your own website. Explore our demo site.
Setting up a Guesty Booking Engine helps you avoid third-party distribution fees and maintain control over the guest experience. Integration with other third-party booking engines is not supported.
Set up a Guesty Booking Engine
Follow the steps below to create a Guesty Booking Engine.
Limitations
The system uses English as the default language for setup. You can add translations or edit optional fields after the initial creation process.
Step by step:
- Sign in to your Guesty account.
- In the side navigation menu, click
 Marketing and sales to open the dropdown menu.
 - Under Channel management, select Distribution.
- Click the Guesty Booking Engine thumbnail.
- If you haven’t created a Guesty Booking Engine, click Create your first Guesty Booking Engine. If you already have a Guesty Booking Engine, click + Create a new Guesty Booking Engine.
-
General settings:
Enter the business details into the relevant fields:
Required- Logo: Click Upload logo to select a file. The recommended height is 60 pixels.
- Guesty Booking Engine domain (web address): Enter your website URL.
- Business name: Enter your company name. This appears in the footer of your booking pages.
- Business email address: Enter your company email address.
Optional- Business address: Click the dropdown arrow to enter your physical address for the footer.
- About us: Click the dropdown arrow to add a company description.
- Link your logo to any web address: Toggle on to redirect guests to an external site when they click your logo.
- Default Booking Engine currency: Select the currency displayed to guests.
- Custom Booking Engine domain: Click the dropdown to enter a custom web address. This requires validation.
-
Custom code snippet: Click the dropdown to embed code into the
<head>tag.Note:
Guesty can't provide technical support for issues arising from custom code.
- Click Next.
-
Select properties:
Click Select properties to choose the properties to include in the Booking Engine. You can select choose from the following options:
- All: Selects all properties
- Selected properties: Allows you to check the boxes of the properties you want to include
- Assign by rule: Click + Add filters to find properties by filter, for example by city.
Click Done to save your selection.
-
Optional: Under "Feature properties", click Select properties to choose at least three properties to feature on your site to boost exposure.
You can select choose from the following options:
- All: Selects all properties (not recommended)
- Selected properties: Allows you to check the boxes of the properties you want to include
- Assign by rule: Click + Add filters to find properties by filter, for example by city.
Click Done to save your selection.
Enter a general title and description to introduce your featured properties, and click Next.
-
Booking settings:
Under "Booking options":
-
Select how guests book: Click the dropdown arrow to select how guests book: Request to book or Instant booking.
Note: When using message automations, include details for both bank transfer and credit card payments, as the system treats payment methods identically.
Beta: Offer manual payments with bank transfer or payment apps for instant bookings. This requires manual payment collection and tracking. Reservations appear as "Confirmed" but show a "Payment failed" status until you manually mark them as "Fully paid." Track notifications in the "Payments" section.
-
Affect on the calendar: Click the dropdown arrow to select how a reservation affects your calendar.
Optional settings- Click the dropdown arrow next to "Show reviews on listings" and toggle on Show review score to show your average review rating.
- Click the dropdown arrow next to "Show a map on your website":
- Toggle on Show map on homepage to show the location of the property on your homepage.
- Toggle on Show map on properties page to show the location of the property on your properties page.
- Click the dropdown arrow next to "Search bar and filter settings (booking widget)" to filter guests search results:
- Toggle on Filter by amenities and select the relevant options from dropdown menu.
- Toggle on Enable bedrooms and enter the number of bedrooms
- Toggle on Enable bathrooms and enter the number of bathrooms
- Toggle on Filter by property type and select the relevant options from dropdown menu.
-
Toggle on Filter by property tags and enter the tag name.
Beta: You can allow guests to filter by the tags you added to your properties. Use indicative tag names that guests easily identify before activating this filter.
- Toggle on Enable sorting for guests and select the relevant option from dropdown menu.
- Toggle on Show guests filter to display the filters guests selected in your Guesty Booking Engine's search bar.
- Toggle on Show city filter to display the city filters guests selected in your Guesty Booking Engine's search bar.
- Advanced: Click the dropdown arrow next to "Guest information mandatory for booking" and toggle on additional fields to collect guest information before making a reservation:
- Ask for phone number. Check the box if the information is mandatory.
- Ask for guest requests. Check the box if the information is mandatory.
Click Next
-
-
Company policy:
- Privacy and cookie policy:
- Select Use Guesty's template to implement Guesty's pre-made policy.
- Select Use your own Privacy & Cookie Policy to create your own custom template. Enter a title with a title and description. When offering both credit card and bank transfer options, you can set up separate templates for each payment method.
- Terms and conditions:
- Select Use Guesty's template to implement Guesty's pre-made Terms and Conditions.
- Select Use your own Terms and Conditions to create your own custom template. Enter a title with a title and description. When offering both credit card and bank transfer options, you can set up separate templates for each payment method.
Note:
If using Guesty's templates, check the box to confirm you understand Guesty's Terms and Conditions.
- Privacy and cookie policy:
- Optional: Design, contact, analytics and languages
- Design: Upload a homepage image and select a color theme.
- Contact us: Click + to add phone numbers or social links, and toggle on Turn on the contact us form.
- Web analytics: Enter your Google Analytics or Facebook Pixel IDs.
- Languages: Click + Add languages to set the display languages for your Guesty Booking Engine. The default language is English.
Click Next.
- Click Create Booking Engine.
-
The pop-up indicates that your Guesty Booking Engine is ready.
Click Continue to create a Guesty Website, or Go to the Guesty Booking Engine dashboard to preview your Guesty Booking Engine, change its settings, or delete it.
After you create a Guesty Booking Engine, offer upsells to let guests upgrade their stay. Upsells appear on the reservation check-out page.
Learn how to create an upgraded Guesty Website.