The Owners Portal is a dedicated website that gives your property owners a transparent view of their property’s performance. Before your owners can access their data, you must set up a unique URL and activate their access within Guesty.
Choose your Owners Portal URL
You only need to set up your Owners Portal URL once for your entire account. This domain serves as the login gateway for all your owners.
Important:
You can only have one Owners Portal domain name for all owners.
If you use a custom domain, you must update its CNAME settings with your domain provider to avoid a 404 error.
Third-party websites cannot be used as the Owners Portal.
Follow the steps below to set up the domain for the Owners Portal.
Step by step:
- Sign in to your Guesty account.
- In the side navigation menu, click
 Operations to open the dropdown menu.
 - Under Portfolio, select Owners.
- In the top right, click Portal Settings.
- Choose a name for the Owners Portal URL or select connect your own domain.
- Click Save.
Tip:
If you connect your own domain, the Owners Portal website URL looks like: yourdomain.guestyowners.com
Manage the default portal settings and customize them for individual owners at any time.
Enable portal access and invite owner
To allow an owner to see their data, you must enable their access. While you can manually toggle this access on or off within an owner's profile, sending an invitation will automatically enable portal access for them.
For instructions on how to send invitations to one or multiple owners, see Managing owners' access to the Owners Portal.
Follow the steps below to enable portal access manually.
Step by step:
- Sign in to your Guesty account.
- In the side navigation menu, click Operations to open the dropdown menu.
- Under Portfolio, select Owners.
- Click the name of the relevant owner.
In the left-side menu, click Portal settings.
Toggle on Enable portal access.
Click Send invite.
(Optional) Click
 and select copy link to portal invitation to share the link directly.
Scroll down and click Apply changes.

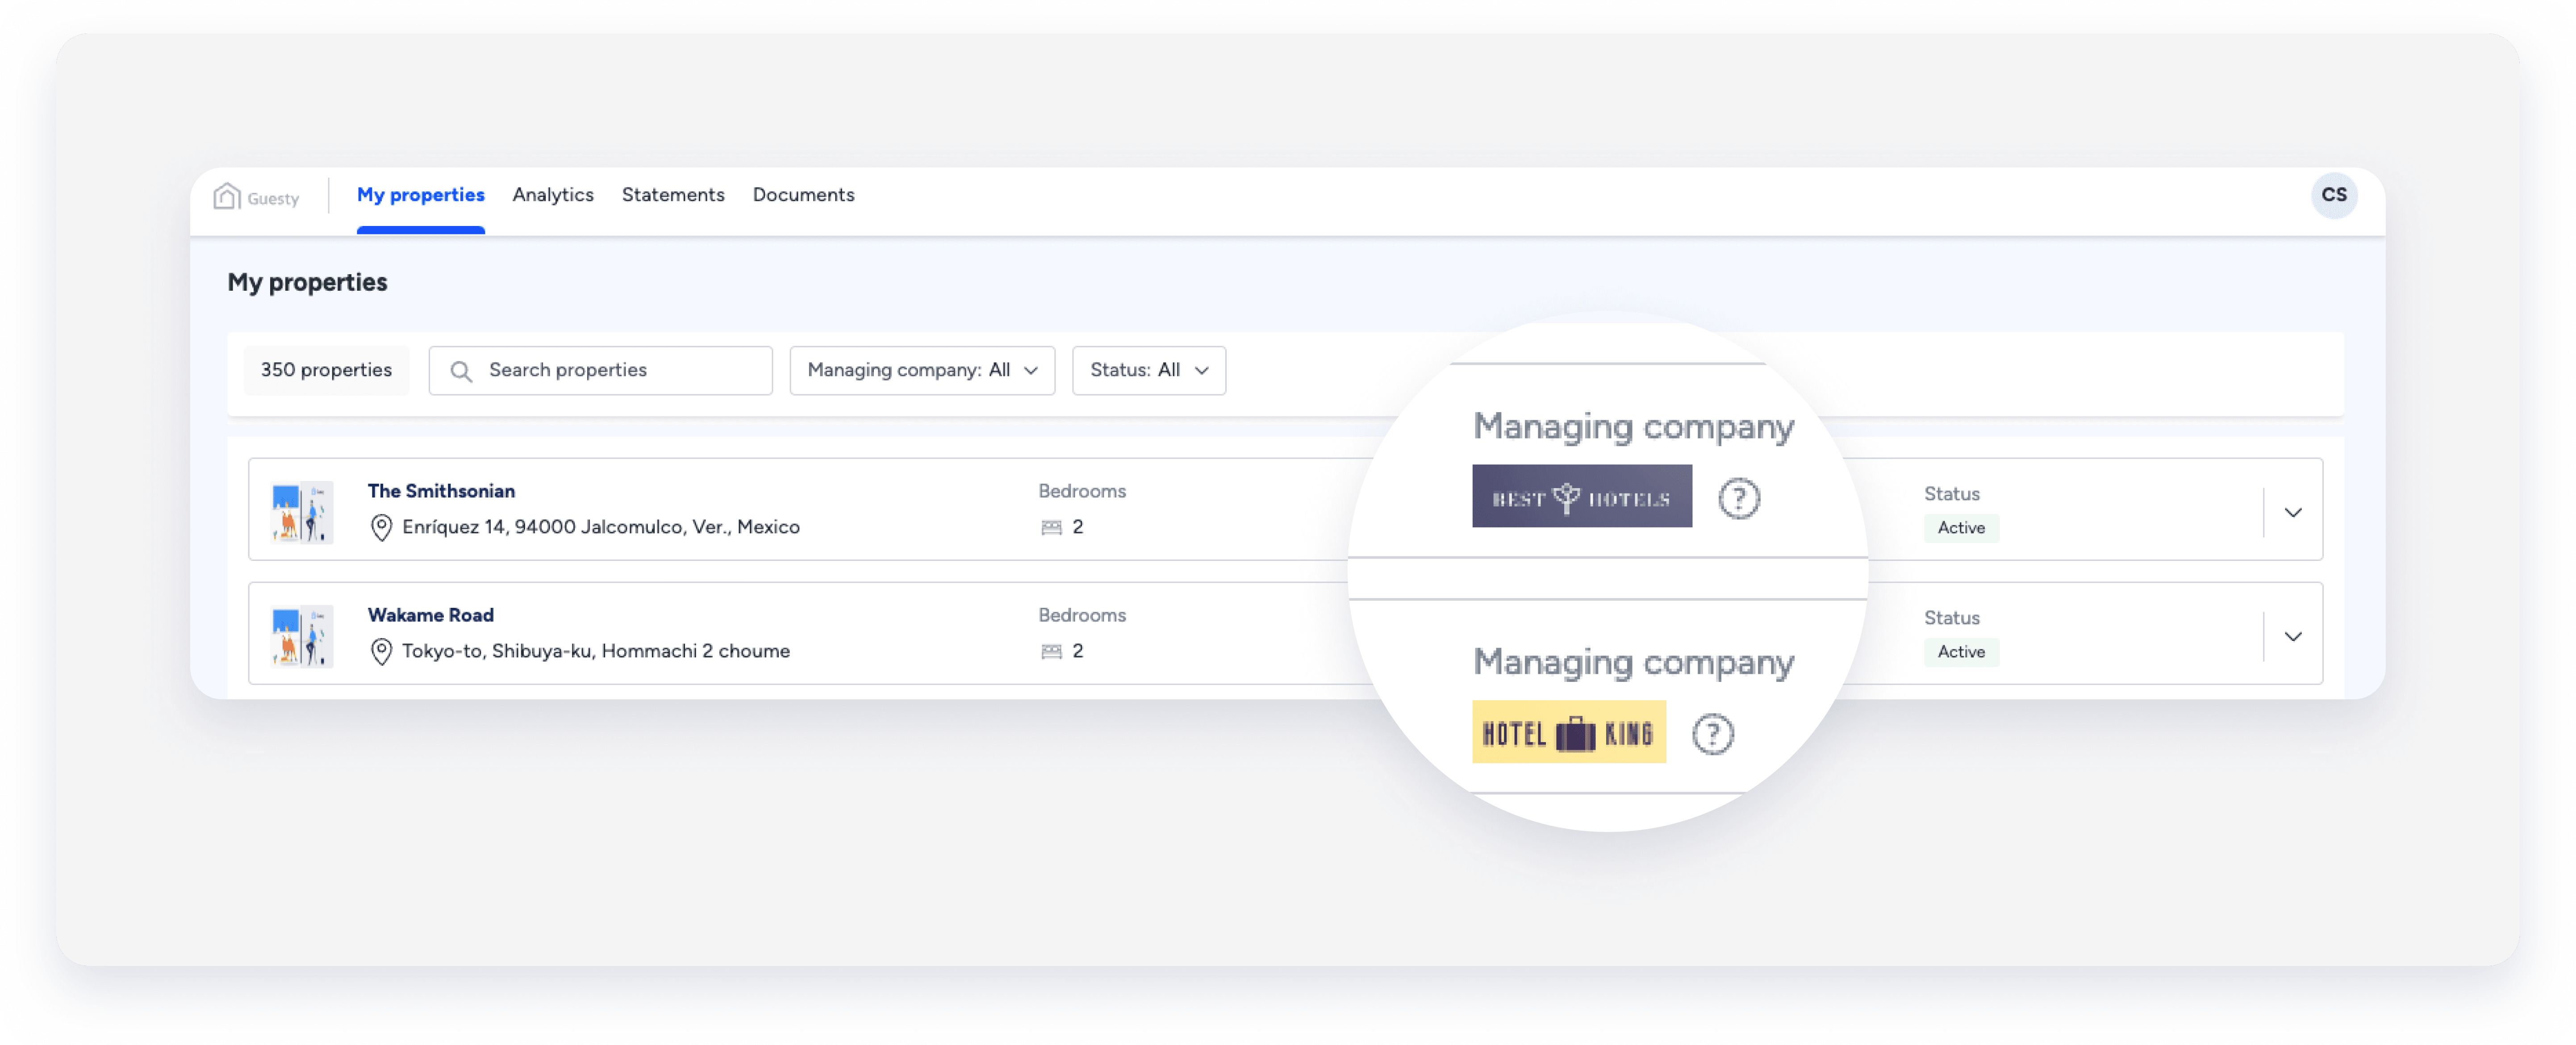
Use brands in the Owners Portal
To set up brands in the Owners Portal, assign your brands to properties through your account settings. Once assigned, owners see the "Managing company" information on the portal. By hovering over the tooltip, they can view more details about the managing company. Additionally, owners can filter properties based on the assigned managing company.