You can add variables to automated messages to personalize messages according to your guests' needs and streamline their reservation experience. Variables can also be used in messages for owners, team members, and other contacts saved in Guesty. Check which variables can be added to an automated message and how they are populated when the message is sent.
Variables can also be added to messages sent from the Guesty Inbox or when creating templates for saved replies or auto responses. For auto reviews, you can only add the following variables: {{guest}}, {{guest_first}}, and {{listing_address_city}}.
Important:
- You can use custom fields with a "Yes/No" field type as a message condition.
- A variable won't work if it is added inside another variable. For example, you can't combine {{checkin listing_address}} as these are separate variables.
- If you use a variable in an automated message, but if the corresponding custom field was deleted, the automated message will not be sent.
- If a variable uses a code from a third-party service, schedule the automated message to be sent at least one hour after confirmation to allow time for it to sync with Guesty. Otherwise, the variable may appear as "null" in the message. We recommend creating an automated message to be sent at confirmation to inform the guest that the code will be sent within the hour.
Add a variable to an automated message
Step by step:
- Sign in to your Guesty account.
- In the side navigation menu, click
 Operations to open the dropdown menu.
 - Under Front desk, select Message automation.
- To the right of the relevant message automation, click the
 and select Edit.
 - Click the relevant automated message.
- Make sure that all the relevant information in the fields is correct ("Name", "When the email should be sent?", etc.).
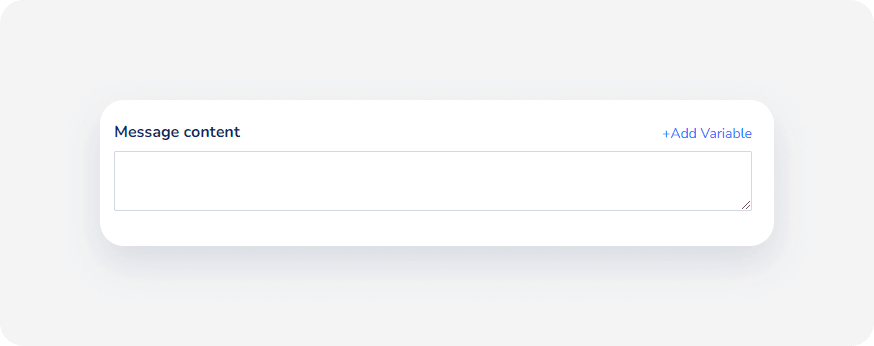
- In the top-right of the message content, click Add variable.
-
Use the filter to narrow down the search:
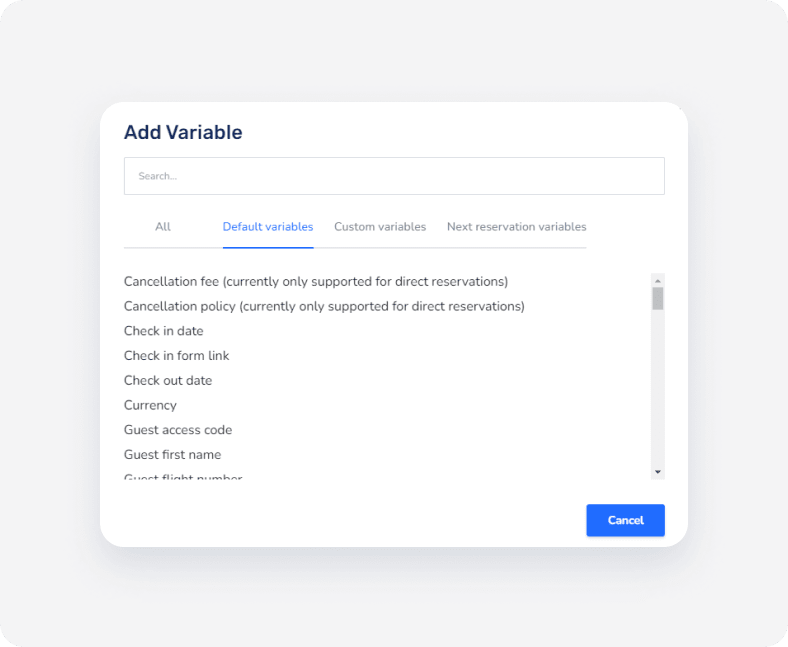
- Choose the correct variable, and it will be added to the message content.
- Review the message and make sure the content is correct.
- Click Save.
- In the message automation setup page, click Save once again, then click Apply Changes in the pop-up message.
If you encounter issues, read our failed automated messages troubleshooting guide.