Personalize each guest’s experience by creating up to 50 unique Guest Apps for specific listings, channels, or languages. Tailor your branding, messaging, and legal agreements to suit different groups of reservations.
The Guest App supports Spanish, German, French, Portuguese, and Italian. The app automatically displays content in the guest's device or browser language. If that language isn't supported, it defaults to English. Guests can also switch between available languages directly within the app.
Tip:
Learn which variables are supported in the Guest App.
Create a Guest App
Follow the instructions below to create a Guest App.
Step by step:
- Sign in to your Guesty account.
- In the side navigation menu, click
 Operations to open the dropdown menu.
 - Under Front desk, select Guest app.
- In the top-right corner, click Add Guest App.
- Click Create Guest App.
- To the right of "App branding", click Personalize to add an app logo and custom welcome and goodbye messages.
-
Set up the app modules:
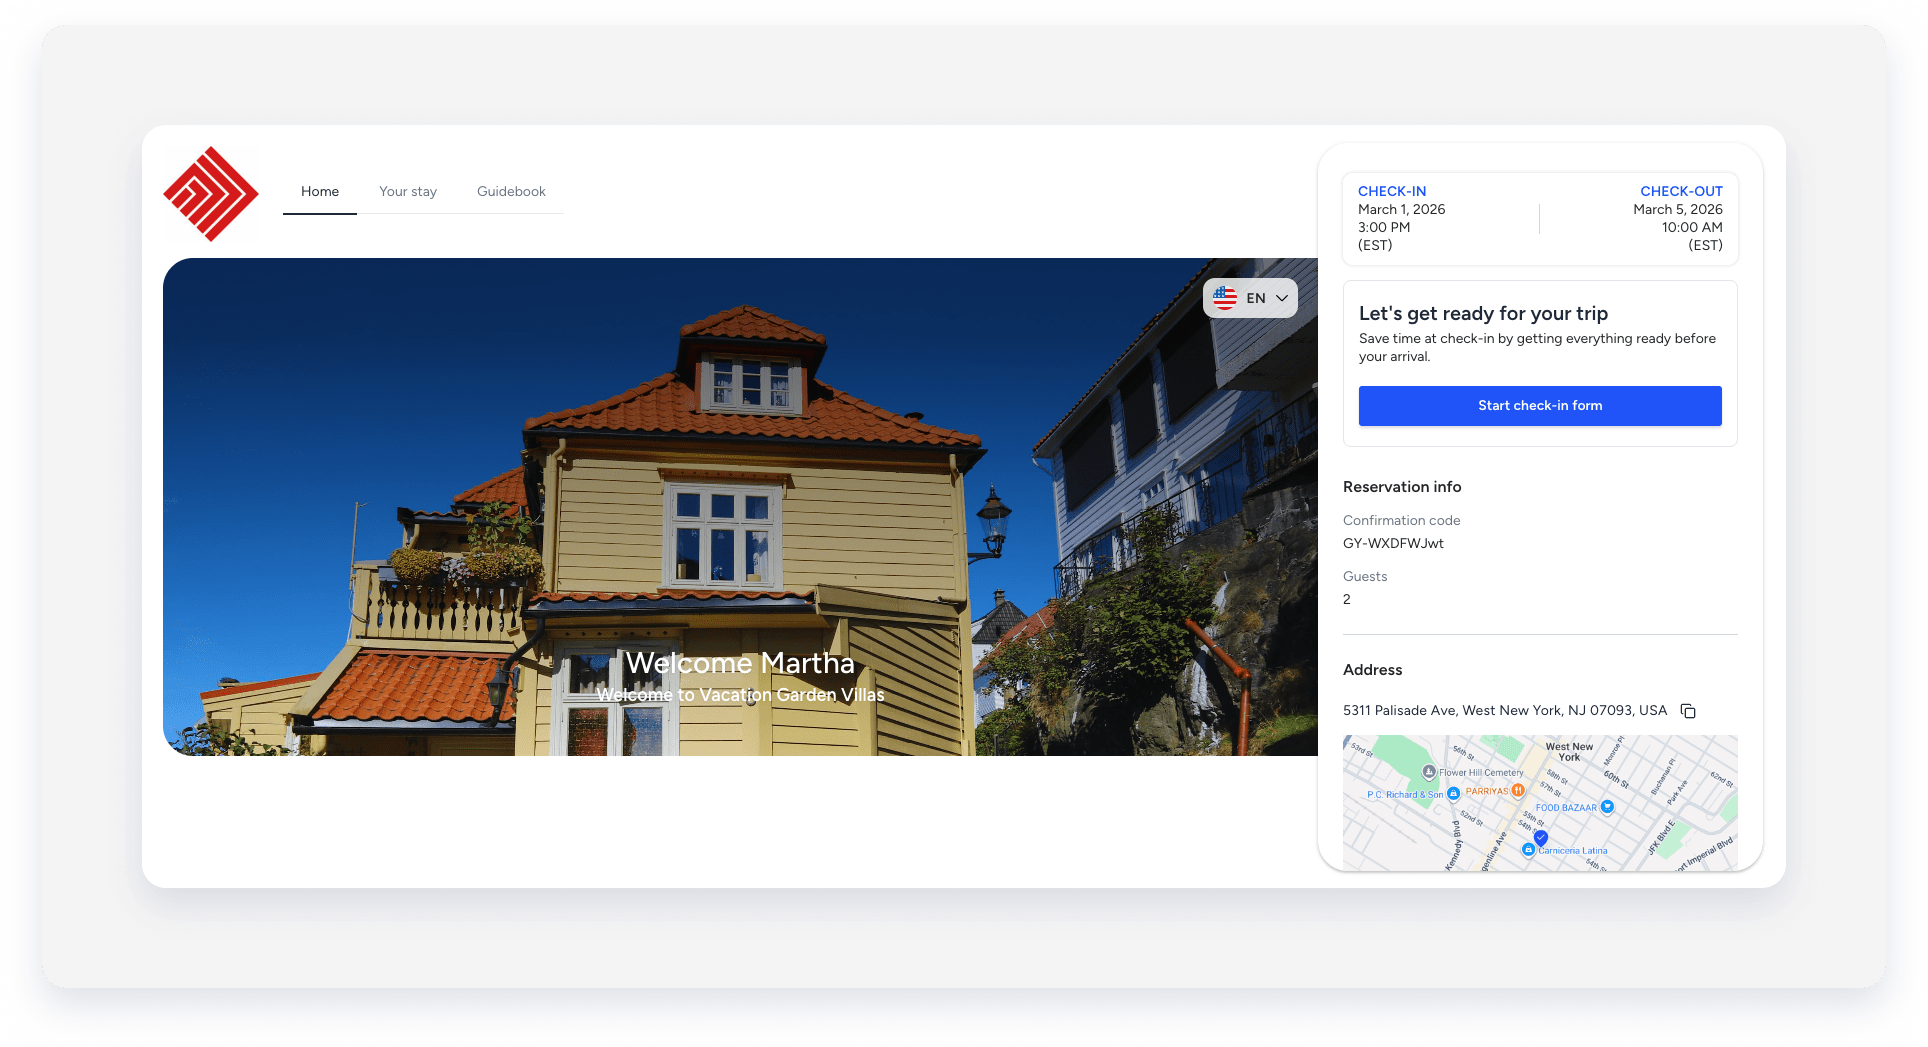
- Reservation information: This is on by default and can't be toggled off. It ensures the guest receives important details such as check-in time and property location.
- Set up a check-in form.
- Set up a Payment info form: Collect payment details from guests by setting up a payment info form. This form only displays for reservations with an active payment provider.
- Share additional information.
- Share a Guidebook.
- For properties covered by add-ons: Activate GuestVerify.
Important:
The check-in form and payment info form are two separate modules. Guests can still use the same Guest App link to add payment information after submitting the check-in form.
- Click Save Guest App.
- In the pop-up, enter your Guest App name.
- Check the terms and conditions box.
- Click Save Guest App.
Tip:
After creating a guest app and setting up a check-in form, you can share the app and remind guests to fill in the check-in form, check the form status, and manage completed forms.
Edit, rename, or delete a Guest App
On the Guest App dashboard, click next to the relevant Guest App. From the dropdown menu, select Rename, Edit Guest App, or Delete.
Renaming the app doesn't affect the underlying variable settings.