Accounting by Guesty is a premium feature. Contact us to discuss activating it.
Create a payout to record a payment made to an owner, vendor, or PMC outside of Guesty. Posting the payout ensures it reflects accurately in your Accounting reports. Post a single payout, or post several at once in bulk. You can also edit a transaction's amount to record a partial payment, as detailed in the steps below.
Learn more about:
Notes and limitations
Entries that have been paid cannot be reprocessed or reversed. To reprocess, cancel the disbursement.
Confirm your time zone is set under Account settings. An error will occur when attempting to make a payout if it's not set.
Create filter with outstanding balance column
If you've already created a filter skip to Post one or more payouts below.
- Sign in to your Guesty account.
- In the top navigation bar, click the mode selector and select Accounting mode.
- Click General ledger and select Balances from the dropdown menu.
- To the right of "Filters," click Ledger.
- From the dropdown menu, select the relevant filter:
- Cash
- Owners
- Advanced deposit (Guests)
- Accounts payables (Vendors)
- Accounts payables (PMC)
- Accounts payables (Taxes and VAT)
- Accounts payables (Channels) Learn more
- Optional: Click the Filter "Balance Date" to change from "today" to a specific date.
- Click Save.
- In the top-right corner, click Columns. In the dropdown, click the toggle to activate "Outstanding balance."
- In the top-right corner, click Save as.
Post one or more payouts
Note:
The amount is seen from a trust account perspective. You can only select items with a negative amount from the outstanding balance column. You cannot select items with a zero or a positive balance.
Step by step:
- Sign in to your Guesty account.
- In the top navigation bar, click the mode selector and select Accounting mode.
- Click General ledger and select Balances.
- In the top-left corner, click the dropdown menu to select your saved filter. If the filter isn't visible, change the view from "Favorites" to "All."
- Select the relevant line items:
- Click the checkbox for one or more relevant item, then click Pay at the top-right.
- For all items, click the checkbox at the top-left, then click Pay at the top-right.
- In the pop-up, fill out the information:
- Payout name: Enter a name for the transaction
- Payout description: Enter a description that will display on the owner statements
- Payout method: From the dropdown menu, select the type of payout to record (for example, cash or bank transfer).
- Payout date: Enter the date the money was paid from the bank
- Reference number: Enter an internal reference number
- Optional actions:
-
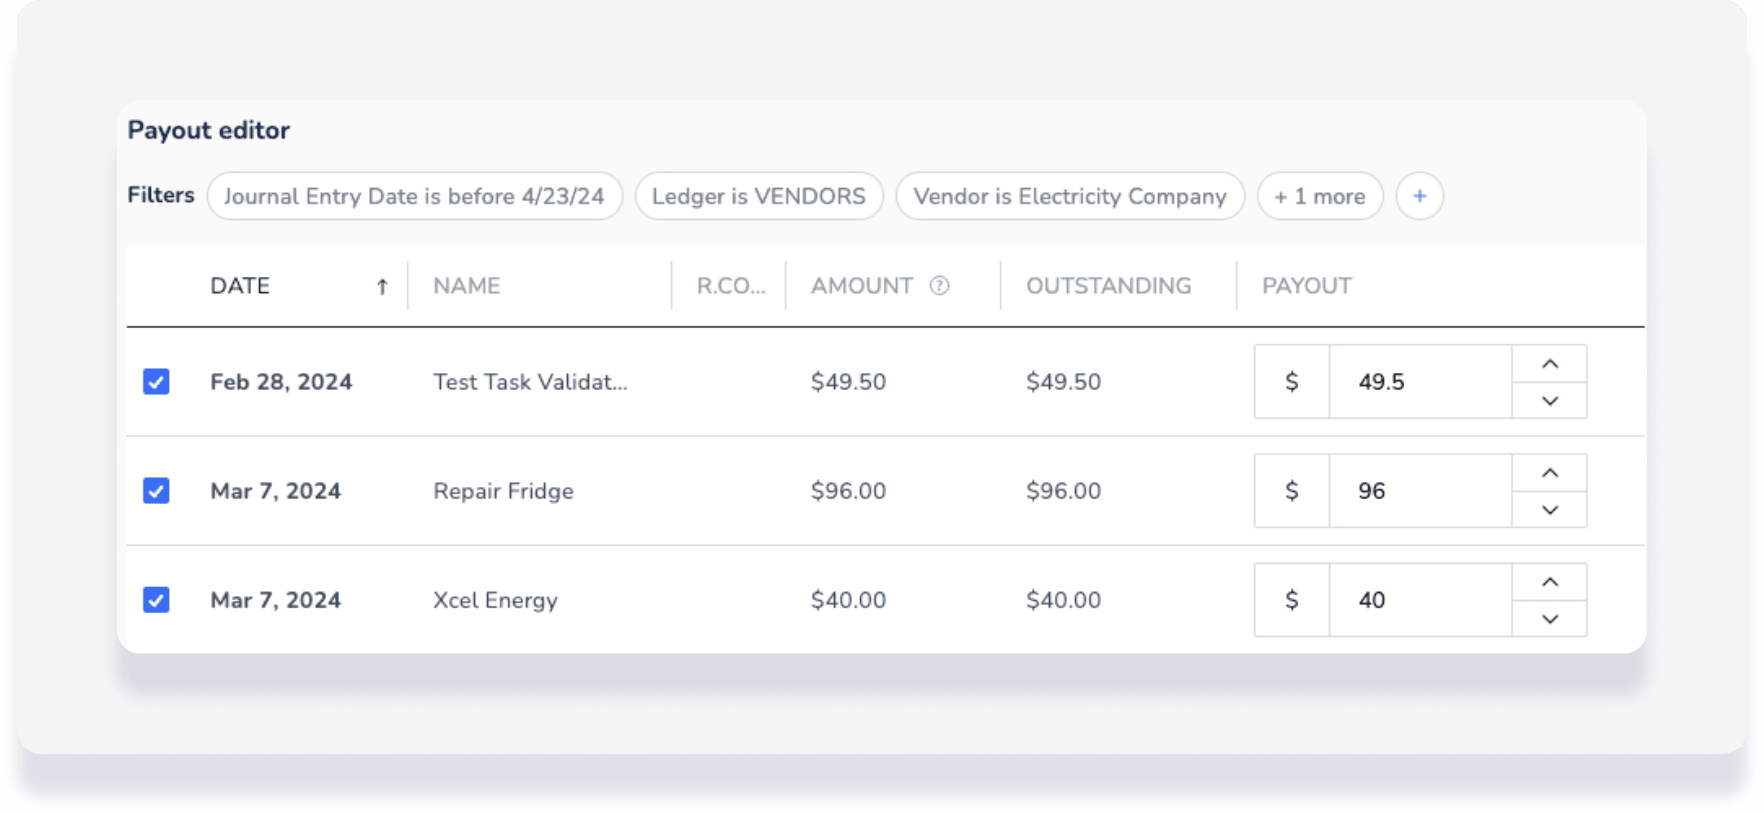
Edit payout amount: Hover over an entry item and click
 to the right. The "Payout editor" opens with these options:
- Remove a transaction item by clicking its checkbox. This immediately reflects the change in the entry item's "Payout" amount.
- Record a partial payment by editing the transaction amount.

- Remove a payout: Hover over an entry item and click X to the left. In the pop-up, click Remove payout.
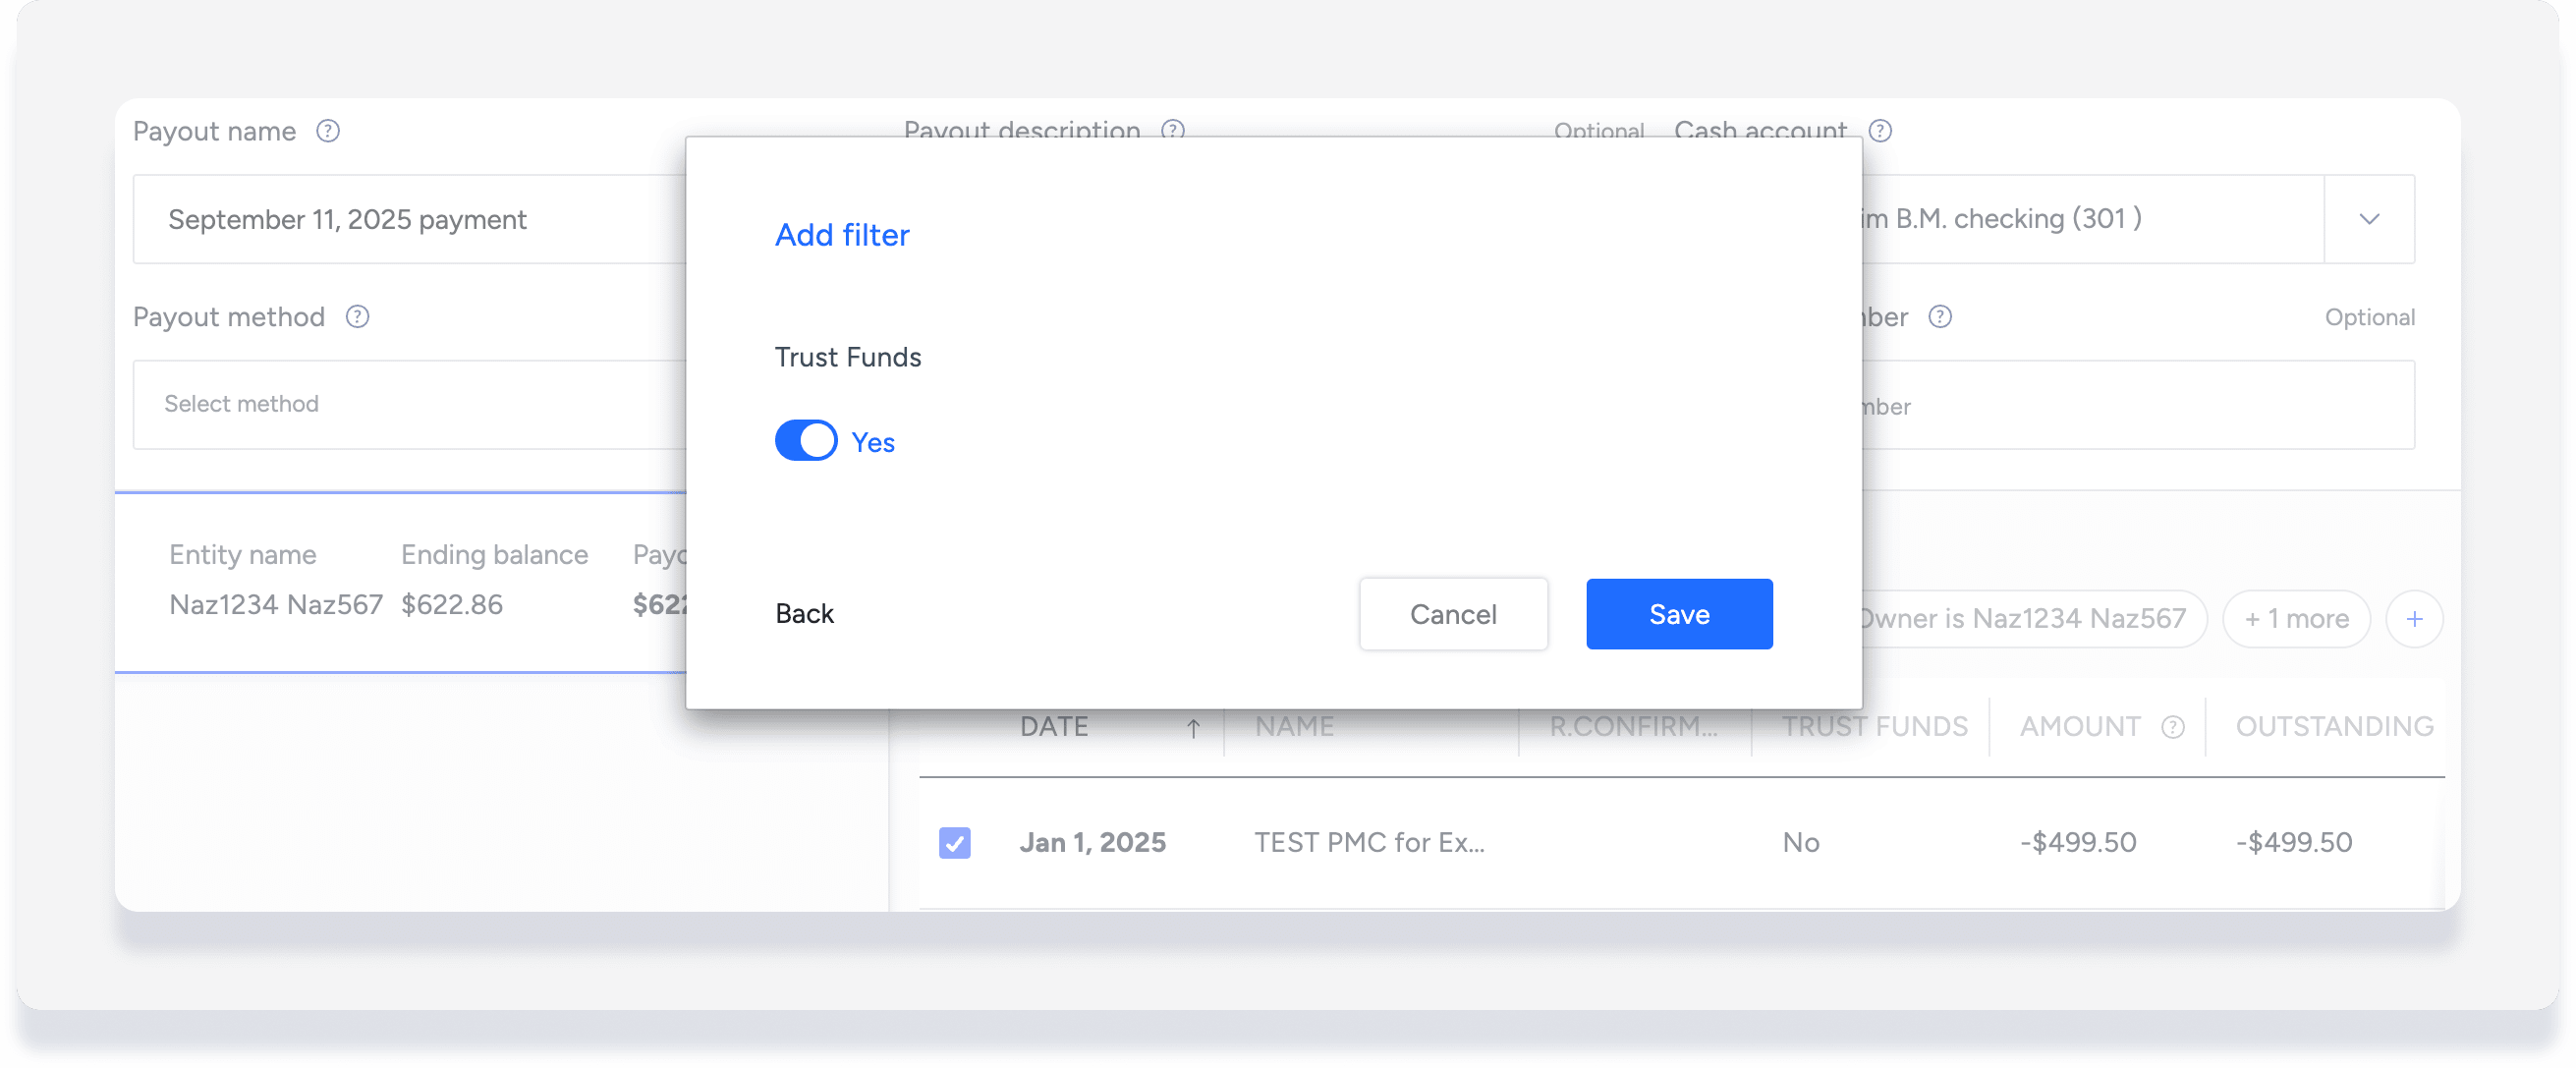
- Australia and New Zealand users only
You have an additional column ,"Trust Funds". Add a filter to sort transactions by "Trust Funds" yes or no, based on your transaction categories setup.

-
- Click Payout.
- In the pop-up, click Confirm.
- In the pop-up, click Got it.
If you get the error message "Something went wrong. Try again" when attempting a payout, check that your time zone is set under Account settings. If needed, contact us to update your time zone.