Use bank reconciliations to verify that the amounts recorded in Guesty are accurate compared to the amounts in your bank accounts. Bank reconciliation is done in the currency of your Guesty account.
Important:
We recommend maintaining two separate bank accounts, trust and operational, to use this feature. Learn more about trust accounting.
Pre-reconciliation allows you to set a date for your first reconciliation, then select uncleared transactions to carry forward to into the reconciliation. Once you've followed the steps below, manage bank reconciliations as a regular part of your Accounting maintenance.
Before you begin
Ensure you have the following set up in Accounting before starting the pre-reconciliation setup.
Multiple cash accounts
Set up your bank accounts and select a default cash account. Additionally, if a transaction is associated with an account other than the default, you will need to move transactions from the default cash account to the relevant account.
Create a clearing account
We recommend creating a dedicated cash account named "Clearing" to handle balance differences during your transition. Using a clearing account instead of your property management account prevents large discrepancies from skewing your operational books while you research "ghost" data or missing entries.
Record payment processing fees and reserves
-
GuestyPay
Turn on GuestyPay automations to automate key accounting processes like fees, reserves, and grouped transactions.
For transactions that are not automated, download an itemized version of the Payout reconciliation report from your GuestyPay dashboard to use in the next step for grouping transactions.
-
Stripe and Booking.com
Download your payment activity reports from Stripe and Booking.com if relevant.
Manually record processing fees as debit to PMC, credit to cash. Record reserves as debit to cash, credit to the same cash account.
Group transactions
We recommend grouping transactions to streamline the reconciliation. Make sure the "group date" you enter is when the funds were received in the physical account according to your bank. If you already grouped your deposits, edit the date if needed.
Within the check register, where transactions are grouped, they're distinguished from a single transaction by the multiple files symbol:
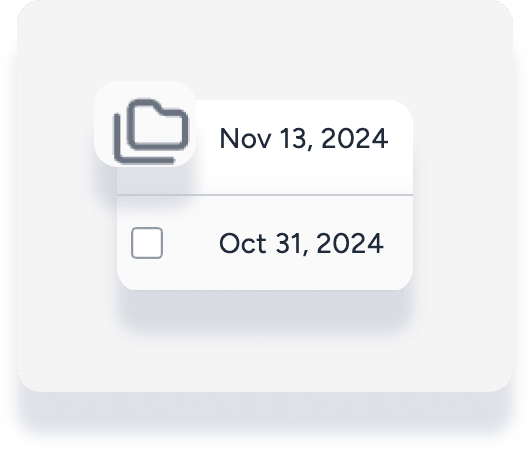
Record additional transactions
Channel commission payments: For channels that pay gross, you need to manually record the commission paid to the OTA.
Bank fees and interest: From your bank statement, identify monthly bank fees as debit to accounts payable (PMC), credit to cash. Identify monthly interest earned as debit to cash, credit to accounts payable (PMC).
Outstanding items from previous systems: Manually enter any payments or deposits that were recorded in your old system but haven't cleared your bank yet. Date these for the day before your Guesty "go-live" date (e.g., October 31) using a journal entry (debit Clearing, credit Cash).
Set up your pre-reconciliation
Step by step:
Sign in to your Guesty account.
In the top navigation bar, click the mode selector and select Accounting mode.
Click More, then Cash management, then select Bank reconciliation.
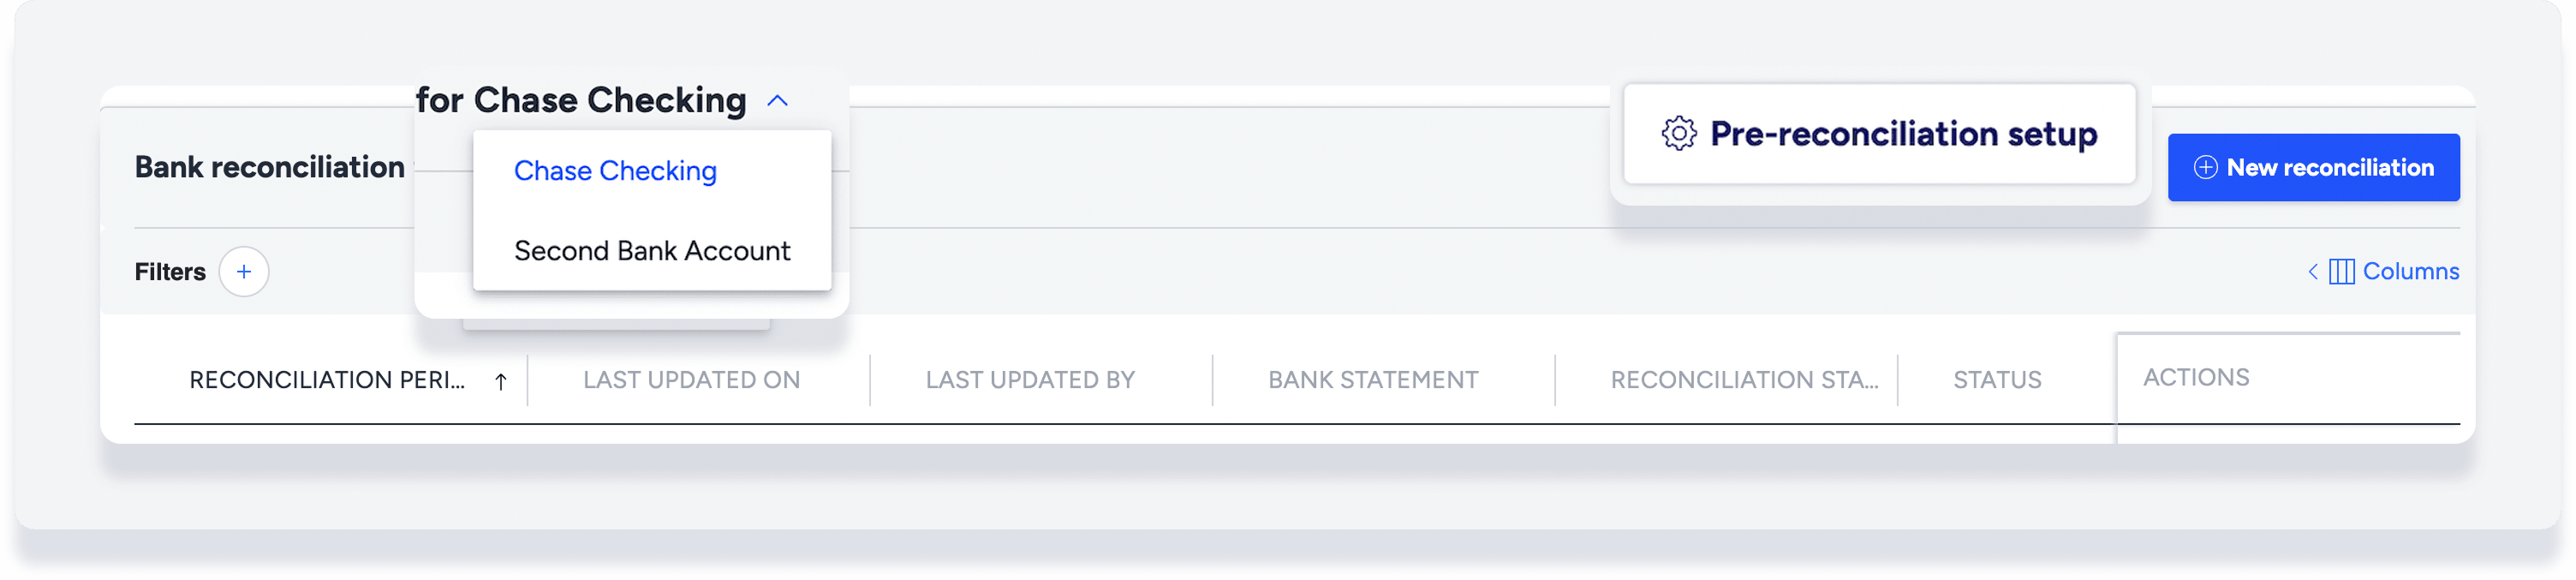
Click the bank account name to select a different cash account, then click Start setup.
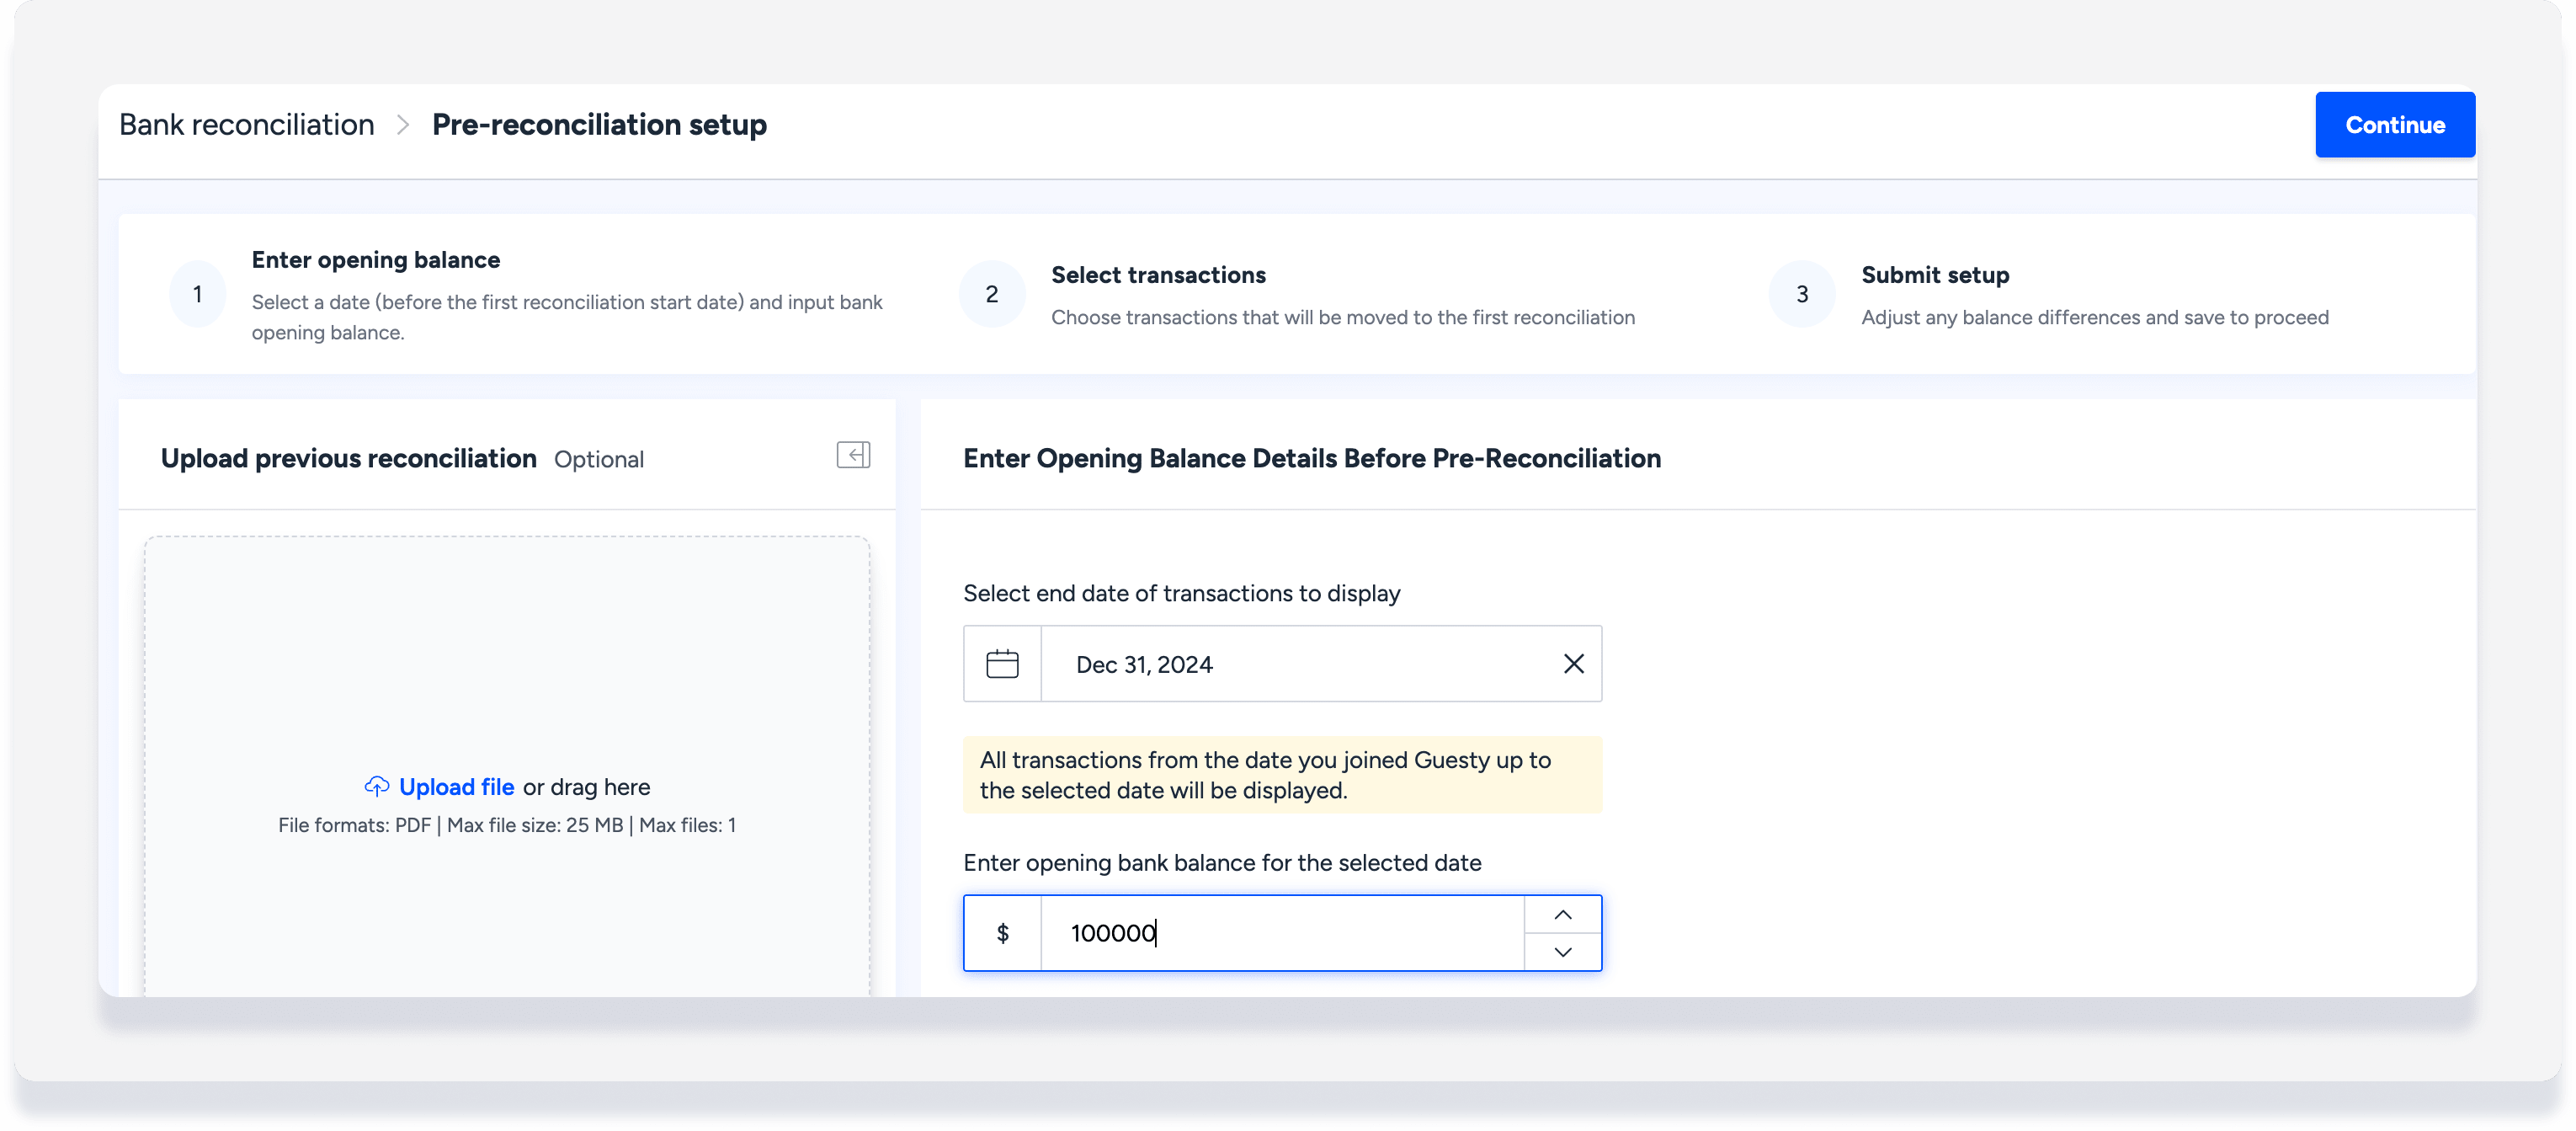
Select the end date of transactions to display. For example, if you want to start the first reconciliation from January 1, 2025, enter December 31, 2024. All transactions from the date you joined Guesty up to the selected date will be displayed.
Enter the opening bank balance for the selected date.
(Optional) Click Upload file to upload your previous bank reconciliation report.
-
In the top-right corner, click Continue.
-
(Optional) Filter your transactions, for example:
Filter by "Entry type" and select single or grouped transactions.
Filter by "Journal entry amount" is more than zero, to show only deposits.
Select transactions that are not yet reconciled in a previous system to carry forward into your first reconciliation. Include the manual journal entries for outstanding items you created in the "Before you begin" section. Unselected transactions are presumed to be previously reconciled and will be ignored going forward.
-
At the top right, click Finish setup.

-
In the pop-up, choose your Offset account.
Note: We recommend selecting your Clearing account here to track transition differences separately.
Review the details, then click Complete setup.
Once setup is completed, Guesty automatically creates a journal entry to make sure Guesty’s cash balance matches your bank’s opening balance. If there’s a difference, we record an adjustment between cash and the selected offset account. Learn more about bank reconciliation adjustments.
Edit pre-reconciliation transactions
If needed, you can go back into the pre-reconciliation setup and include additional transactions. Be aware that changes to the pre-reconciliation setup can affect reconciliations that were already submitted.
Step by step:
Sign in to your Guesty account.
In the top navigation bar, click the mode selector and select Accounting mode.
Click More, then Cash management, then select Bank reconciliation.
Click the bank account name to select a different cash account.
-
At the top right, click Pre-reconciliation setup.
Select additional uncleared, past transactions.
At the top right, click Finish setup.
In the pop-up, review the details then click Complete setup.
Additional journal entries will be automatically created to adjust the difference between Guesty's cash balance and your bank's opening balance.