Guesty’s AutoComply add-on streamlines regulatory compliance by automating the collection and reporting of guest data to authorities. Use this feature to reduce your administrative workload and ensure compliance with local regulations.
To get started, choose a monthly or annual plan and apply the feature to your properties. To cancel AutoComply at any time, contact us.
Important:
As an official Airbnb software partner, Guesty supports legally required data collection under Airbnb’s policy exemptions. AutoComply ensures secure, compliant guest registration and data collection, such as Tax IDs. Review Airbnb's full Off-Platform Policy to ensure compliance with their terms and applicable laws.
Add and activate AutoComply
Follow the steps below to purchase the add-on and apply it to your properties.
Step by step:
- Sign in to your Guesty account.
- In the side navigation menu, click
 Integrations to open the dropdown menu.
 - Select Guesty add-ons.
- In the AutoComply thumbnail, click Learn more.
- Click Get Guesty AutoComply.
- Select a property to connect to AutoComply.
-
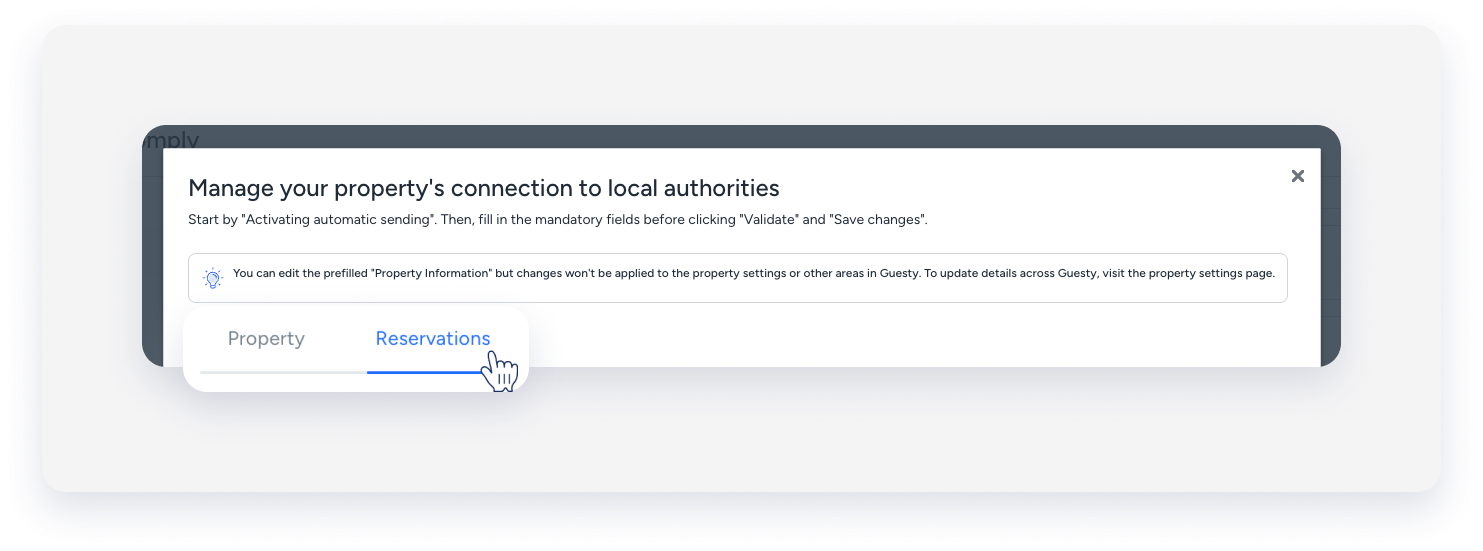
Review the information in the Police connection (or Authority connection) and Statistic connection tabs, then toggle on the relevant settings. Follow the linked articles for specific countries mentioned in the section below.
Note:
Connections are based on the property’s location. Property information is pre-populated from the listing page. Changes made here apply only to AutoComply. Update the property page to apply changes across Guesty.
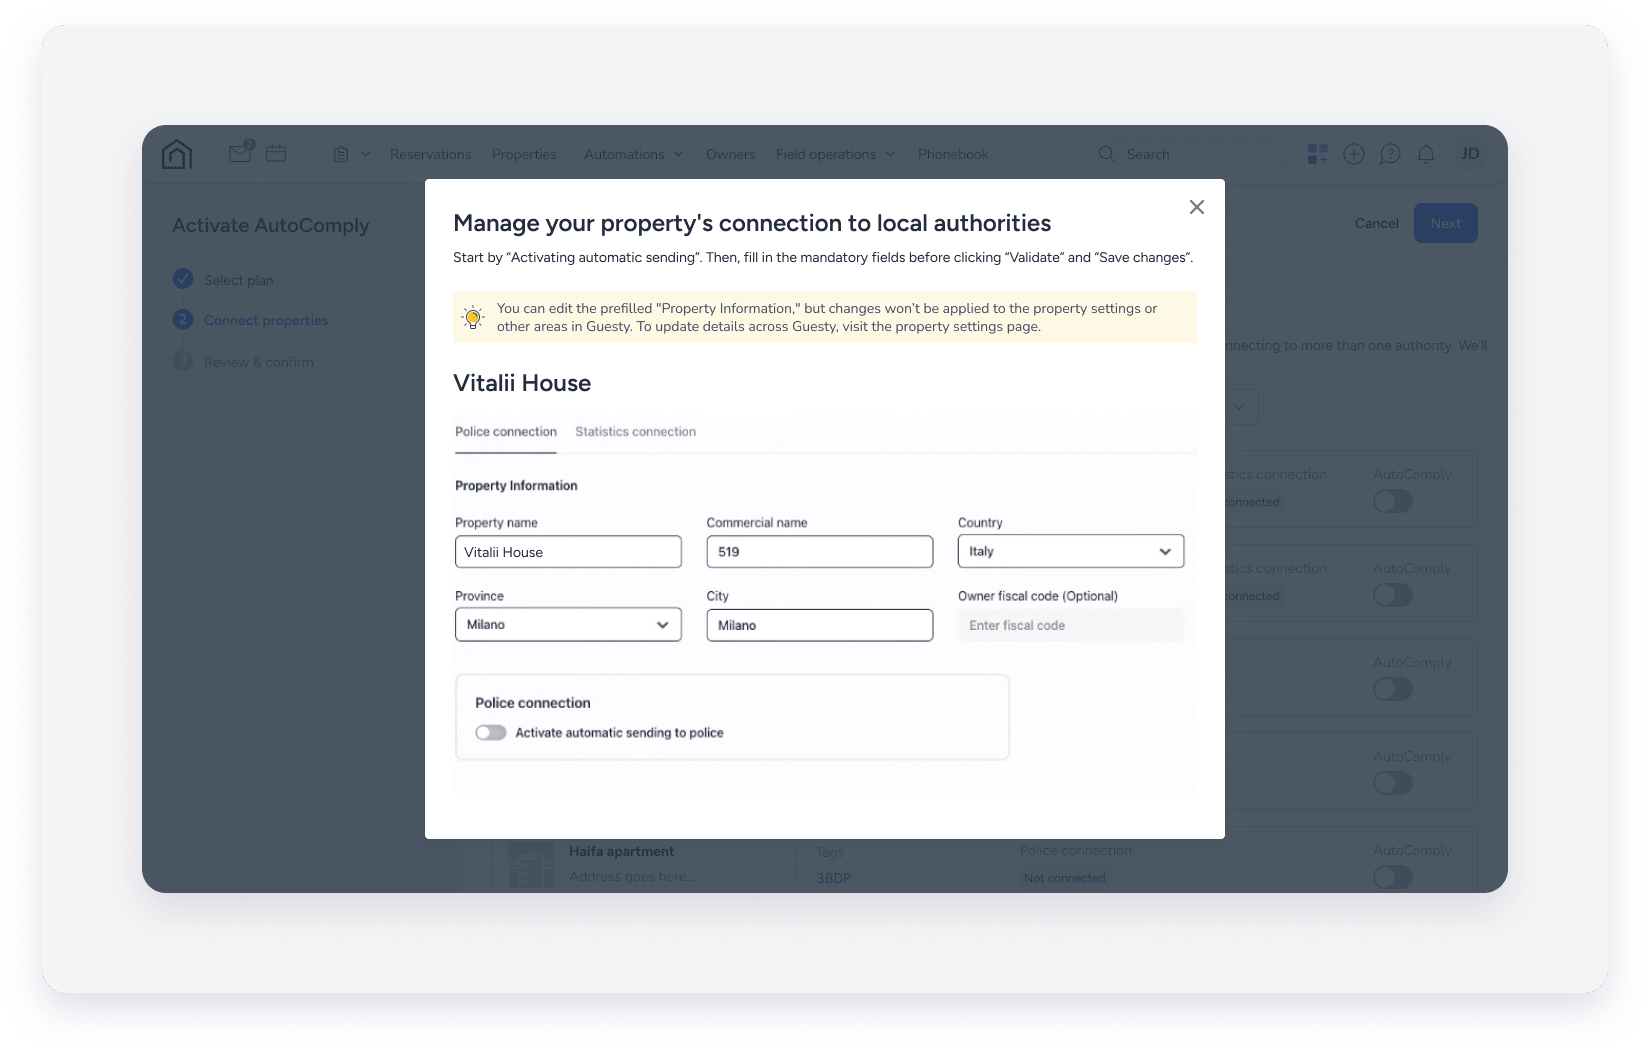
- Click Validate.
- Click Save changes.
- Toggle on AutoComply next to the relevant property to activate the add-on.
- Repeat the previous steps for each property you want to connect to AutoComply.
- At the top right, click Next.

- Review the information you entered, then check the Terms & conditions box.
- At the top-right, click Activate AutoComply.
- After completion, one of two windows with a confirmation message will appear:
- With Guest App: Click Done to finish the procedure.
- Without Guest App: Click Generate Guest App to set up Guest App on your Guesty account.
Configure the Guest App after activation
After you activate AutoComply and link it to the Guest App, we recommend that you access the Guest App, configure your check-in form, and include it in your message automations. The AutoComply forms are sent to the guest automatically along with the check-in form.
Generate statistical reports (relevant for Vienna, Bulgaria, and Puglia)
If you operate properties in Vienna, Bulgaria, or Puglia, you must manually generate and submit statistical reports to comply with local regulations:
- Vienna (Austria): Requires monthly reports on guest arrivals and overnight stays, categorized by the guest's country of origin.
- Bulgaria: Requires guest and booking data reporting to the Unified Tourist Information System (ESTI).
- Puglia (Italy): Doesn't currently support automatic API transmission to the SPOT/DMS system.
Follow the steps below to generate these reports manually from the dashboard.
- At the top, select the Reservations tab.
- At the top-right corner, click More actions.
- Select Download report.
- Select the properties, year, and month to report.
- Confirm the action in the pop-up.
- At the top, select the Property tab.
- Under the name of the property, select the Documents tab.
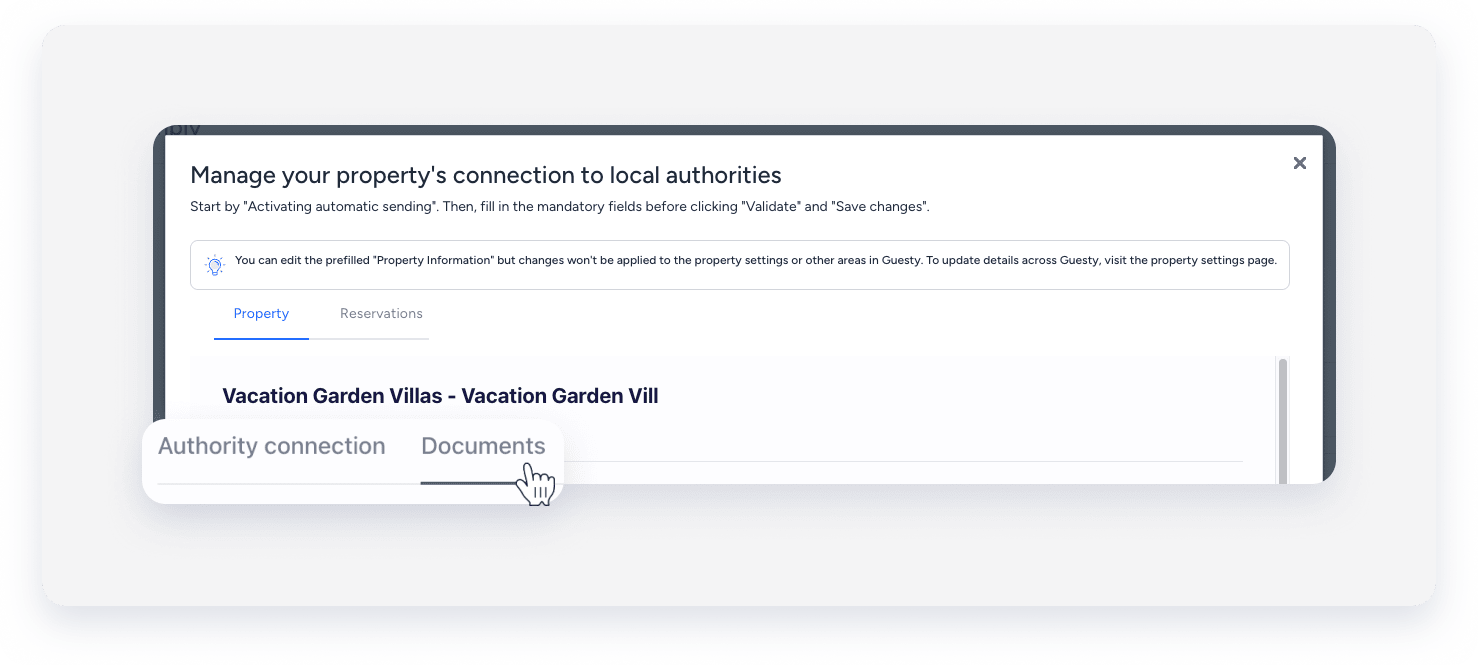
- Select the report tab.
- Select the relevant report and click Generate report.
- Upload the report to the relevant portal.
Send data manually
AutoComply sends guest data automatically on the day of check-in, around 7:00 PM. If a guest registers after this time, send the data manually.
Follow the steps below to generate these reports manually from the dashboard.
- At the top, select the Reservations tab.
- To the right of the relevant reservation, click Send manually or Register guest.
Generate a Guestbook
The Guestbook is a record of all guests registered at a property, each identified by a number.
Follow the steps below to generate a Guestbook from the dashboard.
- Under the name of the property, select the Documents tab.
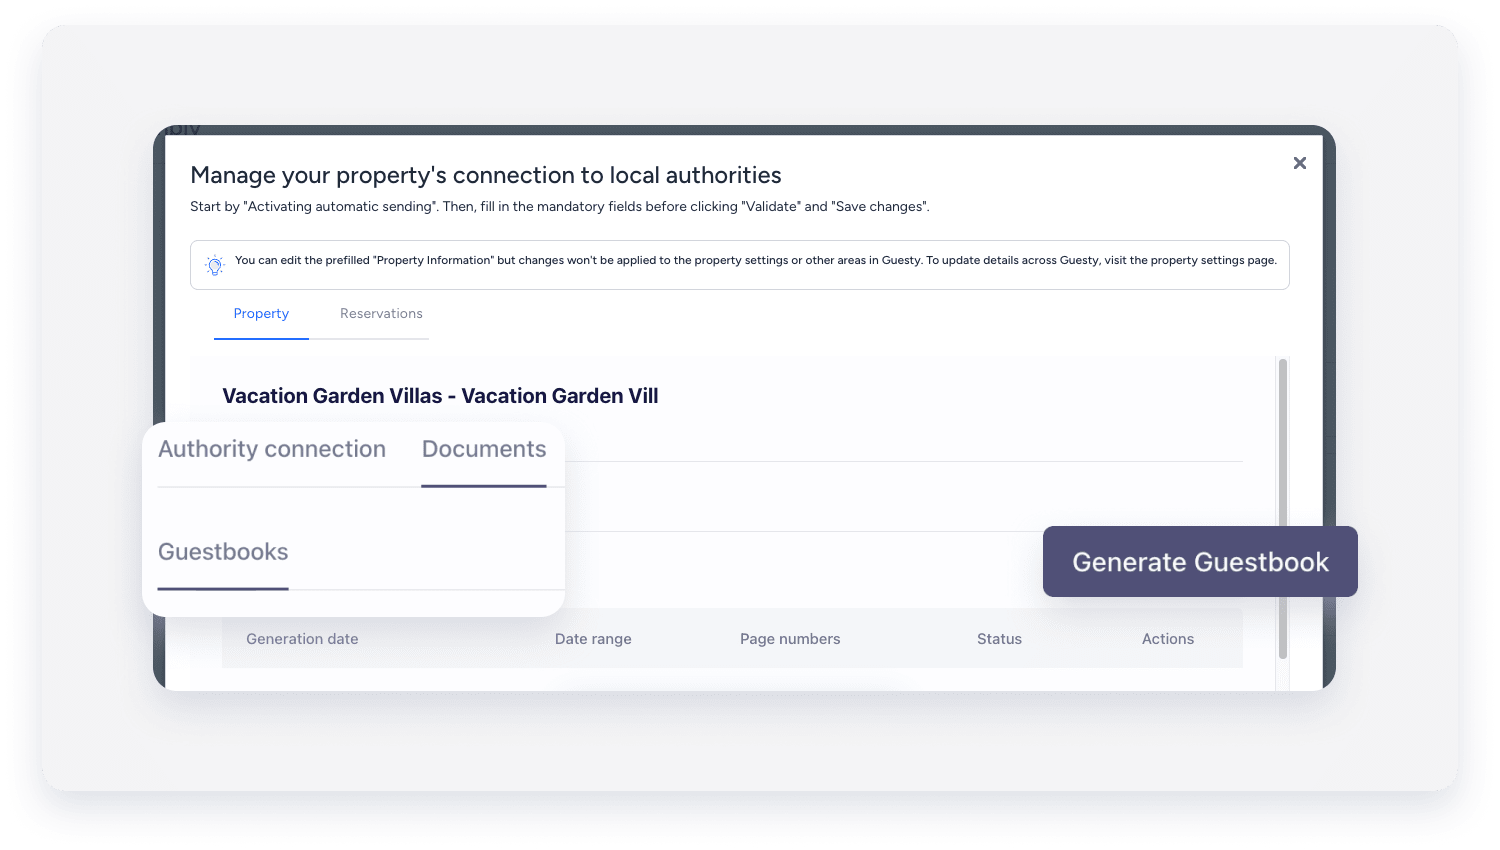
- Select the Guestbook tab.
- Click Generate Guestbook.
- In the pop-up, select the reservation date range to include and set the starting number.
- Click Generate.
The PDF file will be sent to your email for download. You can select another user to receive the notification email.
Information per country
Review the specific requirements and workflows for different countries below.
Countries without a police website
The following countries don't have a police website for submitting guest data. For these locations, request the required data from your guests via the Guest App and generate an entry form for each guest. You must also collect the guest's signature for the Guestbook.
- Belgium
- France
- Greece
- Netherlands
- Romania
- United Kingdom
Countries with a police website
For the following countries, see the linked articles for country-specific setup instructions:
- Austria
- Bulgaria
- Colombia
- Croatia
- Czech Republic
- Germany
- Italy
- Portugal
- Spain
- Switzerland
- UAE - Dubai