This article explains how to change a recurring expense or owner charge. Managing these rules helps you keep your property expenses accurate and up to date.
In the "Recurring expenses" page, search by expense name or filter by rule status to find a specific rule. Click the dropdown arrow to the right of a rule to expand its details.
Edit an expense
Use this option to change details or correct errors like the expense name, amount, or assigned vendor. You can’t change the trigger that creates the expense, such as payment.
The assigned listings remain the same. To update the listings assigned to the updated expense, follow the steps in the "Edit assigned listings" section below.
- To the right of the relevant expense, click
 and select Edit expenses rule.
 - Edit the details as needed, clicking Next to proceed through the screens.
- At the top-right corner, click Save changes.
In the pop-up, choose to apply the updates to New and existing expenses or New expenses only.
-
If including existing expenses, select the date to apply the changes. Note the following data details:
Expenses for reservations with a check-in date before the selected date use the previous configuration.
Journal entries for submitted expenses are deleted.
Paid and locked expenses aren't affected by this change.
Click Confirm and save.
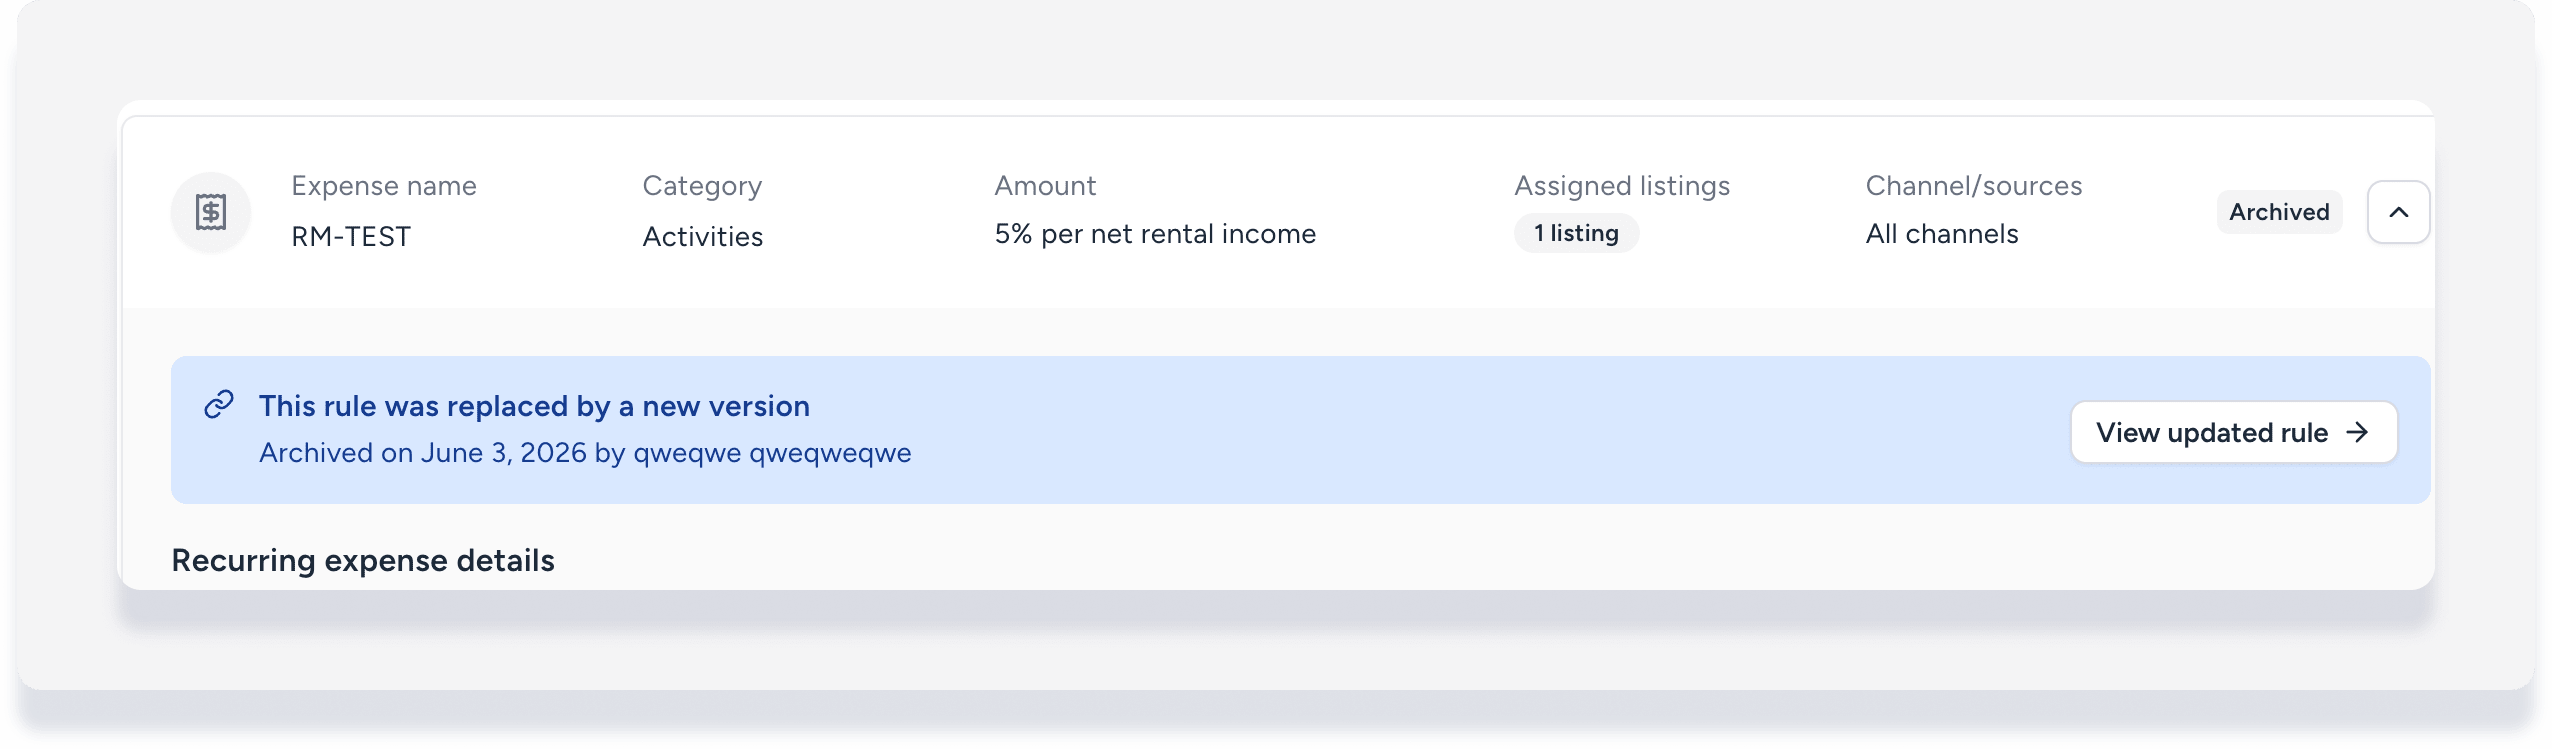
Once saved, the system archives the original version of the expense and replaces it with the new version. You can't reverse, edit, or reactivate archived rules.
Net rental income formula limitation
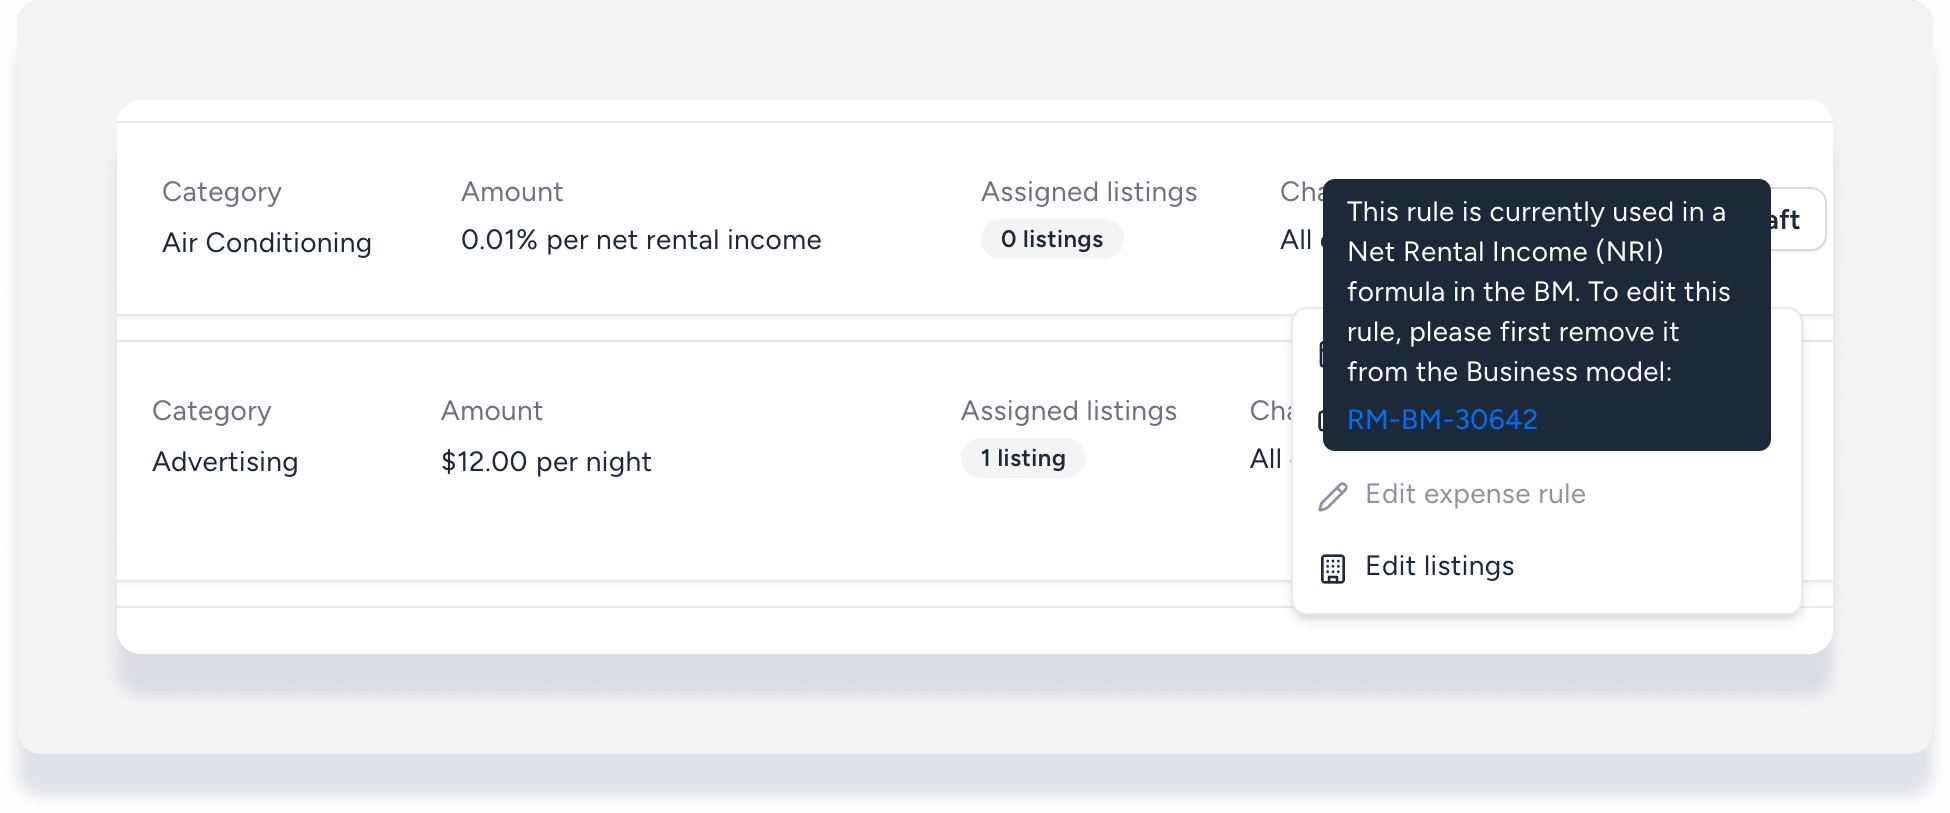
If you use the recurring expense in a business model's net rental income formula, the Edit expense rule option is grayed out and you can't select it.
Hover over Edit expense rule, then click the linked business model. Remove the expense from the NRI formula, then go back and edit the expense.
Clone an expense
Use this option to apply similar expenses to different sets of listings.
For example, you have an existing recurring cleaning expense of $100 paid to vendor A for Listings 1, 2, and 3. You need a recurring expense paid to vendor B for Listings 4 and 5, but all other details stay the same. In this situation, clone the existing expense, edit the vendor, and assign the new rule to Listings 4 and 5.
- To the right of the relevant expense, click and select Clone.
- A new line appears at the top of the expenses list called "Copy of [original expense name]".
- On the new expenses line, click Complete draft.
- Edit the details as needed, clicking Next to proceed through the screens.
-
On the last screen, click Select listings. In the pop-up, select the relevant option:
Specific properties: Manually select properties. To add more properties, click Unassigned and check the boxes for the properties you want to add.
Assign by rule: Use filters to automatically add current and future properties.
All: Include all current and future properties.
- At the bottom-right corner, click Done.
- Under "Assign to channel and sources", click the dropdown to select specific sources if you don't want to include all connected channels.
- At the top right, click Next.
- Review the details. To make changes, click Back at the top-left corner.
- At the top right corner, click Confirm and create.
- In the pop-up, choose whether to apply the rule to existing or only new reservations, and click Create and apply.
Deactivate an expense
Use this option to stop applying the recurring expense on a permanent or temporary basis.
Tip:
Cancel an expense for a specific reservation without deactivating the recurring rule via the expenses report.
- To the right of the relevant rule, toggle off Active.
In the pop-up, choose to deactivate for existing or only new reservations.
Click Deactivate.
Reactivate the rule anytime to resume generating expenses by toggling the switch on again.

Edit assigned listings
Follow the steps below to update the listings assigned to a recurring expense.
- To the right of the relevant expense, click and select Edit listings.
- Edit the assigned listings and click Done.
- In the pop-up, choose whether to apply changes to existing or only new reservations, and click Apply.
Apply rule to existing reservations
Follow the steps below to apply a recurring expense to reservations that are already in the system.
- To the right of the relevant expense, click and select Apply to existing reservations.
- In the pop-up, enter the check-in date to start applying.
- Click Apply.
The recurring expense applies only to confirmed reservations with check-in dates on or after the selected date. This configuration won't apply to expenses that are already paid or within a locked period.