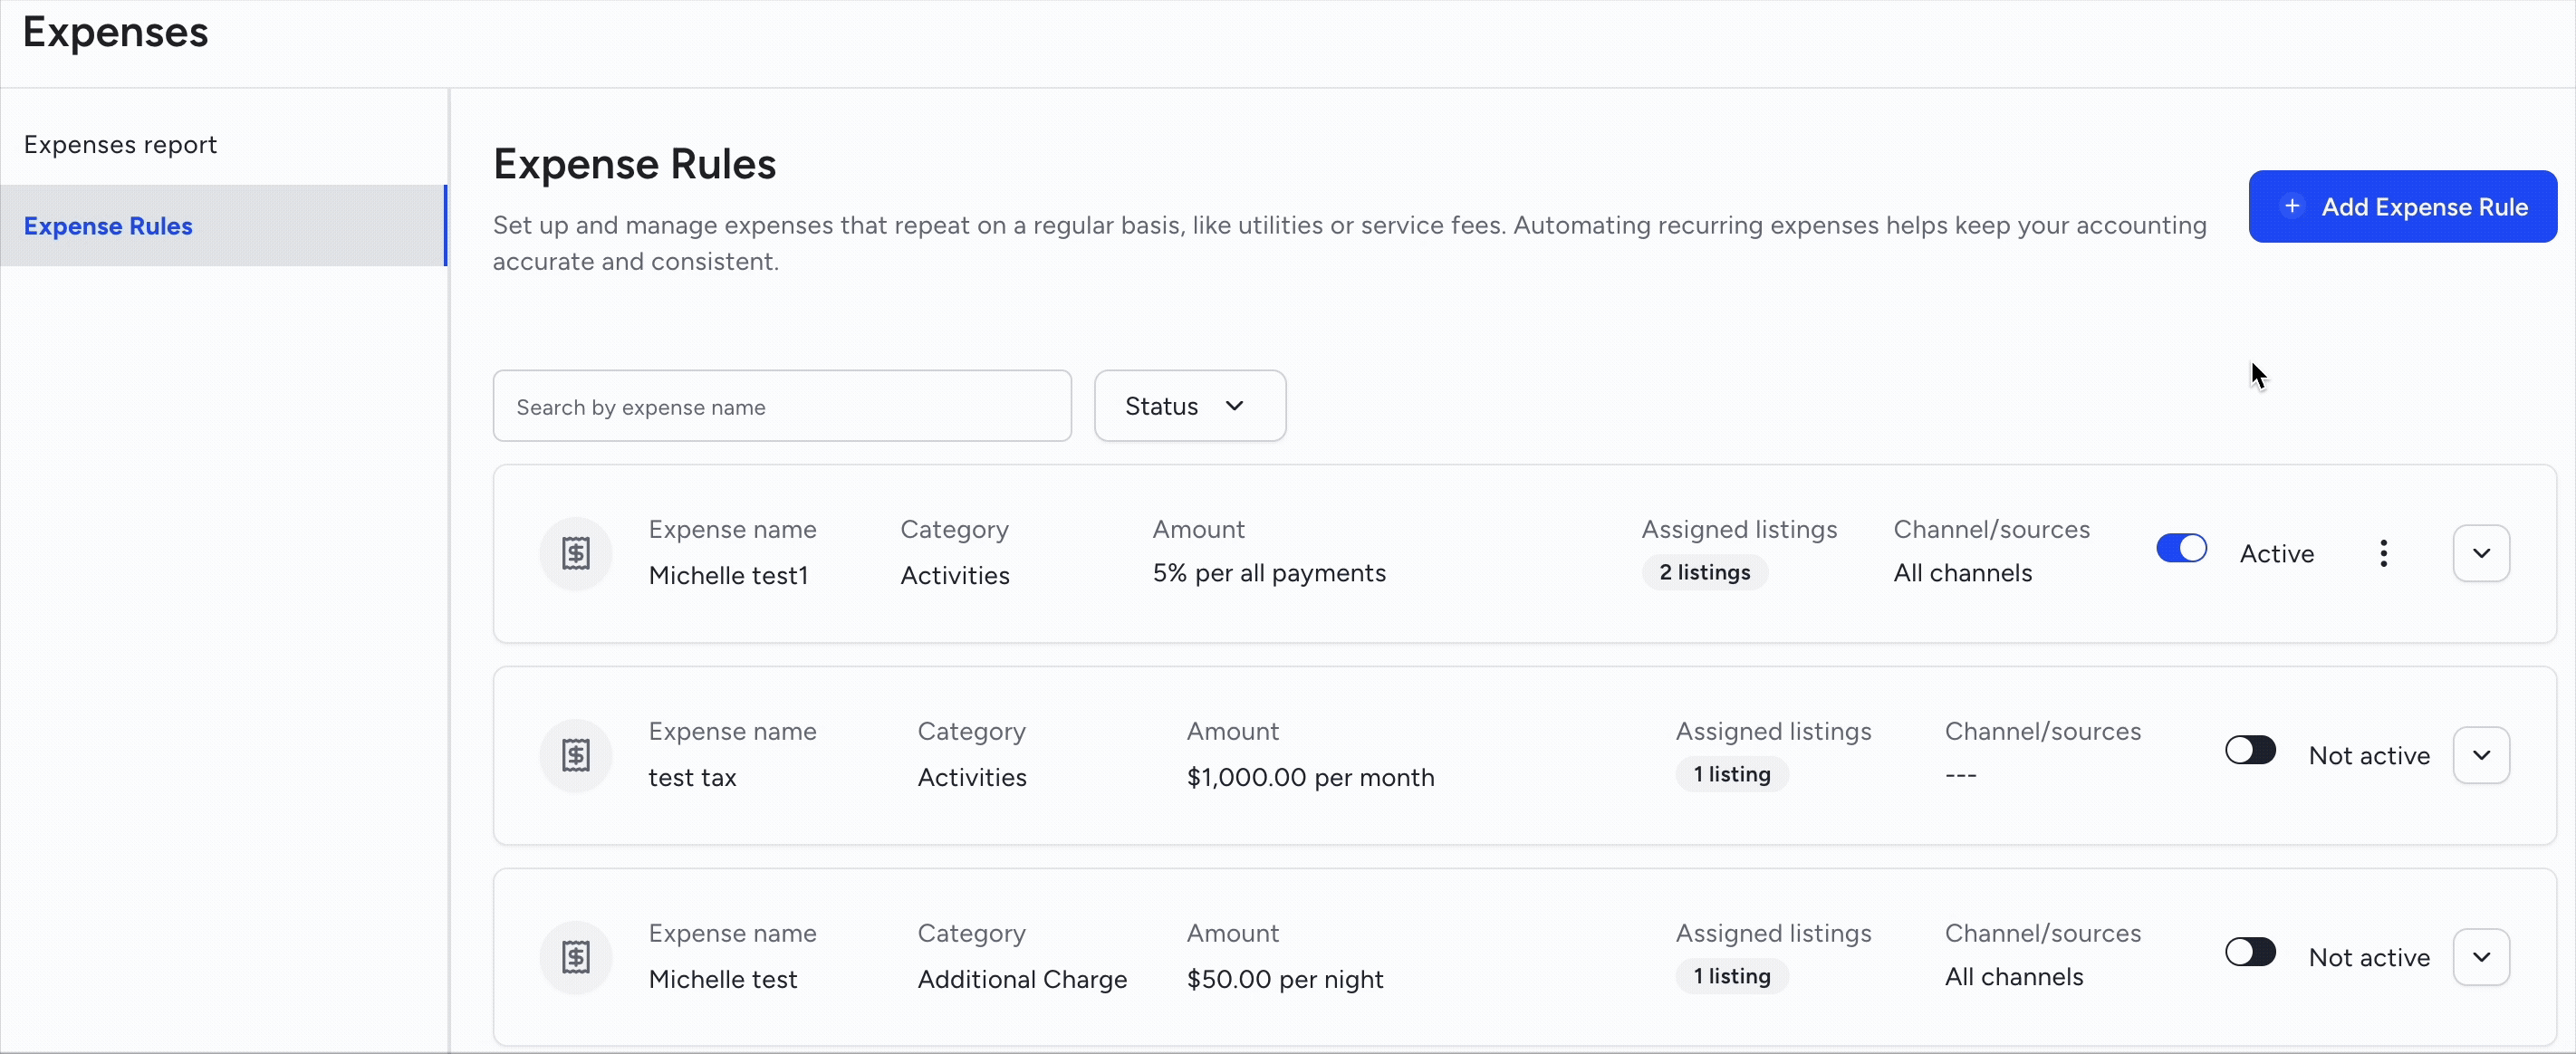
Set up expense rules to manage recurring charges and track property-related costs from one centralized report. Alternatively, create a one-time expense.
Follow the steps below to create rules for recurring expenses or owner charges.
Create a recurring expense
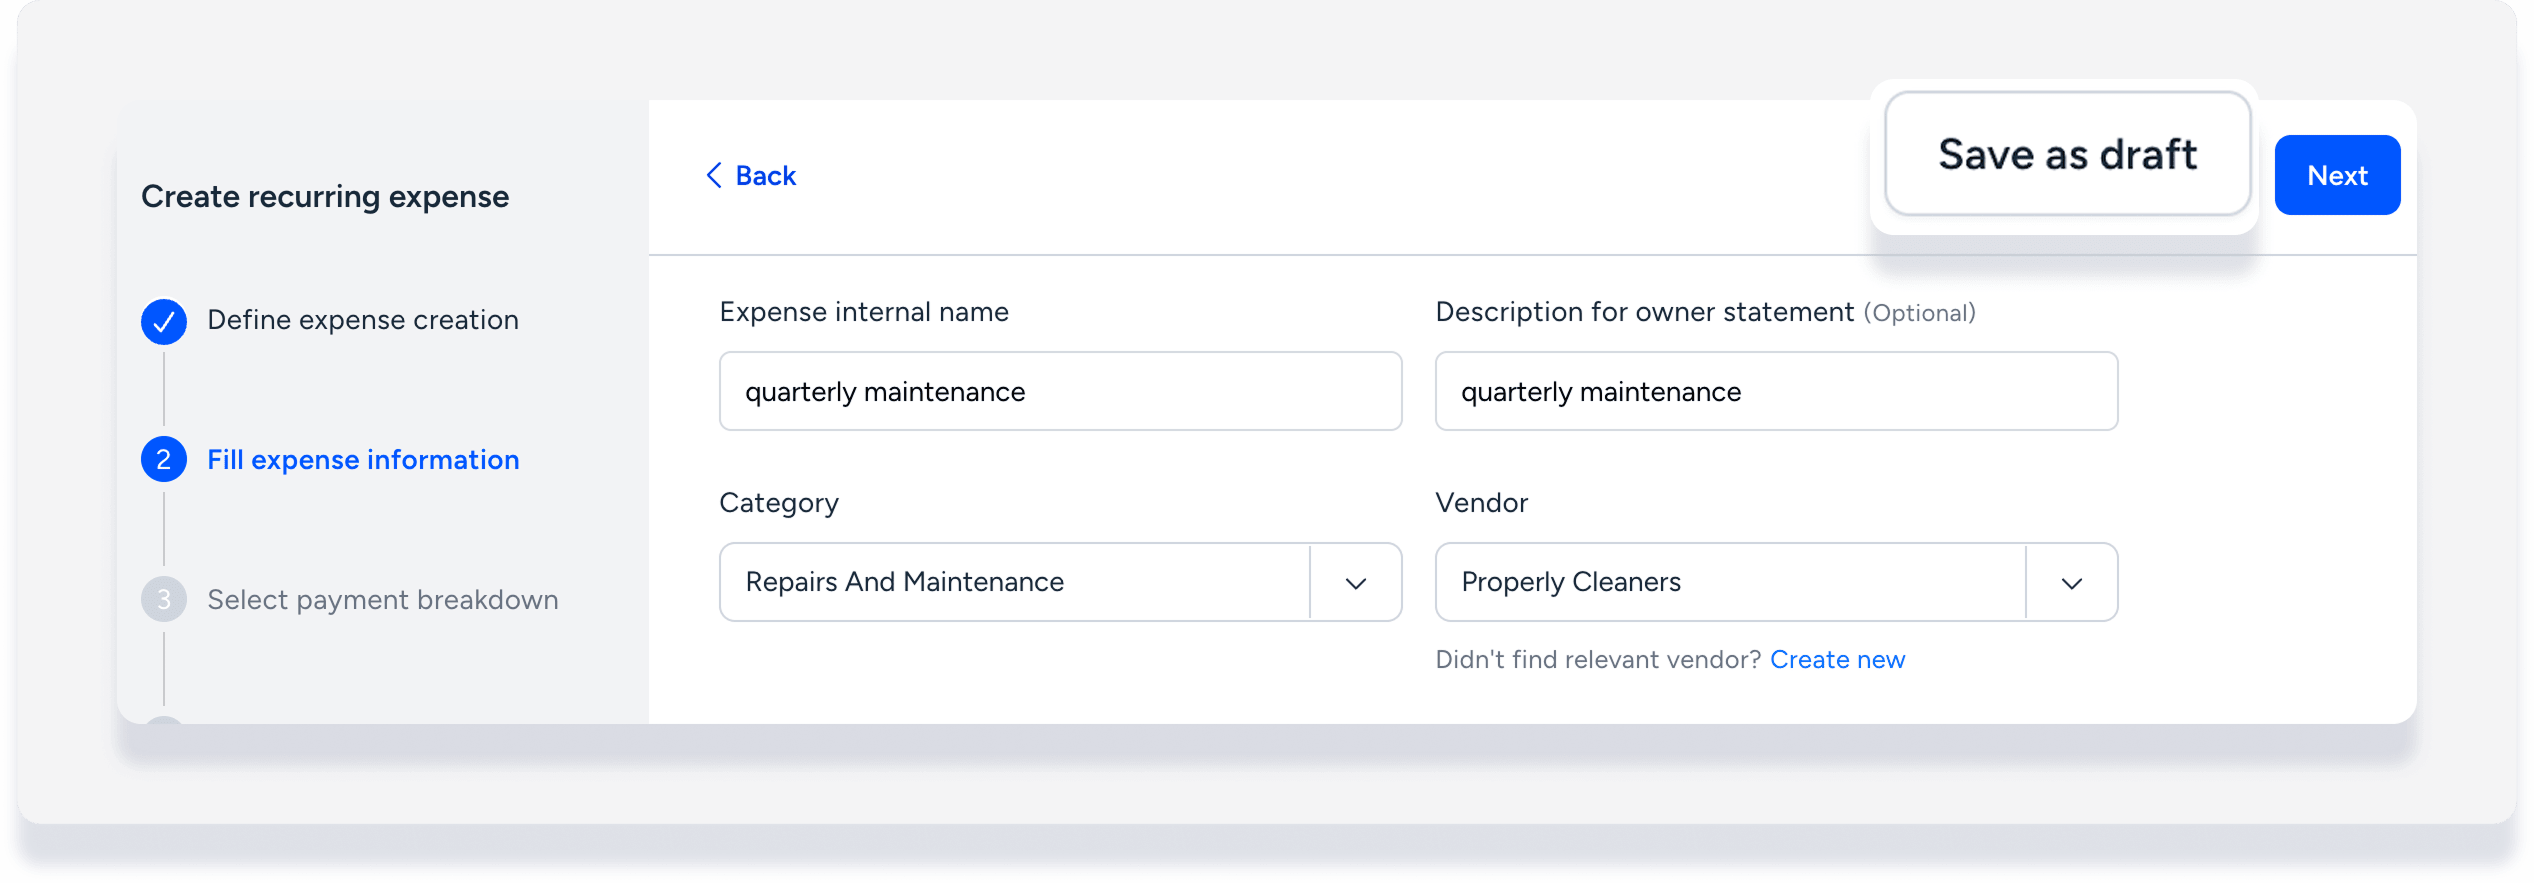
Save as draft
At any point during the rule creation process, click Save as draft at the top right.
When you're ready to work on the rule again, click Complete draft on the Recurring expenses page and continue with the steps below.
Step by step:
- Sign in to your Guesty account.
- In the side navigation menu, click
 Financials to open the dropdown menu.
 - Under Expenses, select Recurring expenses.
- Click Add recurring expense and follow the steps below to enter the details.
-
Define when the expense should be created from one of the following:
- On reservation confirmation: Recognized at check-in, check-out, or nightly.
- On payment: Created at the time of first payment. If partial payment is made for an expense that is calculated as a percentage, the amount is updated again at the time of full payment.
- On a set schedule: For monthly or quarterly expenses. Select if the expense should be recognized at start of period or end of period. Define the period as monthly or quarterly in the next step.
- At the top-right, click Next.
- Fill in the expense information:
- Enter a unique internal name. Each name can only be used once.
- Enter a description for the owner statement (optional).
- Select the transaction category and vendor. To create an owner charge, select yourself/PMC as the vendor.
- Enter a fixed or percentage amount.
- Under "Apply expense", select the frequency or calculation method based on the creation trigger.
- At the top-right, click Next.
-
Choose the payment scenario depending on how the cost is distributed. Each option includes credit/debit payment breakdowns between stakeholders.
Note:
If you previously selected PMC as the vendor to create an owner charge, the payment scenario defaults to PMC gets reimbursed by property owner.

- At the top right, click Next.
-
Click Select listings. In the pop-up, select the relevant option:
Specific properties: Manually select properties. To add more properties, click Unassigned and check the boxes for the properties you want to add.
Assign by rule: Use filters to automatically add current and future properties.
All: Include all current and future properties.
- At the bottom-right, click Done.
- Under "Assign to channel and sources", click the dropdown to select specific sources if you don't want to include all connected channels.
- At the top right, click Next.
- Review the details. If you need to make changes, click Back at the top-left.
-
At the top right click Confirm and create.

- In the pop-up, choose whether to apply the rule to existing or only new reservations and click Create and apply.
Learn how to edit, clone, or deactivate recurring expenses.