Track and manage property-related costs and charges from the centralized Expenses report integration page. In addition to creating recurring expenses, or one-time manual expenses, you can add expenses to tasks. This links costs to specific operations and displays the task ID on owner statements for clear referencing.
Follow the steps below to add expenses to your tasks.
Add expense to a new task or auto task template
For a new calendar-based task
Step by step:
- Sign in to your Guesty account.
- In the side navigation menu, click
 Operations to open the dropdown menu.
 - Under Field ops, select Tasks.
- At the top-right corner, click
 and select New task.
 - Enter the task name, type, and other relevant details.
- In the right side panel, scroll to "Applies to" and select the property or reservation.
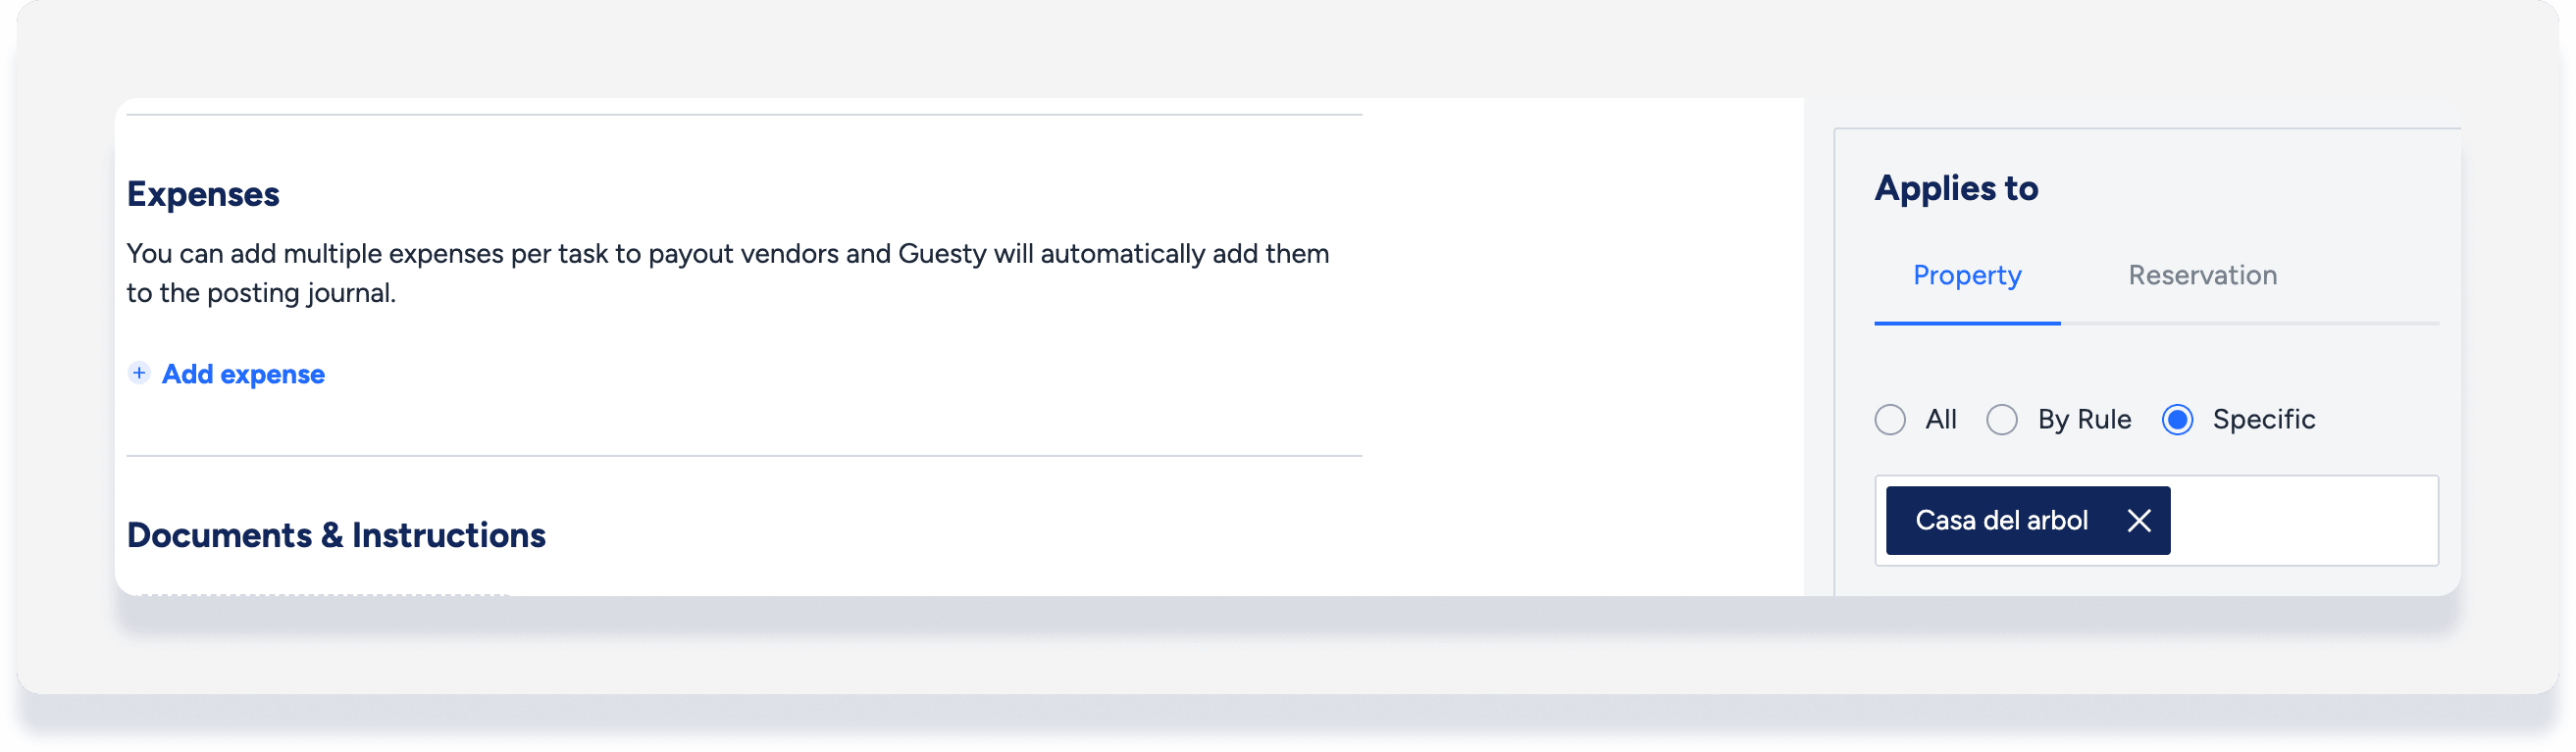
- In the main task section, under "Expenses" click Add expense.
- Enter the relevant information.
- Select one of the following to set the expense date:
- Upon task completion: Added to the Expenses report as "submitted" only when the task is marked as complete.
-
On a specific date: Added to the Expenses report and marked as "scheduled" or "submitted".
Note:
You can set a specific date up to 18 months in the past. If the past date is in a locked accounting period, the related journal entry is created on the first open date after the locked period.
- Click Continue.
-
Select a payment option based on how the expense is distributed. Each option includes credit/debit payment breakdowns between stakeholders.
Note:
If PMC was selected as the vendor to create an owner charge in the previous step, this defaults to "PMC gets reimbursed by property owner".
- Click Create expense.
For a new auto task template
Step by step:
- Sign in to your Guesty account.
- In the side navigation menu, click
 Properties and select the relevant property.
 - Click the listing. For multi-units, access the main settings or a sub-unit.
- In the side navigation menu, select Task templates.
- Click Create task template and fill in the information.
- Under "Expenses", click add item.
- Enter the details and click Add expense.
- Click Save.
Add expense to an existing task or auto task template
Step by step:
- Sign in to your Guesty account.
- In the side navigation menu, click Operations to open the dropdown menu.
- Under Field ops, select Tasks.
- Select the relevant task.
- To the top-right, click Edit.
- For calendar-based tasks, select Edit instance or Edit series.
- Scroll to "Expenses" and click Add expense.
- Enter the details and click Add expense.
- At the top right click Save.
Tip:
If Add expense is unavailable, ensure you have selected a property or reservation for the task first.
Viewing a task-related expense
In the task
Click the "Expenses" tab to see details and current status.
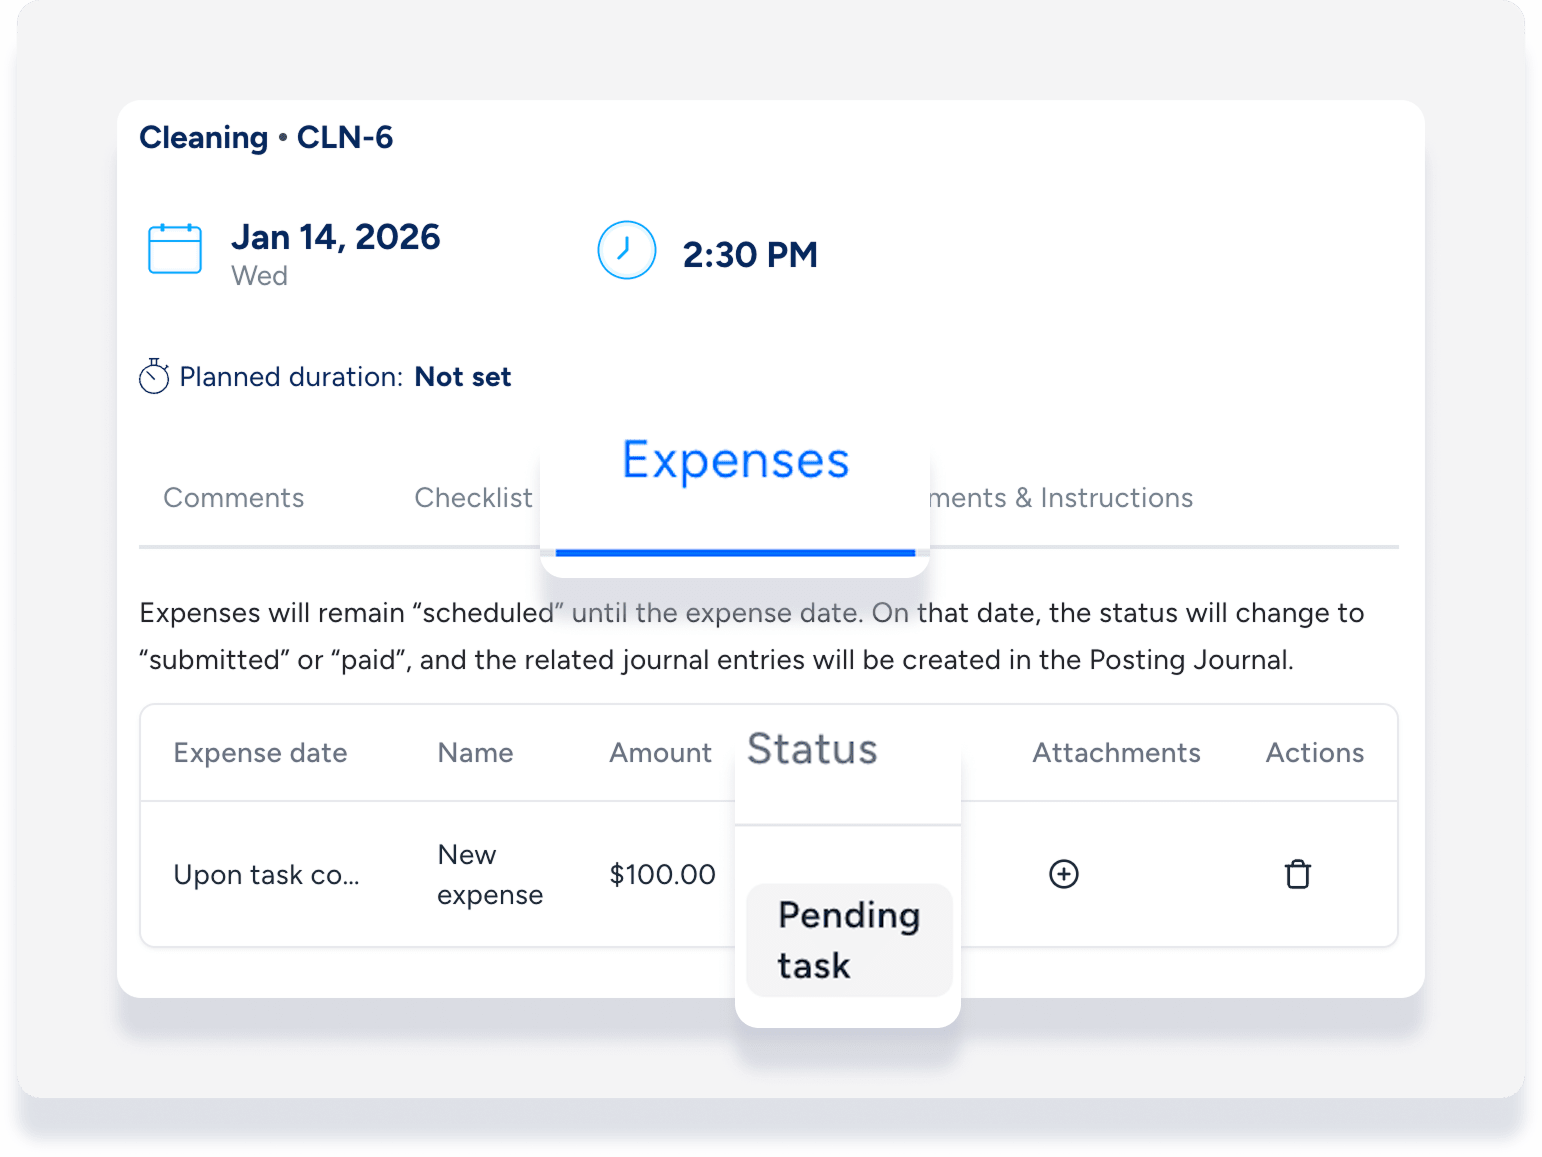
Expenses remain as "Pending task" or “Scheduled” until the expense date. On that date, the status will change to “Submitted”, and the system creates the related journal entries in the posting journal.
In the Expense report
Expenses that are pending task completion don't appear in the Expenses report.
Once an expense status is "Scheduled" or "Submitted", click ![]() and select View on expense report to open the Expenses report integration page.
and select View on expense report to open the Expenses report integration page.
