Save time by letting the AutoReply agent handle your guest messages from start to finish. The agent relies on ReplyAI and automatically sends responses without manual approval, using a short delay to simulate human interaction.
AutoReply configuration
You can configure the AutoReply agent in two ways:
Confidence level threshold
Confidence level is the numeric score from zero to 100% that the AI gives to its generated answer. The higher the score, the more certain the AI is in its response.
You can determine the threshold. For example, a 90% threshold means that only messages with a confidence level above 90% are sent automatically. Messages below the confidence level route through the regular ReplyAI suggestion process and require human approval.
Post-response optional actions
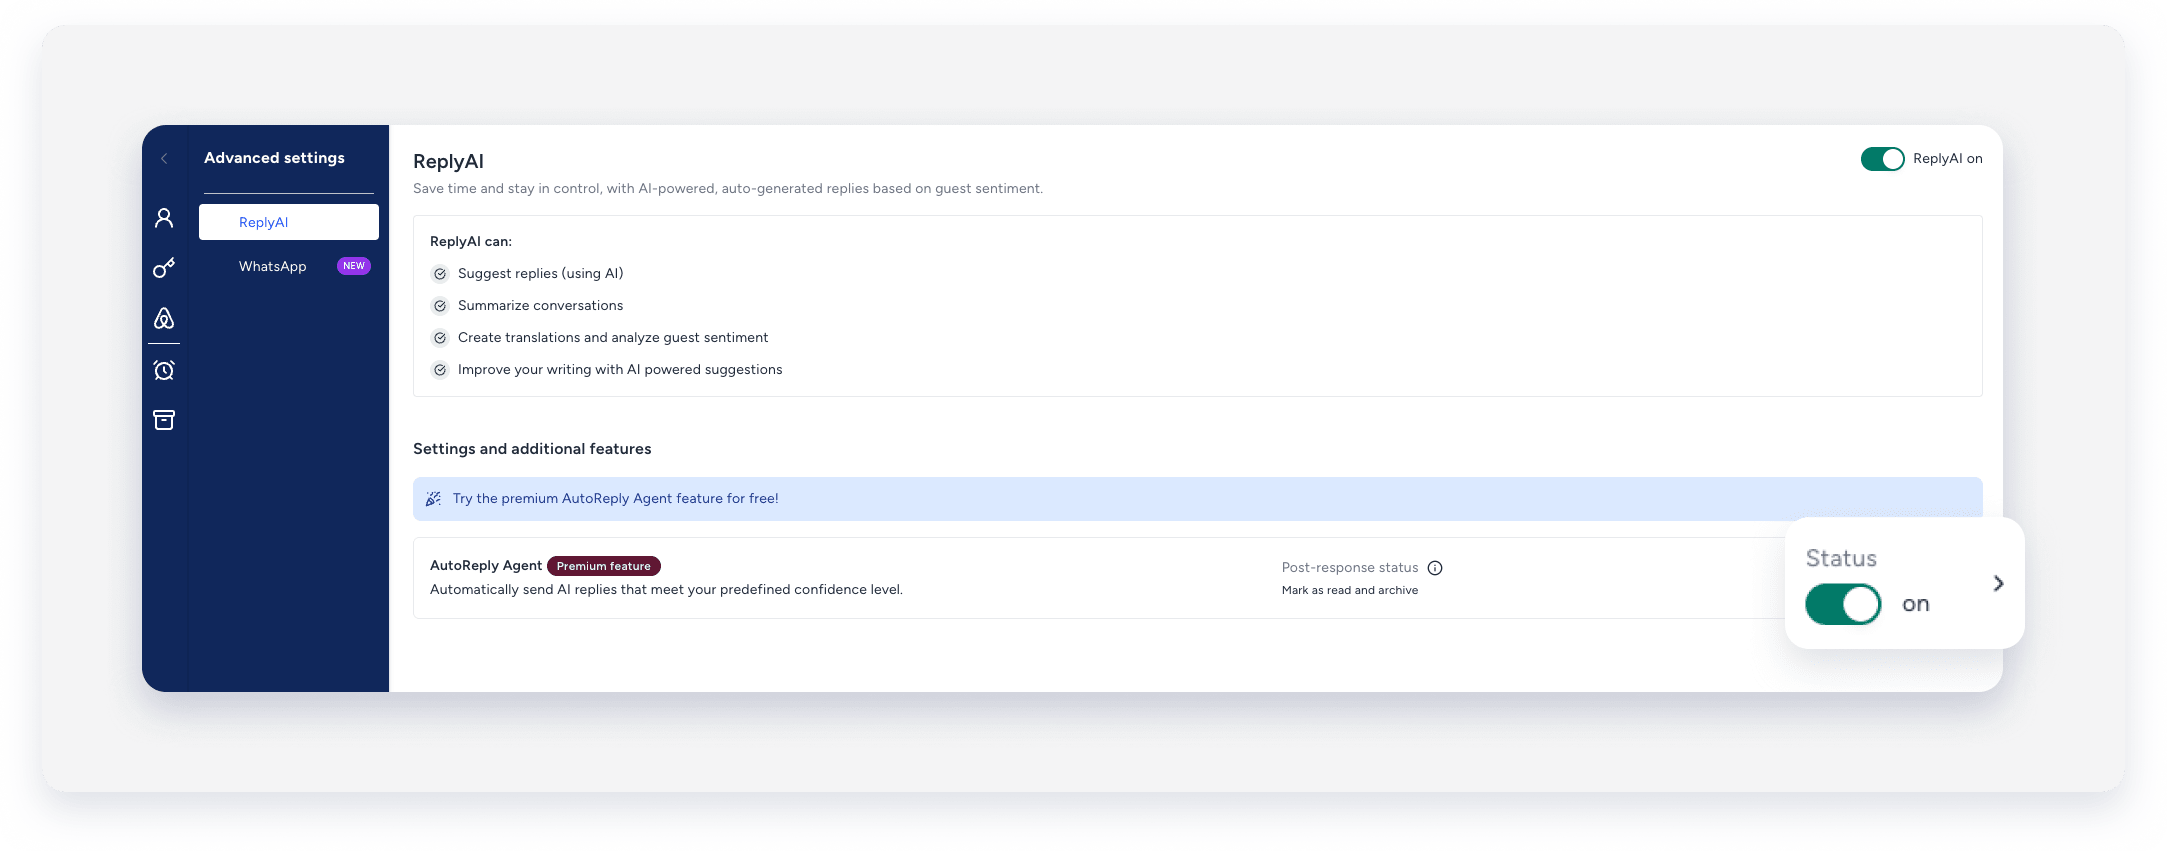
You can choose whether the agent automatically marks messages as read after the AI responds, and archives the conversation if the AI recognizes the guest message as the end of the conversation.
Set up an AutoReply agent
Follow the steps below to activate and configure the AutoReply agent.
Step by step
- Sign in to your Guesty account.
- In the side navigation menu, click
 Inbox.
 - In the left-side menu, click
 to open the "Advanced settings" sidebar and select ReplyAI.
 - Under "Settings and additional features", click Setup your agent.
-
Configure the agent settings:
General settings- Property assignment: Click Assign properties. In the side panel, select whether to assign the agent to all properties, specific properties, or by rule. In the bottom-right corner, click Done.
-
Response times: Click
 . In the side panel, select Always on or Specific time to set an active time frame for the agent. Under "Time delay", select the response delay to simulate a human response. In the bottom-right corner, click Save.
 -
Inbox management and notifications: Click
. In the side panel, choose whether to receive notifications for all messages or only when the agent doesn't respond. Choose whether to mark messages as read after the agent responds, and whether to archive ended conversations. In the bottom-right corner, click Save.Important:
Notifications are sent as push notifications in the mobile app. To enable them, check the New guest message box under the "Reservation" section in the notification settings.
Agent guardrails-
Confidence level: Click . In the side panel, choose the required confidence level for the agent to respond automatically. If the confidence level is below the threshold, you receive a ReplyAI suggestion to review manually. In the bottom-right corner, click Save.
-
Message categories: Click . In the side panel, select the message categories the agent can reply to, such as property essentials or amenities. The agent only replies to the selected categories. In the bottom-right corner, click Save.
-
Message length and sentiment: Click . In the side panel, choose whether the agent only replies to short messages (fewer than 40 words) and messages with positive sentiment. In the bottom-right corner, click Save.

- In the top-right corner, click Activate.
To deactivate the agent, toggle it off. To edit the post-response actions, click the arrow next to the agent's status toggle.