Adding expenses to a calendar-based task, a series of tasks, or an auto task, provides context by linking costs directly to the task information. You can split the cost between the PMC and owner, and the task ID appears on the owner statement for easy reference.
Note:
Use this feature as an alternative to recurring expense in the business model or manually adding expenses as transactions for tasks.
Understand expense posting
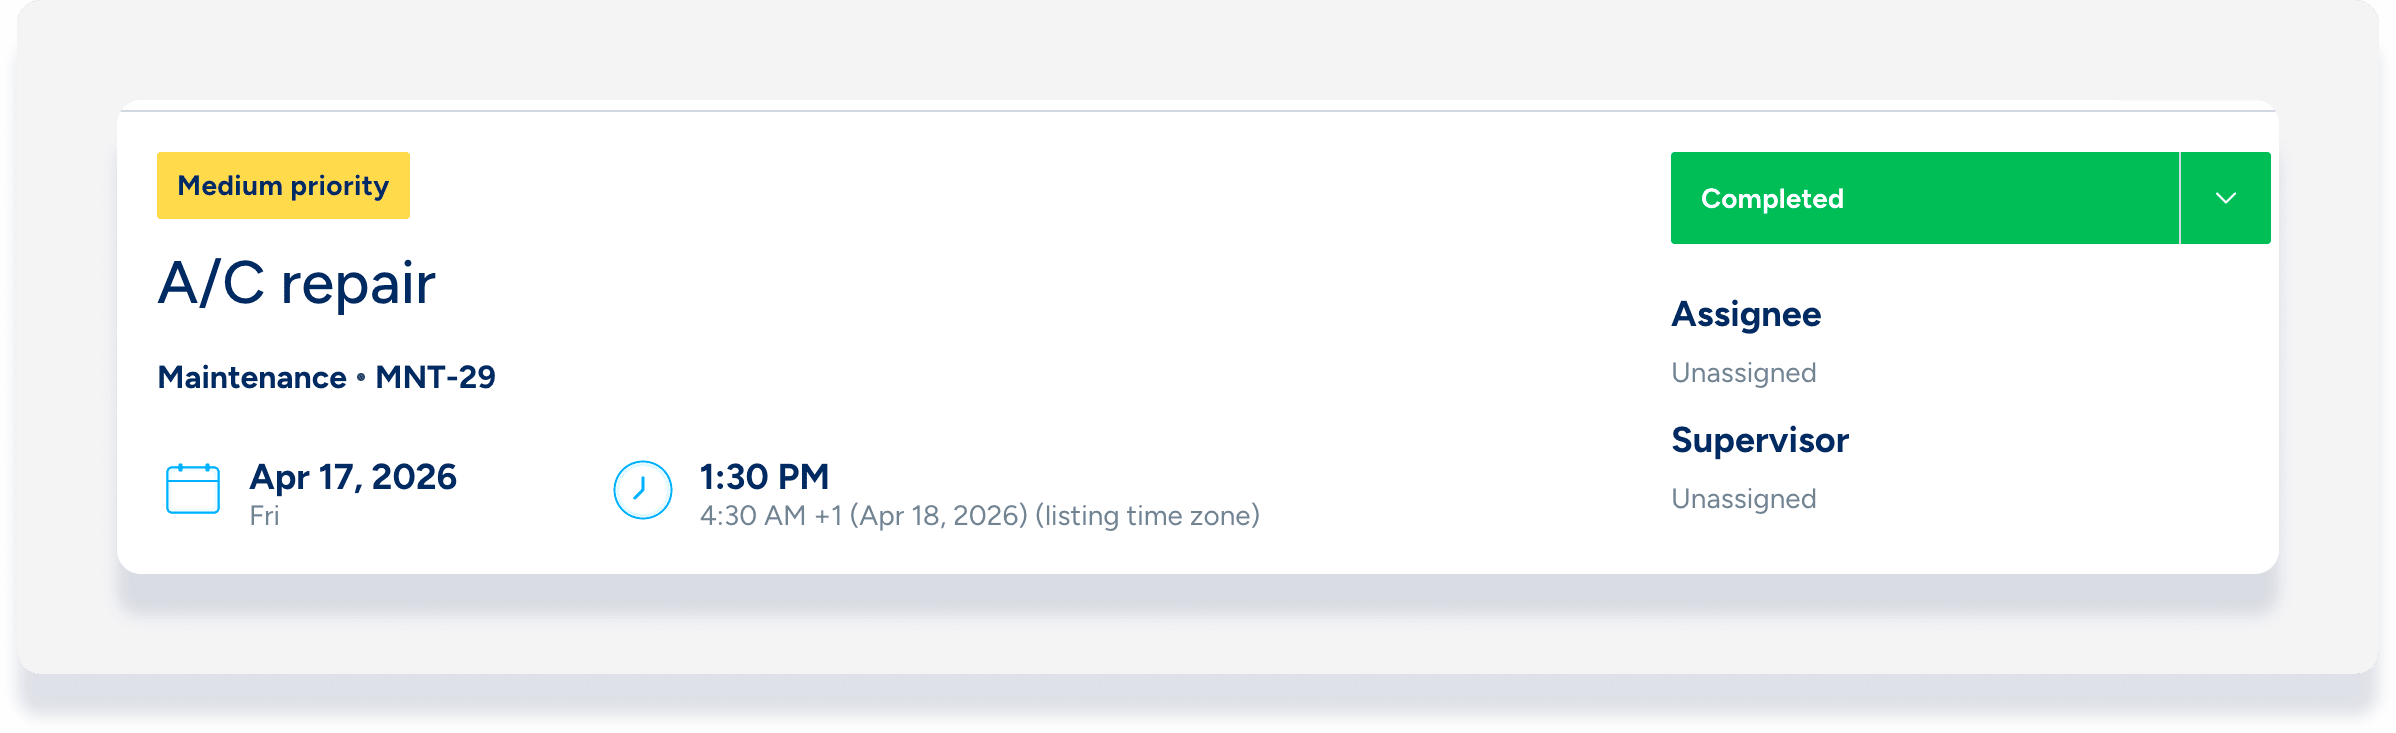
By default, an expense adds to the Posting Journal on the date the task status changes to "Completed".
Important:
To ensure expenses post correctly to the Posting Journal, add the expense details before marking the task as "Completed". If you add an expense to a task that is already completed, the accounting service rejects the charge and the entry doesn't appear in the Posting Journal.
Status changes
If a task status changes from "Completed" back to "Pending", the Posting Journal date doesn't change. Even if the task is completed again later, the expense remains posted on the original completion date.
Recognition date
For calendar-based tasks, you manually enter a recognition date. The expense then posts on that specific date instead of the task completion date.
Add expense to a new task or auto task template
For a new calendar-based task
Step by step:
- Sign in to your Guesty account.
- In the top-right corner, click
 and select task.
 - Enter the task name, type, and other relevant details.
- In the right side panel, scroll to "Applies to" and select the property or reservation.
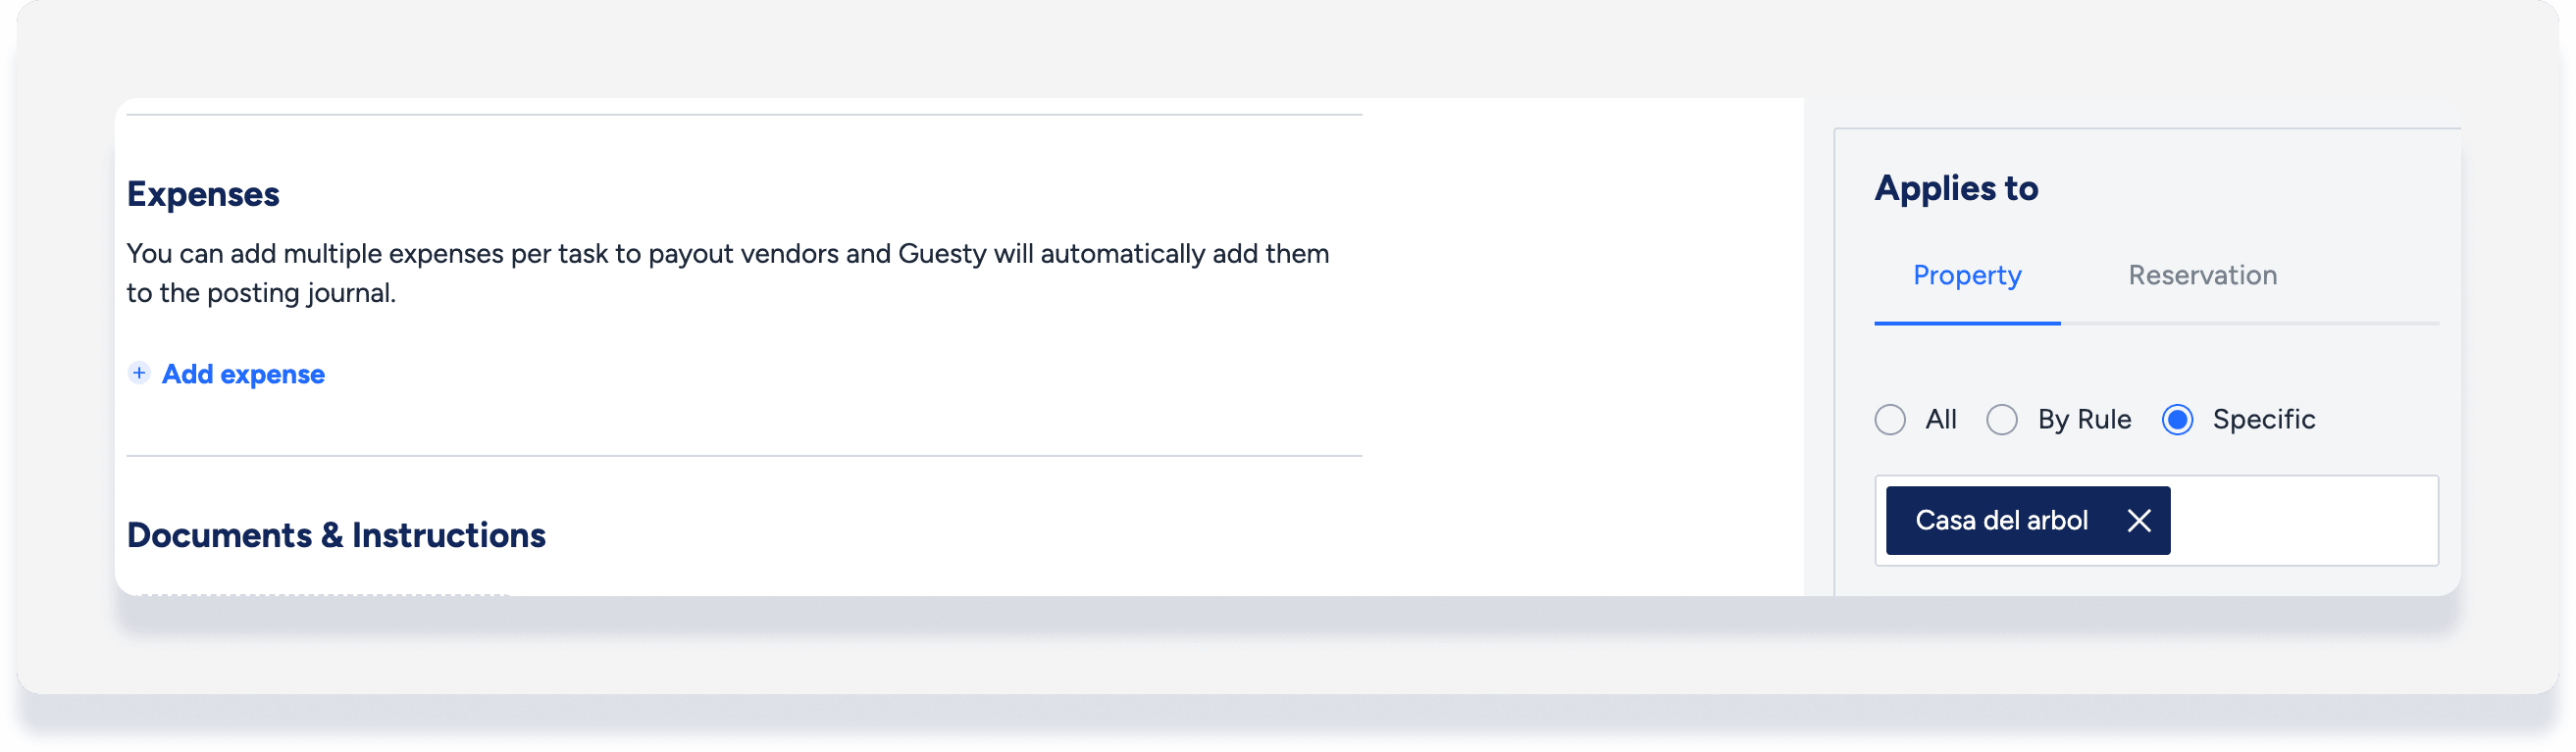
- In the main task section, under "Expenses" click Add expense.
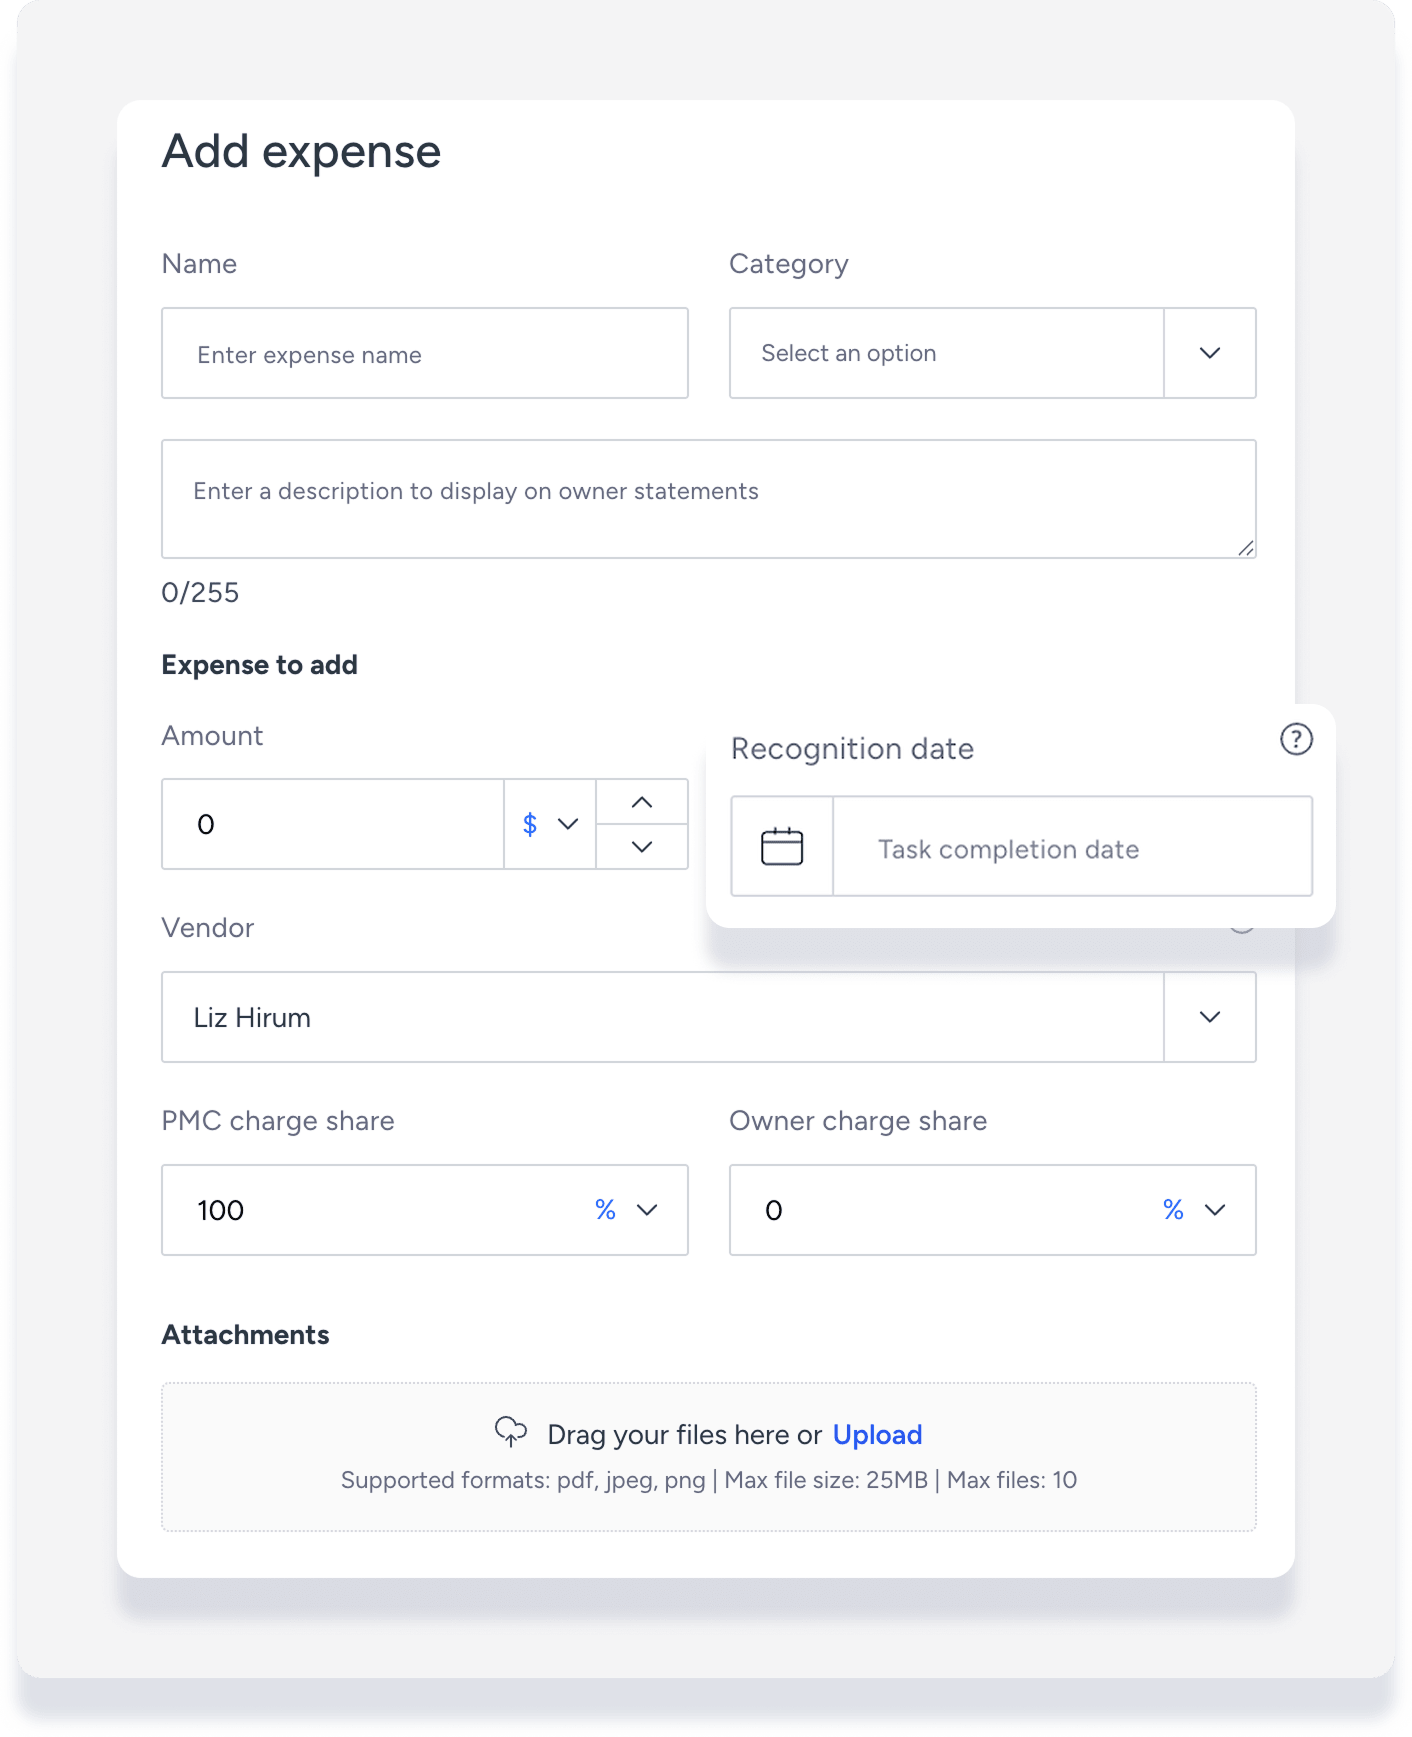
- Enter the relevant information and click Add expense.
- Recognition date: Enter the date for the expense to be posted. If left blank, it posts on the task completion date.
For a new auto task template
- Sign in to your Guesty account.
- In the side navigation menu, click
 Properties.
 - Select the relevant property.
- Click the listing. For multi-units, access the main settings or a sub-unit.
- In the left-side menu, select Task templates.
- Click Create task template and fill in the information.
- Under "Expenses", click add item.
- Enter the details and click Add expense.
- Click Save.
Add expense to an existing task or auto task template
Make sure the task selected is not in "completed" status. If the task is already completed, the expense won't appear in the posting journal.
Step by step:
- Sign in to your Guesty account.
- In the side navigation menu, click
 Operations to open the dropdown menu.
 - Under Field ops, select Tasks.
- Select the relevant task.
- In the right side panel, click Edit.
- For calendar-based tasks, select Edit instance or Edit series.
- Scroll to "Expenses" and click Add expense.
- Enter the details and click Add expense.
- At the top right click Save.
Tip:
If Add expense is unavailable, ensure you have selected a property or reservation for the task first.
