This article explains how to create multiple expenses at once in Guesty by uploading a CSV or XLSX file. This self-service feature allows you to add expenses in bulk, validate the data, and make corrections directly in Guesty before finalizing the import.
You can start a new import, resume a saved draft, or manage past uploads from the upload history page. Follow the instructions below to download and complete the template.
Note:
This process is available for users with the relevant accounting permissions.
Start a new import
Step by step:
- Sign in to your Guesty account.
- In the side navigation menu, click
 Financials to open the dropdown menu.
 - Under Expenses, select Expenses report.
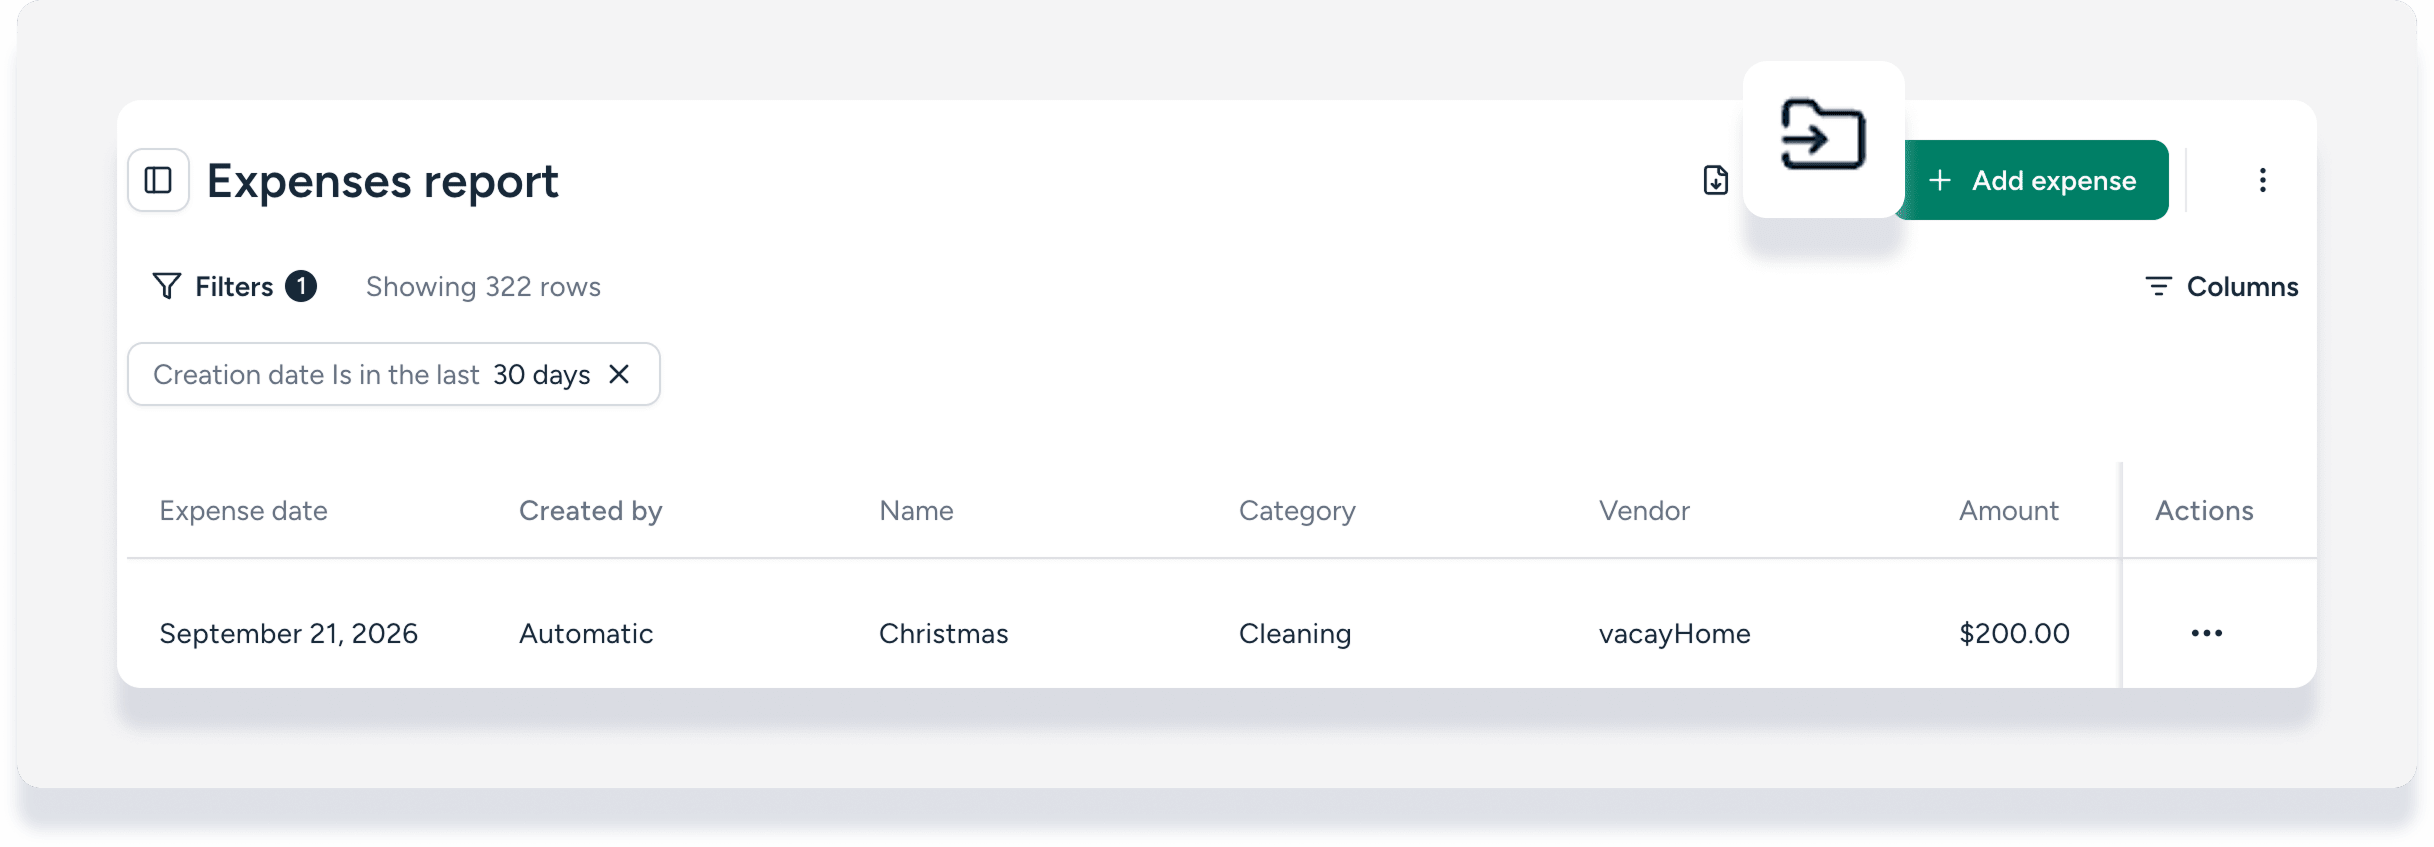
- In the top-right corner, click
 .
.
- This opens the "Upload history for expenses" page.
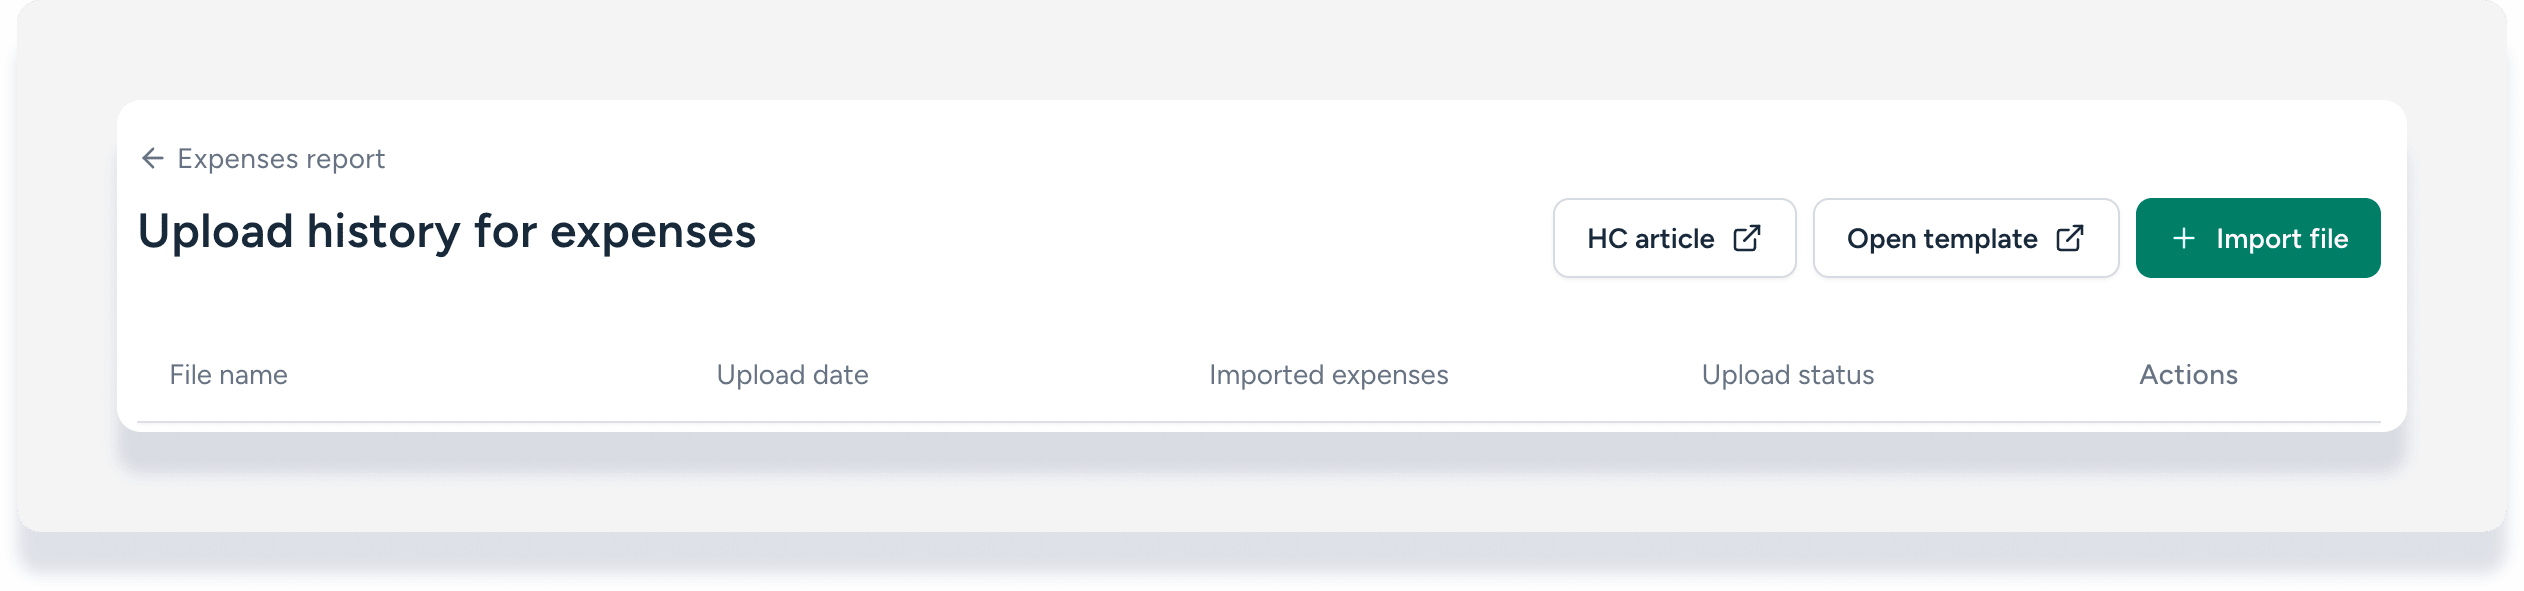
- This opens the "Upload history for expenses" page.
- In the top-right corner, click
 Open template. (Alternatively, download the template here.)
 - Fill in the template fields, following instructions in the "CSV template fields" section below, or in the first tab of the template.
- Once you've completed the template on the second tab, delete the first tab with instructions.
-
Click Import file. Upload it by dragging and dropping it into the window or by clicking to browse your computer.
Note:
Files must be in CSV or XLSX format and no larger than 5MB. You can only upload one file at a time. The file name must be unique and cannot match another active import in your history.
Validate and correct your data
After you upload your file, Guesty validates the data to check for errors, such as missing information or incorrect formatting. You must fix all errors before you can submit the expenses.
Step by step:
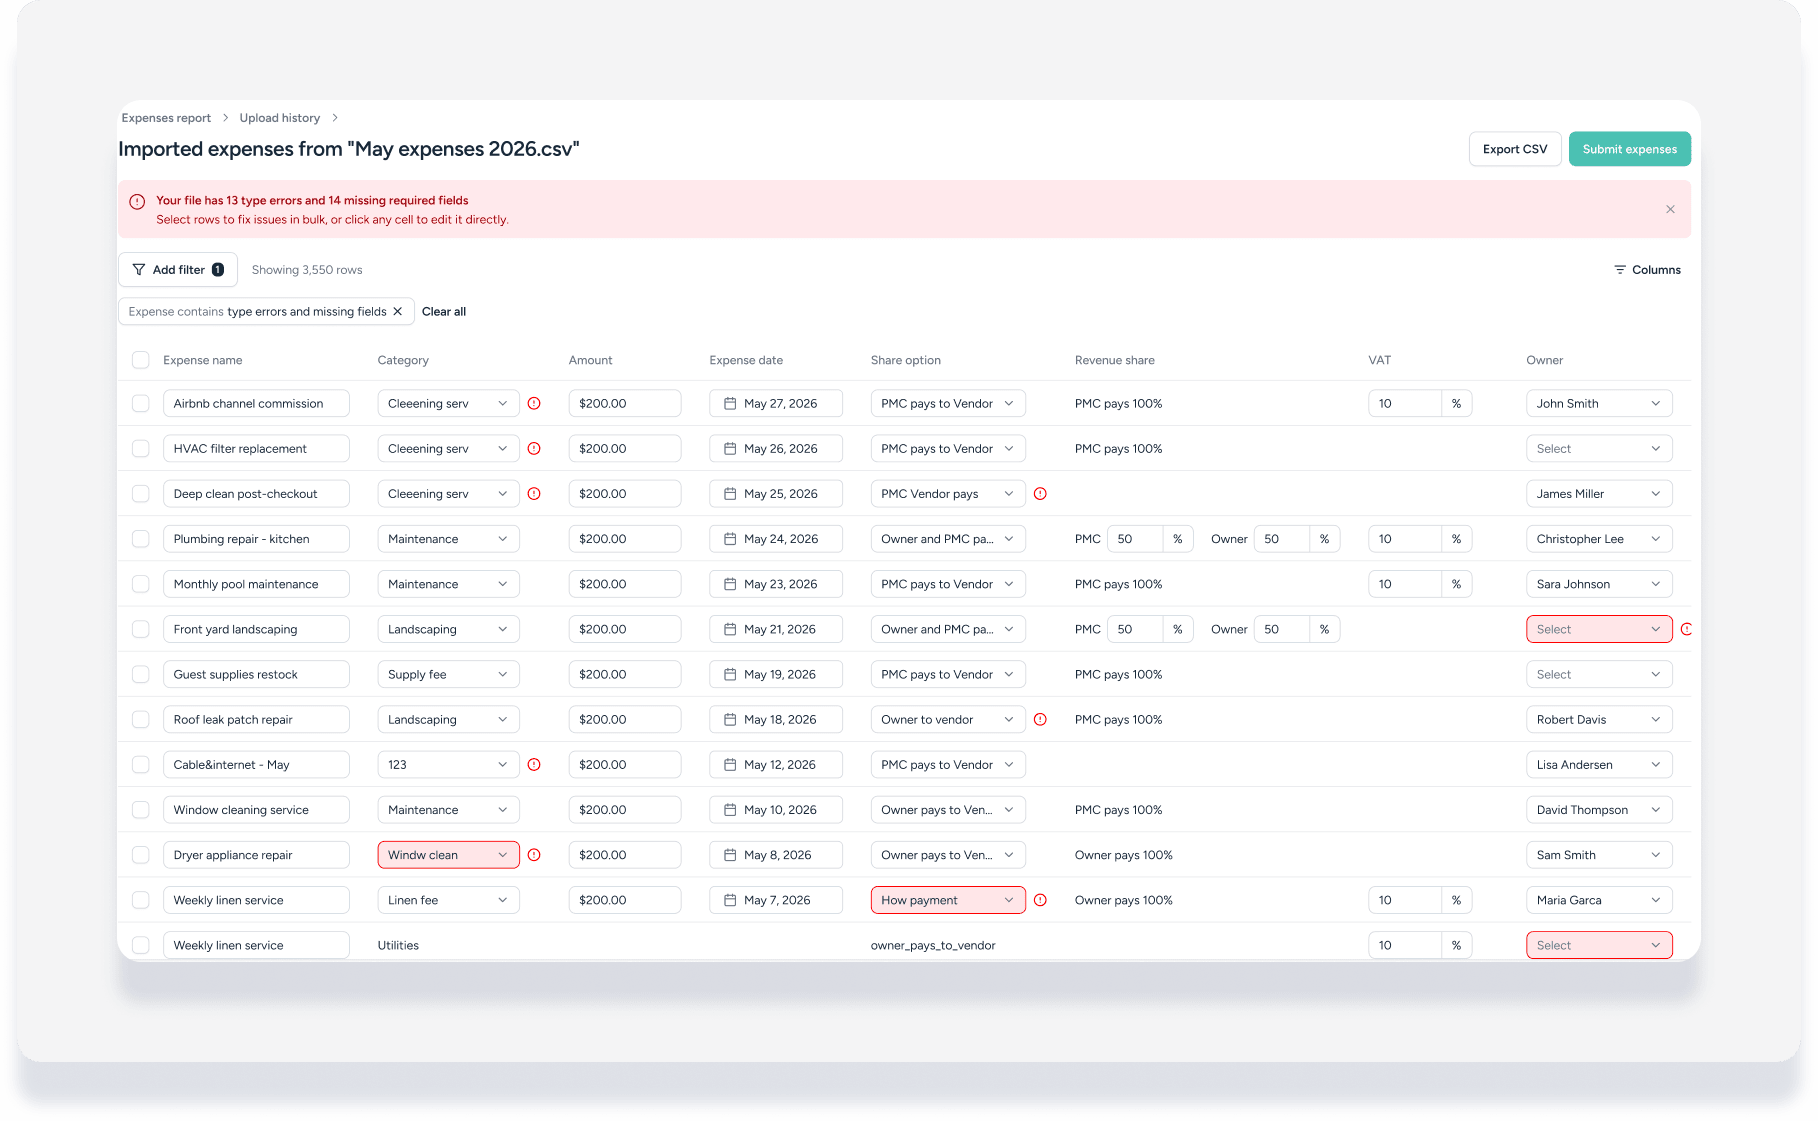
- Review the validation results on the screen:
- A banner at the top of the page summarizes the number of errors found.
- Rows with issues have the problematic cells highlighted in red.
- A filter for "Expense contains type errors and missing fields" is automatically applied to help you focus on the rows that need attention.
- To fix errors, edit cells individually or correct multiple rows at once.
-
To fix errors in bulk, select the checkboxes next to the relevant rows, then choose one of the following actions:
- Fix type errors: Correct formatting issues for multiple rows at once.
- Fill missing fields: Add required information to multiple rows simultaneously.
- Delete: Remove the selected rows from the file.
Note:
The "Vendor revenue share" and "PMC payment share" fields cannot be edited in bulk. These must be corrected row-by-row.
- If your file has more than 200 errors, we recommend correcting the issues in your original spreadsheet and re-uploading it. Use the Replace expense file button to upload the corrected version.
- At any time, click Save draft to save your progress and return later. The import will appear in your upload history with a "Draft" status.
- You can also click Export CSV to download the latest version of your file, including any corrections you have made.
Submit your expenses
Step by step:
- At the top-right corner, click Submit expenses. (This button is available only once all errors are resolved.)
- If any expenses in your file have a date that falls within a closed accounting period, the following will happen:
- If you have permission to post to locked periods, a confirmation pop-up will appear asking you to confirm the action. Learn more about locking accounting periods and transactions.
- If you do not have permission, you will see an error and must change the expense date before you can submit.
- After you submit, the file's status in your upload history will change to "Processing" while the expenses are created. Each expense will be created with an "Origin type" of "Bulk Import".
Manage your upload history
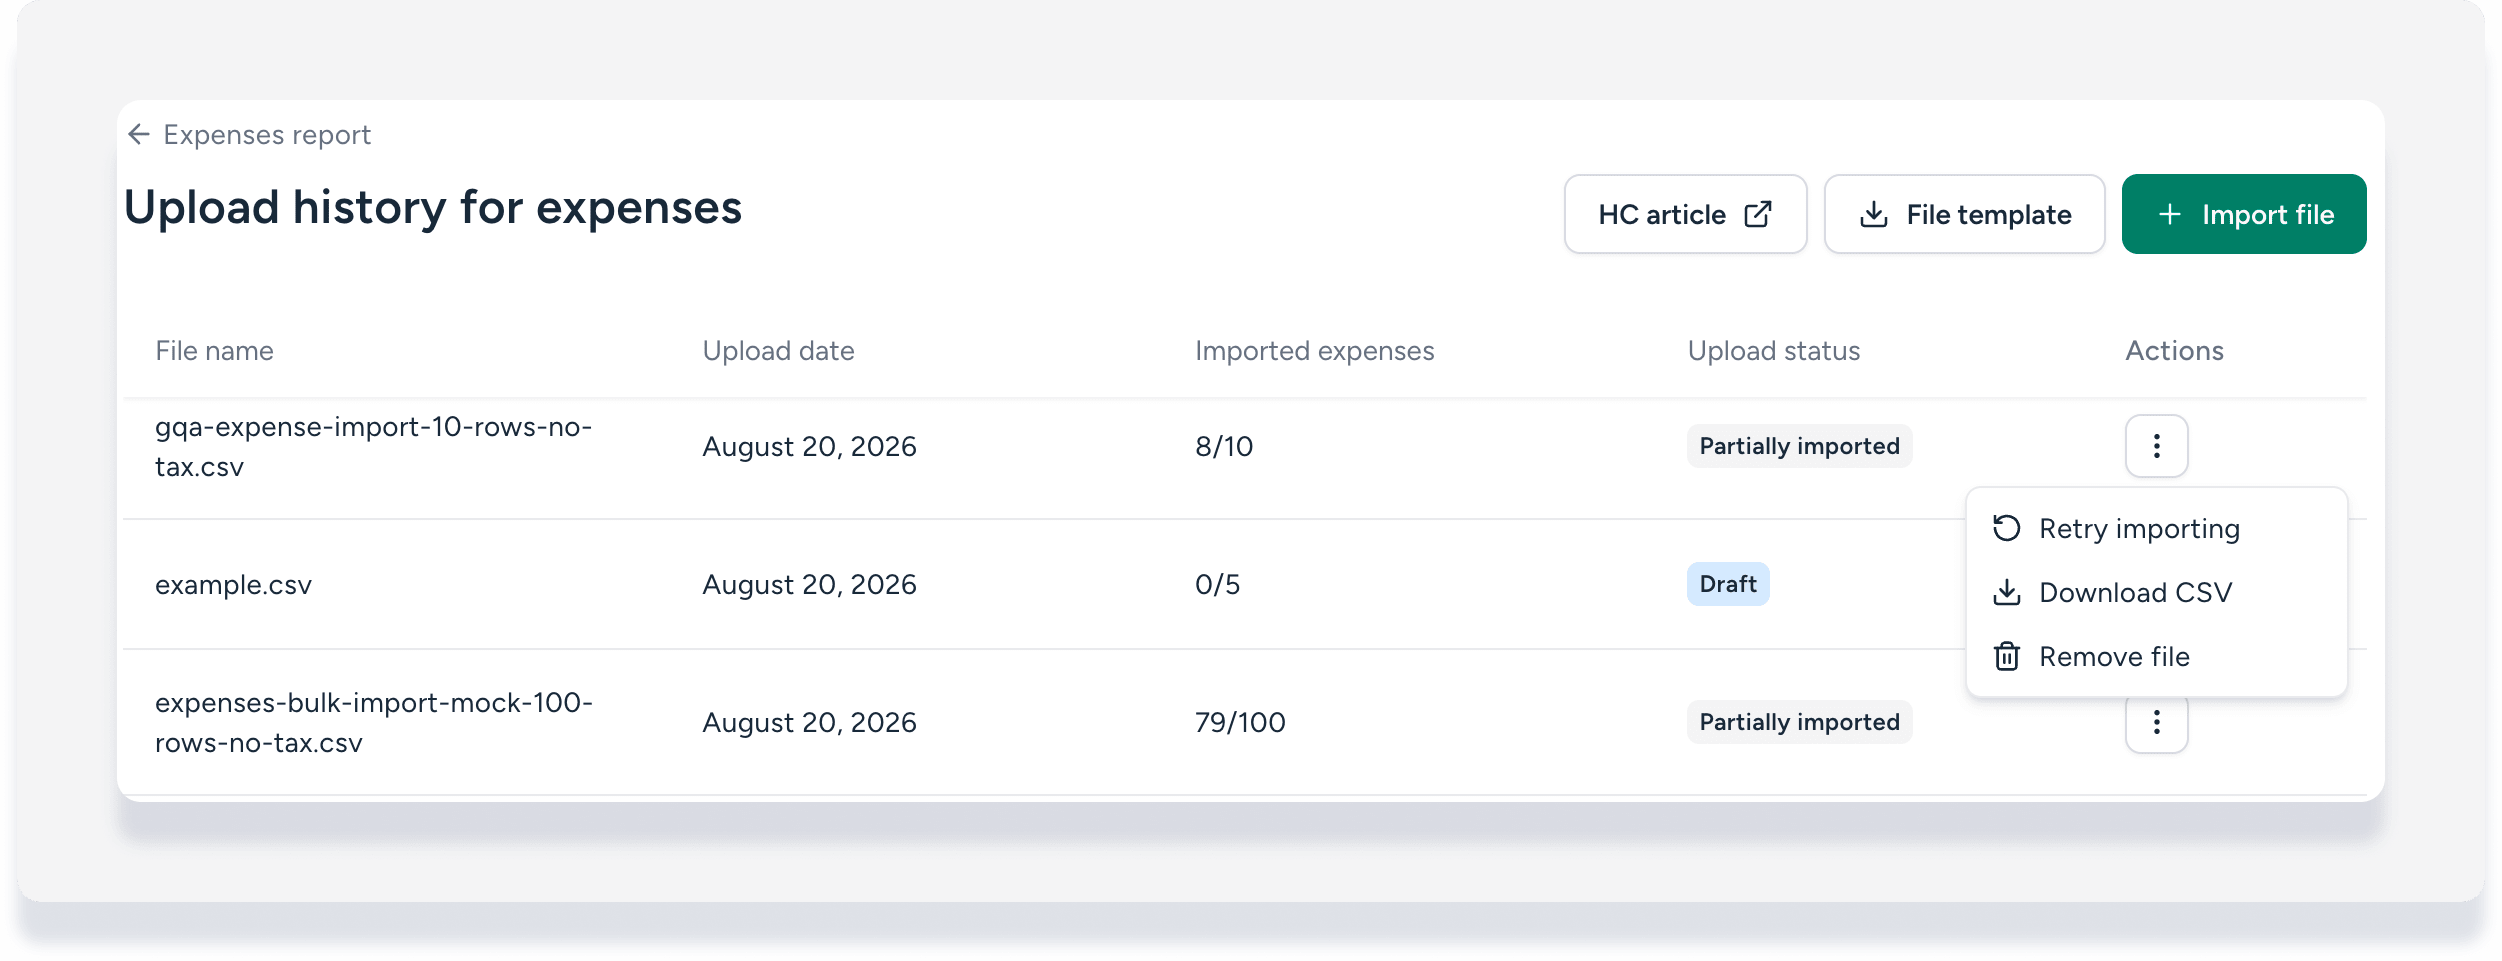
The "Upload history for expenses" page shows all your past and current imports. Each file has a status that determines which actions are available.
Click  on the file line to take the actions explained below.
-
Draft: The file has been uploaded and may contain errors, but it has not been submitted yet.
- Actions: Edit expenses, export CSV, remove file.
-
Processing: The file has been submitted and expenses are being created.
- Actions: None.
-
Imported: All expenses in the file were created successfully.
- Actions: View expenses, export CSV.
-
Partially imported: The file was submitted, but some expenses failed to be created due to a system error. The history will show a summary of how many rows succeeded out of the total.
- Actions: Retry importing, export CSV. The "Retry importing" action will only resubmit the rows that previously failed.
-
Failed: The entire file failed during processing or submission.
- Actions: Edit expenses, export CSV, remove file.
View your imported expenses
After a successful import, you can view the newly created expenses in the main Expenses Report.
- In the side navigation menu, click Financials to open the dropdown menu.
- Under Expenses, select Expenses report.
- Use the filters on the Expenses Report to select the "Origin type" filter.
- Choose "Bulk Import" to see all expenses created through a file upload.
CSV template fields
Use the downloadable template to ensure your data is structured correctly. The template includes the following mandatory and optional fields.
Mandatory fields
| Column | Format / Values | Notes |
|---|---|---|
| Expense name | Free text | Short, descriptive name (max 255 characters). |
| Expense category | Category name | Accounting category matching your Guesty settings exactly. |
| Expense amount | Number up to 2 decimal places (e.g. 150.25) | Total amount in account currency. Do not include symbols or commas. |
| Expense date | YYYY-MM-DD | Expense recognition date. Cannot fall within a locked accounting period unless permitted. |
| Share option |
pmc_pays_to_vendor owner_pays_to_vendor owner_pays_to_pmc owner_pays_to_pmc_and_vendor pmc_and_owner_pay_to_vendor
|
This value controls how the expense is split between parties. |
Conditional fields
Once you select the share option, other columns in the template are blocked automatically. For example, if "PMC pays vendor" is selected, the owner cell for that row cannot be filled in. If fields are blocked that should be filled out, check the share option and edit as needed.
| Column | Format / Values | Notes |
|---|---|---|
| Owner name | Free text | Full name of owner as shown in Guesty. Required if Listing Nickname is blank. Fill both to attach to a specific listing. |
| Vendor name | Free text | Vendor name matching your Guesty Vendors list. Required when shareOption involves a vendor payment. |
| Listing nickname | Free text | Listing nickname from Properties Report. If Owner Name is blank, cost splits across all listing owners automatically. |
| Vendor revenue share | Number in percentage or fixed amount, no decimals (e.g. 70 or 70%) |
Vendor’s share for Remaining balance allocated to PMC. |
| PMC payment share | Number in percentage or fixed amount, no decimals (e.g. 70 or 70%) |
Company’s share for Remaining balance allocated to Owner. |
Optional fields
| Column | Format / Values | Notes |
|---|---|---|
| Description | Free text | Note shown to owners on statements (max 255 characters). Defaults to Expense Name if left blank. |
| External reference ID | Free text | External ID for your own tracking (does not affect processing). |
| Tax category name | Free text | Tax category name matching your account setup (e.g., GST, VAT). Leave blank if non-taxable. |
| Tax rate | Number in flat amount (e.g., 10 for 10%) | Tax rate percentage. Requires Tax Name if used. |
| Tax name | Free text | Tax label shown on the expense statement (e.g., GST 10%). Required if Tax Rate is specified. |
| Tax description | Free text | Internal tax reference note (e.g., Goods and Services Tax). |
Owner and listing resolution rules
When you import expenses, Guesty assigns them to owners and properties based on the information you provide in the "Owner name" and "Listing nickname" columns.
- If you provide an owner name only: The expense is charged to that owner without being associated with a specific property.
- If you provide a listing nickname only: The expense is charged to the property and automatically split among all owners based on their configured ownership percentage. Learn more about assigning fractional ownership to properties.
- If you provide both an owner name and a listing nickname: The expense is charged as a single item to that specific owner for that specific property. The system will validate that the owner is assigned to the property's ownership.