Create new back-office users directly within your account to grant team members access to your GuestyPay Dashboard. To ensure security and control, assign specific permission levels based on each user’s role:
- Total Access: Users can manage the dashboard, update settings, and download reports.
- View-Only: Users can view reports and data but cannot take any actions or make changes within the dashboard.
Follow the steps below to set up a new user and manage their permissions.
Tip:
Keep a short audit note when creating new users (who requested it and why) for traceability.
Add GuestyPay user
Step by step:
Sign in to your GuestyPay Dashboard.
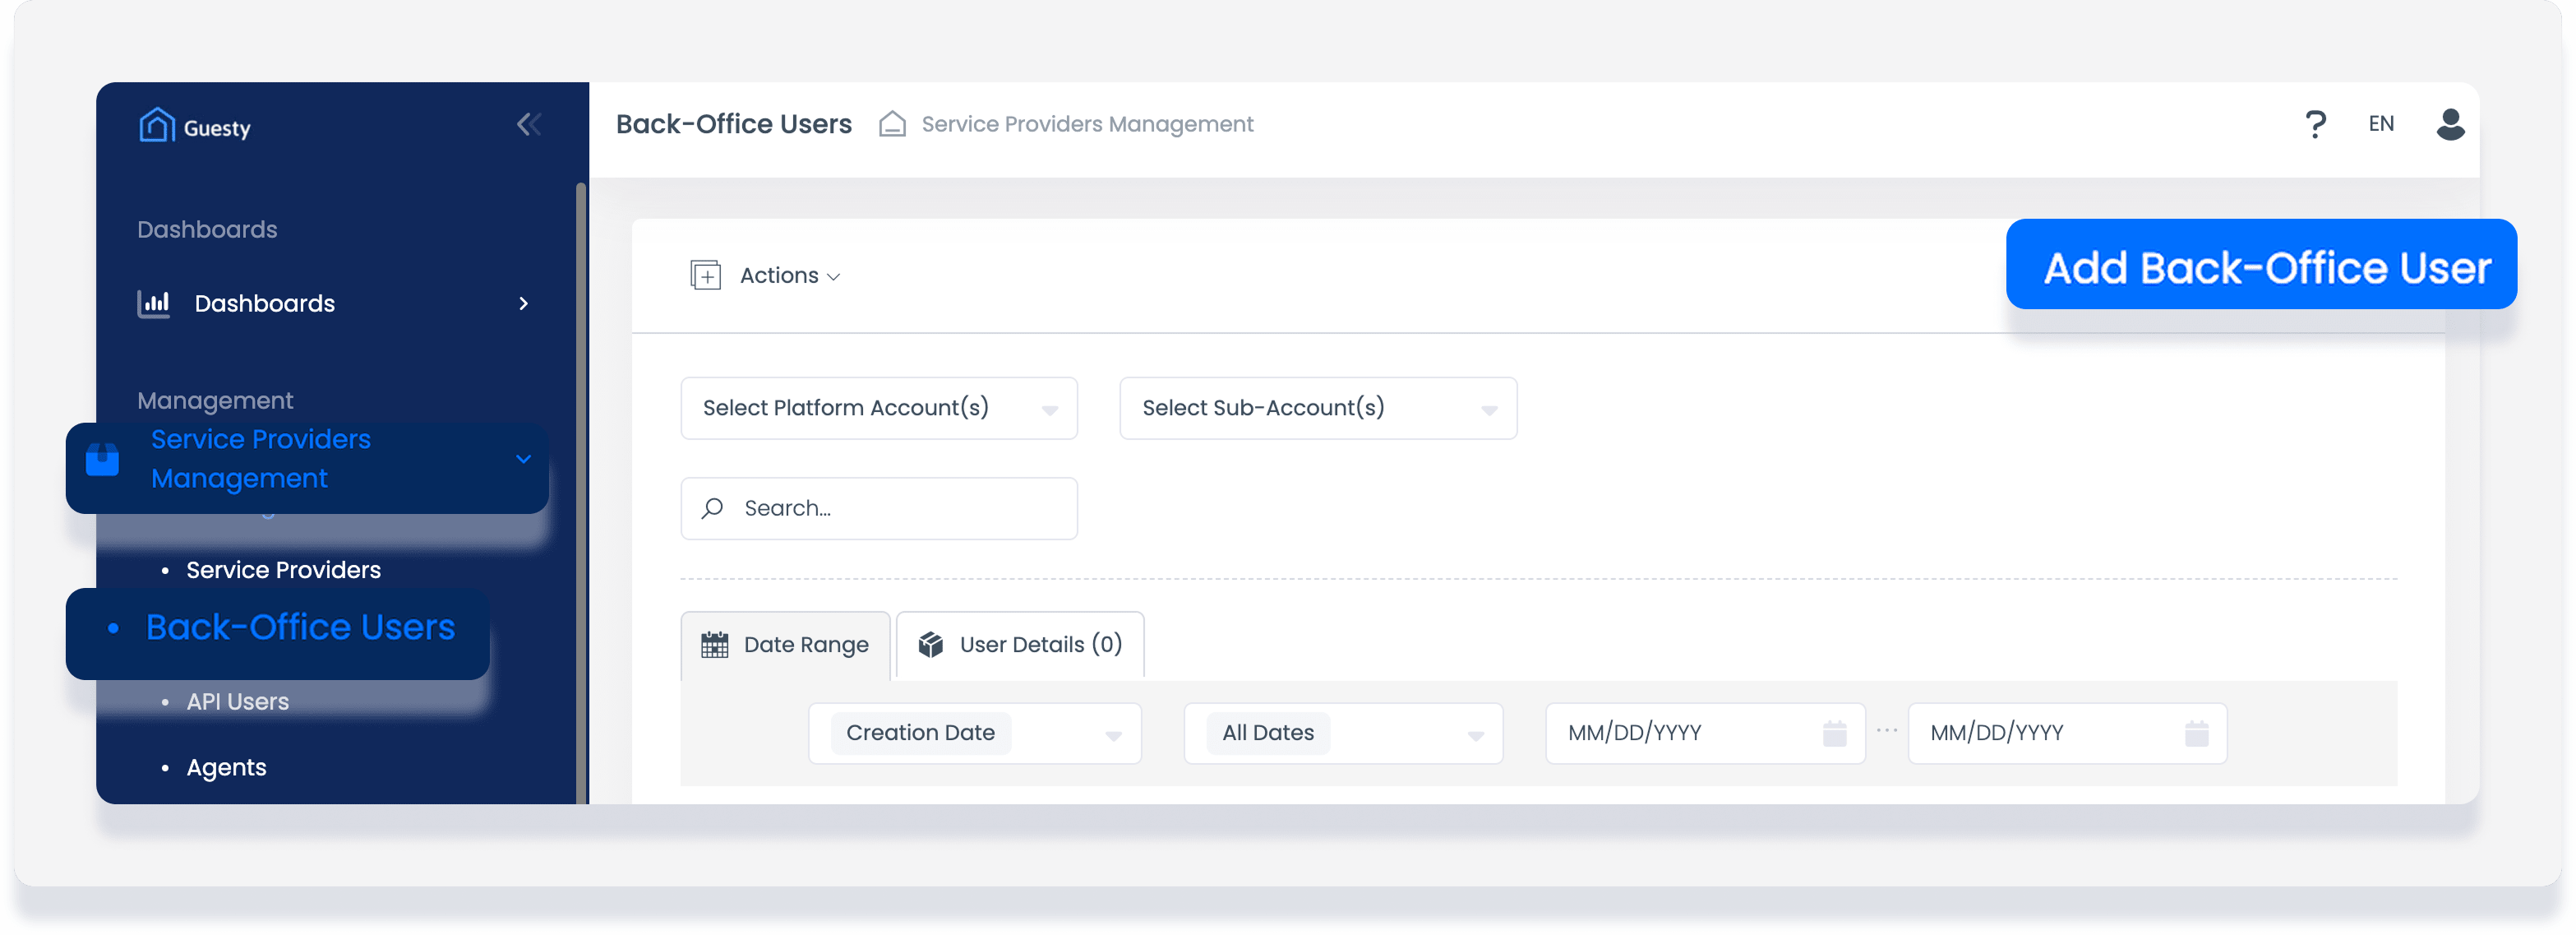
In the left-hand menu, click Service providers management.
Click Back-office users.
-
At the top right, click Add back-office user.
-
Fill in the following fields:
Service provider: Select Guesty.
User name: Enter a unique username (for example, user.n).
First name: Enter the user’s first name.
Last name: Enter the user’s last name.
-
Email: Enter the user’s email address.
Use a company email (not a personal address) whenever possible.
-
Phone: Enter the user’s phone number.
If you don’t have one, you may enter any placeholder number, such as 1111111, but remember to update it later.
User role: Select Guesty Pay merchant or GuestyPay View.
Platform accounts: Fill it with your Guesty Account ID.
Sub-Accounts: Select your GuestyPay Sub-Account ID(s). You may select more than one, if applicable. [Image: A screenshot of the "Add Back-Office User" form with all fields completed.]
Click Save.
Troubleshooting user sign-in
If the user cannot Sign in after creation or after an email change, use the Forgot password link on the Sign in page to trigger a reset email.