Grouping items into a single transaction, such as a deposit, helps match your bank statements. This streamlines your bank reconciliation process and allows auditors to see the relationship between payments in Guesty and bank account transactions. Guesty generates a report of individual transactions for auditing purposes to show the origin of each item.
Tip:
A group transaction is distinguished from a single transaction as shown here: 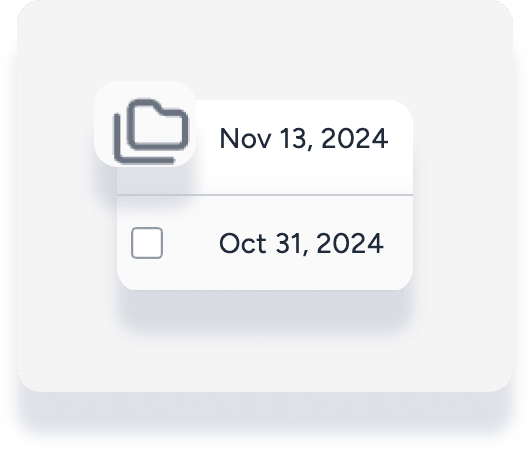
Create a group transaction
- Sign in to your Guesty account.
- In the side navigation menu, click
 Accounting to open the dropdown menu.
 - Under Cash management, select Check register.
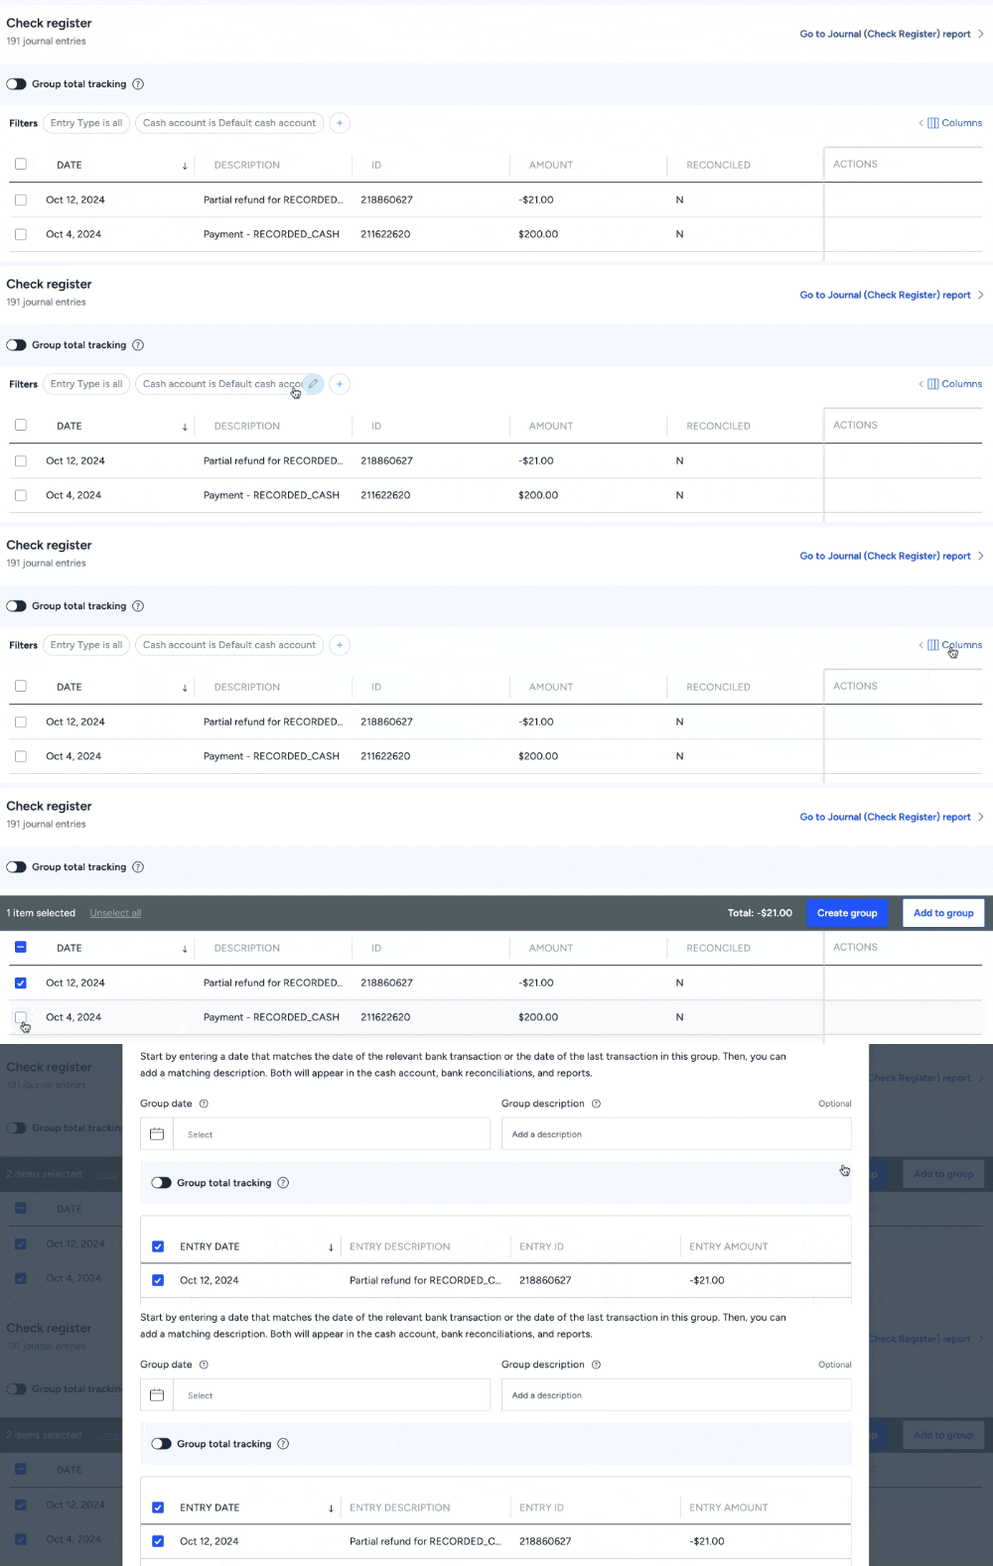
- Use the filters and add columns to help find transactions.
- Click the checkbox to select transactions to group.
- In the right side panel, click Create group.
- In the pop-up, enter the group date and a description.
- Toggle on Group total tracking and enter an amount to set a deposit goal. The difference between the group total and the bank transaction should be $0.
- Click Create group.
Edit transactions included in a group
Important:
Reconciled group transactions can't be edited or deleted.
Follow the steps below to remove transactions from a group.
- Sign in to your Guesty account.
- In the side navigation menu, click Accounting to open the dropdown menu.
- Under Cash management, select Check register.
- Use filters and add columns to locate the group transaction.
- To the right of the relevant group transaction, under the "Actions" column, click
 and select Edit.
 - In the pop-up, uncheck the transactions to remove.
- Click Apply changes.
Follow the steps below to add transactions to an existing group.
- Sign in to your Guesty account.
- In the side navigation menu, click Accounting to open the dropdown menu.
- Under Cash management, select Check register.
Use filters and add columns to locate transactions.
Check the box next to each transaction to add to an existing group.
In the right side panel, click Add to group.
In the pop-up, select the group where you want to add the transactions.
Click Add to group transactions.
Delete a group transaction
Delete a group transaction to ungroup all assigned transactions. After the group is deleted, the transactions appear as individual entries in the cash account and bank reconciliations.
Important:
Deleting a group transaction can't be undone.
- Sign in to your Guesty account.
- In the side navigation menu, click Accounting to open the dropdown menu.
- Under Cash management, select Check register.
- Use filters and add columns to locate the group transaction.
- To the right of the relevant group transaction, under the "Actions" column, click and select Delete.
In the pop-up, click Delete group.
View grouped transaction details
The check register displays only the total for grouped transactions. To see individual transactions within a group, export the "Deposit worksheet" preconfigured report.
Follow the steps below to view grouped transaction details.
- Sign in to your Guesty account.
- In the side navigation menu, click Accounting to open the dropdown menu.
- Under General ledger, select Preconfigured reports.
- In the left-side menu, click Deposit worksheet.
- Select the cash report month, then click Export as PDF.
Find transactions in a group
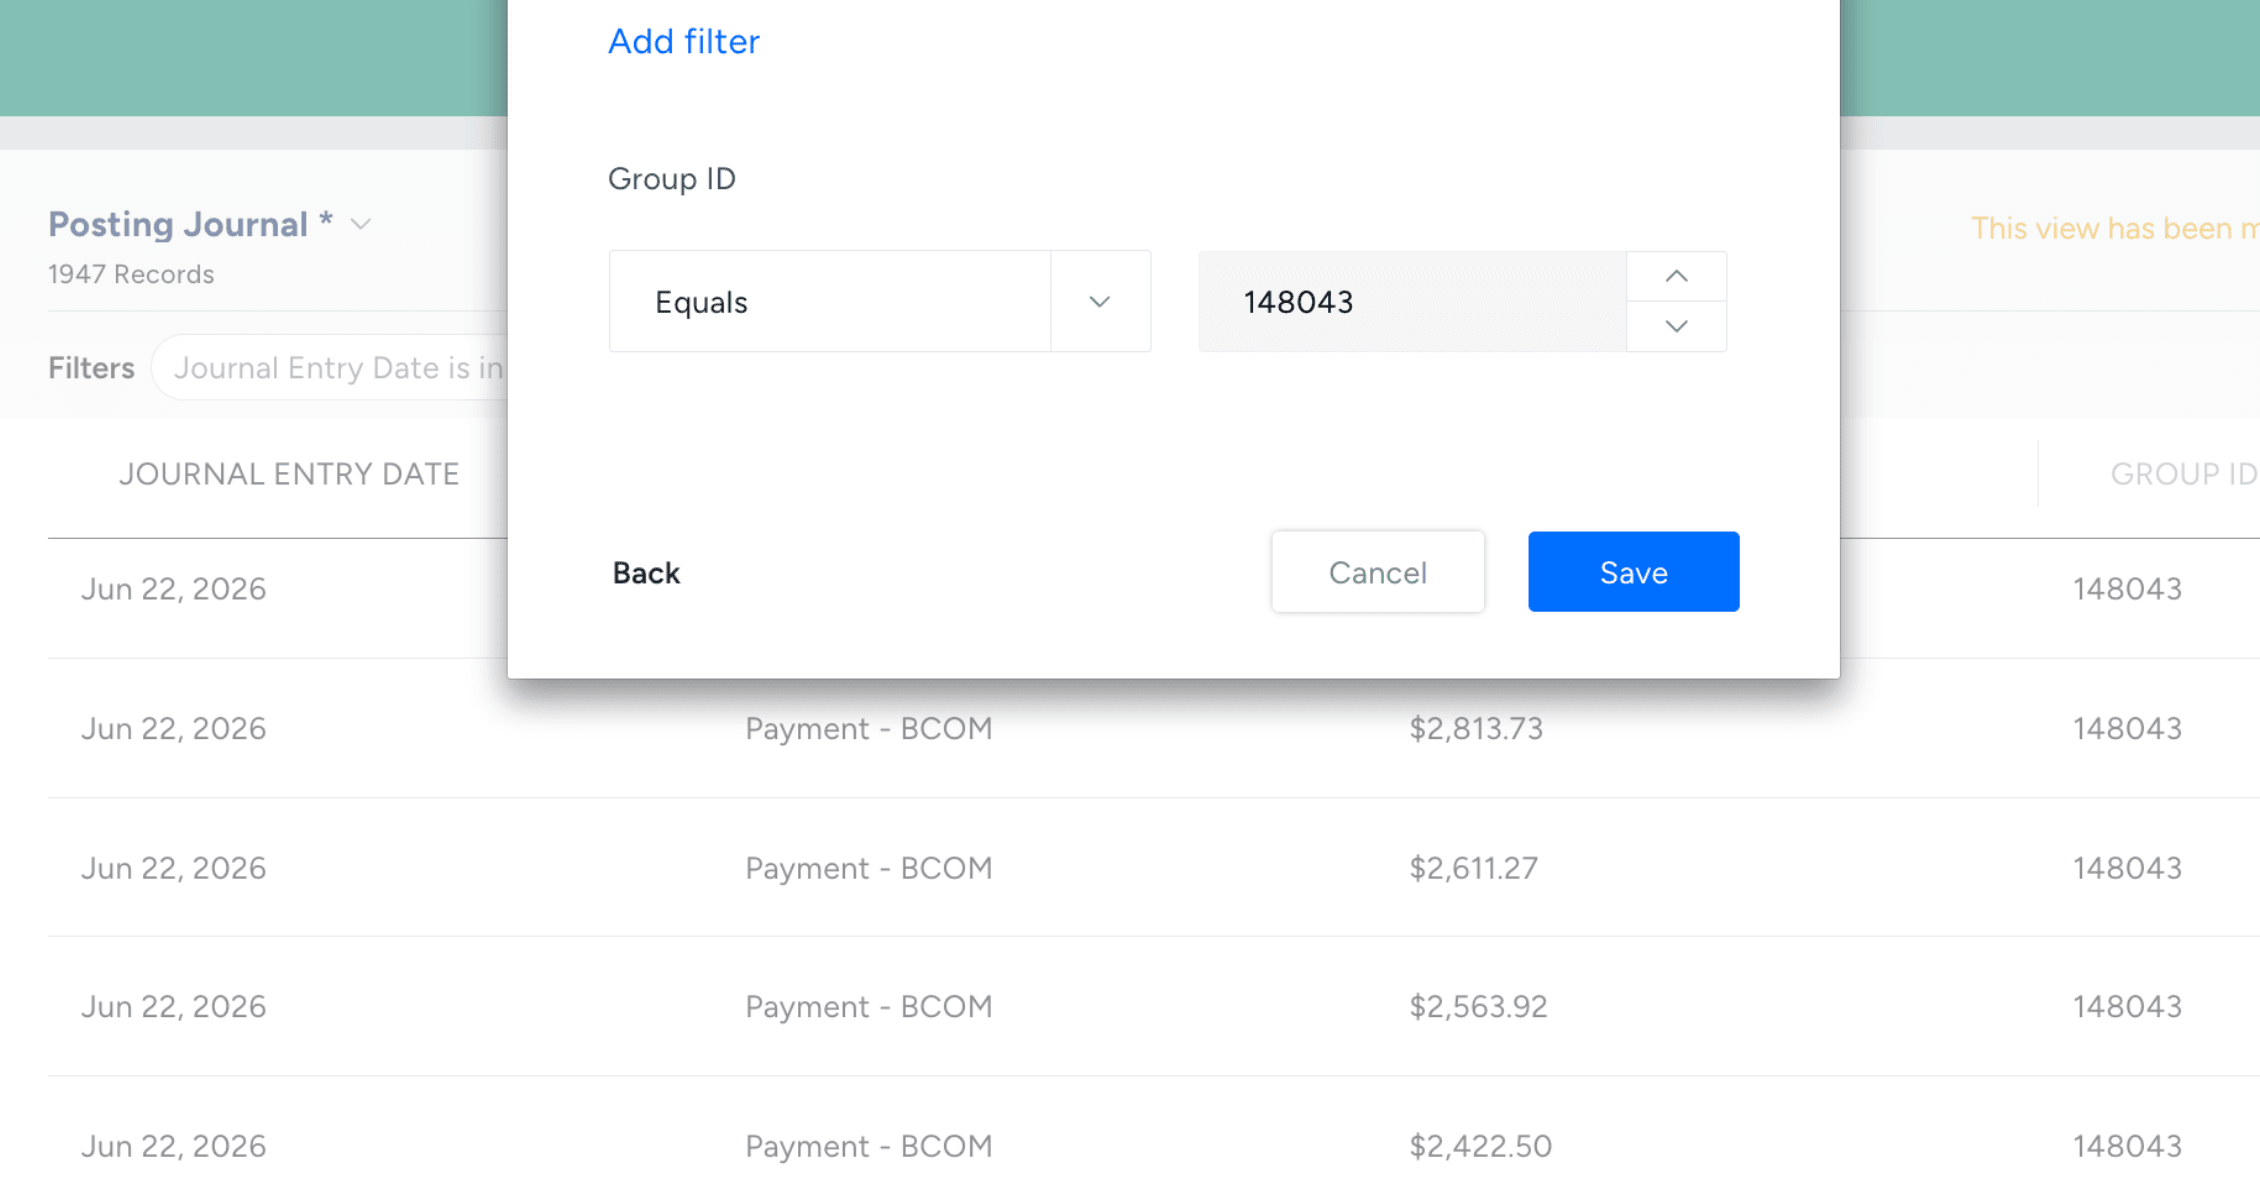
Locate specific transactions within a group or verify group inclusion by using the group ID in the posting journal.
Follow the steps below to add the group ID column and identify which group a specific transaction belongs to.
- Sign in to your Guesty account.
- In the side navigation menu, click Accounting to open the dropdown menu.
- Under General ledger, select Posting journal.
- In the top-right corner, click Columns, then toggle on group ID.
Follow the steps below to filter by group ID and identify transactions included in the group.
- Sign in to your Guesty account.
- In the side navigation menu, click Accounting to open the dropdown menu.
- Under Cash management, select Check register. In the "ID" column, note the relevant group ID.
- Under General ledger, select Posting journal.
- Next to Filters, click
 . Search for filter "group ID", and enter the group ID.