Invite team members to your Guesty account to delegate tasks and grow your business. Control exactly what each person sees and does, whether you work with co-hosts, cleaners, or accountants.
Each user is defined by their email address. If you find duplicate users, check if they have different email addresses and delete users with invalid or irrelevant details.
Note:
This article is relevant if you already upgraded to our new roles & permissions. If you see a banner under Account > User management saying "Switch to upgraded roles designed to increase productivity and security", this means your account still has users with the old roles. Click Show me to see them. Click the user you want to upgrade, then click Roles & permissions to the left and Switch roles to replace their current role(s).
Navigate to user management
Only account admins or users with permission to "manage users" can access this section.
Step by step:
- Sign in to your Guesty account.
- In the side navigation menu, click
 Account to open the dropdown menu.
 - Under Settings, select User management.
Add a user
Step by step:
- In User Management, on the top-right corner, click New user.
- Fill in the information and click Send invitation:
-
General information: First name, last name, email address are required fields.
Every user requires a unique email address, which can’t be used more than once in Guesty.
-
Roles: Click Select roles and choose one or more roles that match what the user does in their daily work. For each role you add or remove, review the permissions summary on the right to see what the user will and will not be able to do in the dashboard. Click Select when done.
For "Admin" and "General manager", choose if the user can manage users and purchase add-ons.
-
Properties: Click Edit and choose which listings the user has access to. Use one of three options.
- Select all or exclude some. This will automatically apply to any new listings you add.
- Manually select specific properties from the list
- Assign by rule - include all properties that match certain criteria. Similarly, you can exclude properties that match a set criteria. Newly added listings will be automatically assigned according to these rules.
Click Done when finished. If the user has a role that requires accessing listings, they will only be able to access the listings you chose.
-
- Click Save and send invite.
Ask the new user to look for our email and click Activate Guesty account to complete their first login to Guesty. The link expires 7 days after it's sent.
Note:
You can invite an unlimited number of users to your Guesty account.
Edit a user
Personal details
Step by step:
- In User management, select the user you want to edit.
- In the profile settings submenu, click Details and make the necessary changes.
-
Click Save.
Pilot users: To edit user access, click
 in the top right. Select the relevant action and confirm the action in the pop-up. Learn more about managing user access.
If you want to add multiple email addresses, contact us.
Notifications
Step by step:
- In User management, Select the user you want to edit.
- In the profile settings submenu, click Notifications and choose which events the user will get a notification for.
- Click Save.
Roles
Step by step:
- In User management, select the user you want to edit.
- In the profile settings submenu, click Roles & permissions, and then click Edit to the right.
-
Select or unselect roles to match the user's daily work. After you add or remove roles, review the permissions summary on the right to see what the user will and won't be able to do in the account.
For "Admin" and "General manager", choose if the user can manage other users and purchase add-ons.
- Click Select when done.
- Click Save.
You can create custom roles based on your operational needs beyond the default roles provided.
Listings
Step by step:
- In User management, select the user you want to edit.
- In the left menu, click Roles & permissions.
-
Click the name or number under "Assigned properties" and assign or unassign listings as needed. Use one of three options.
- Select all or exclude some. This will automatically apply to any new listings you add.
- Manually select specific properties from the list.
- Assign by rule - include all properties that match certain criteria. Similarly, you can exclude properties that match a set criteria. Newly added listings will be automatically assigned according to these rules.
Note:
When a user is assigned to a property, they can only see reservations and inbox messages for that property.
However, if a returning guest stayed at another property before, the user may still see the full conversation history with that guest, even messages from properties they’re not assigned to. This is because inbox conversations are grouped by guest, not by reservation.
How tag filtering works
When using the "Assign by rule" option with tags, the system applies specific logic to determine which listings are included:
- Multiple tag selection: When you select multiple tags, the system uses an "AND" rule, meaning properties must have all selected tags to be included. For example, if you select both "Pet-friendly" and "Ocean view" tags, only listings that have both tags will be assigned to the user.
- Single tag selection: When only one tag is selected, all properties containing that specific tag will be included.
- No "OR" logic: The system does not use "AND/OR" logic. Properties must match all selected criteria to be included in the user's access permissions.
This filtering approach ensures precise control over which listings users can access based on your tagging strategy.
- Click Done when finished.
- Click Save.
If the user has a role that requires accessing listings, they will only be able to access the listings you chose.
Groups
Step by step:
- In User management, select the user you want to edit.
- In the profile settings submenu, click Details.
- Under "Groups," remove the user from groups by clicking X, or add them to groups by typing the name of the group:
- If the group exists, it will appear in the dropdown menu. Click it.
- If the group doesn't exist, type in the name and click it to create the group.

- In the top-right corner, click Save.
Delete a user
You can remove a user from your account in two ways.
From the User management page
In user management, find the user.
Under "Actions", click
.Click Delete user.
In the pop-up, click Delete user.
From the user profile
In user management, select the user you want to delete.
In the top-right corner, click
.Click Delete user.
In the pop-up, click Delete user.
View last active user activity
In User management, view the last time a user was active on your Guesty account.
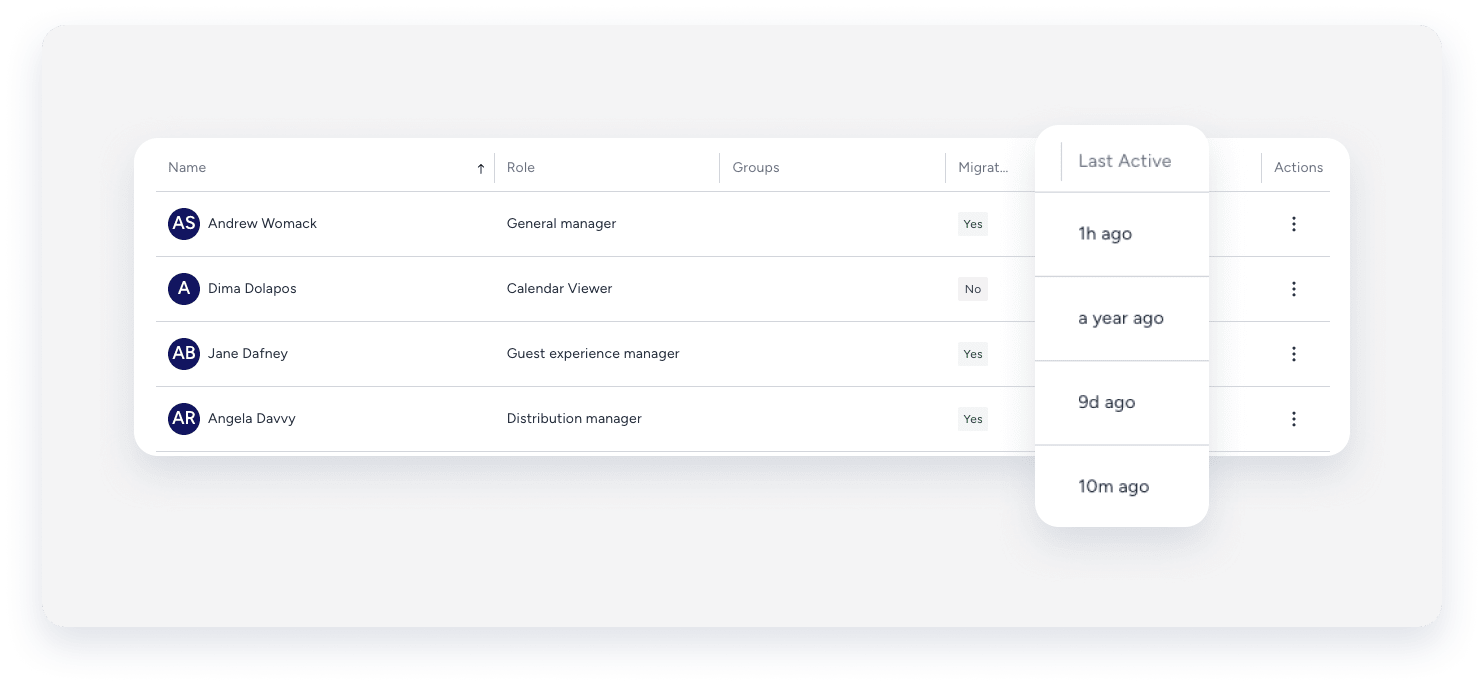
Last active |
Explanation |
|---|---|
| min ago | Active within the last hour or minutes. |
| a day ago | Active exactly one day ago |
| d ago | Active more than one day ago (e.g., 2d ago) |
| a month ago | Active exactly one month ago |
| m ago | Active more than one month ago (e.g., 3m ago) |
| y ago | Active more than one year ago (e.g., 2y ago) |
| a year ago | Active exactly one year ago |
Note:
- If the value updates every minute, it refers to minutes ago.
- If the value remains unchanged for over a minute, it refers to months ago.
View user login history
Follow the steps below to monitor Guesty account user login activity.
Step by step:
- In User management, select the relevant user.
- Select Login history from the profile settings submenu
You can view the following login information:- Date and time
- Location
- IP address
- Type of device or browser

Managing user access
Managing user access includes routine actions like resetting a password or emergency actions like suspending a compromised user from the account. The following actions can be performed via user management:
-
Suspend a user
You can temporarily suspend a user if their account is compromised. Suspension ends the user’s active sessions on all devices and prevents login with the current credentials.
-
Restore a user
You can restore a suspended user at any time.
-
Reset a user's login credential
Admin users can reset other users' login credentials and/or multi-factor authentication (MFA) method:
When resetting the password, the user's existing password is disabled and they receive an email with a secure link to create a new password. The link is valid for 1 hour.
When reseting the MFA, the user's existing MFA method is disabled and they are prompted to set up a new authentication method.
Follow the instructions below to manage user access via "User management". You can also manage user access when editing the user's profile.
Step by step:
- In User management, click
 next to the user's name and select the relevant action.
 - Confirm the action in the pop-up.
- Click Done.
Download user data
In User management, click ![]() in the top-right corner to download your user data as a CSV file.
in the top-right corner to download your user data as a CSV file.