Display videos, images, and audio on your site to capture visitor attention. Use these widgets to showcase your products, and boost engagement across your pages.
The Media Slider widget offers video, image, and text-only slides with various layouts. Use this widget for testimonials, FAQs, product presentations, or service sections to deliver interactive content to visitors.
Before you begin
- Sound is disabled for videos used as slide backgrounds.
- Video autoplay depends on browser restrictions and device settings, such as low power mode. For help, see Troubleshooting the Video widget.
- A maximum of 25 slides can be included.
- Supported files include
.svg, .png, .jpg, .gif, and all video formats.
- Click the widget and select the Content tab.
- To add a new slide, click Add new slide.
- Select + Click to add media to open the Media Library.
- To add new images to your media library, under the Images tab:
- Click + Upload images to add images from your computer. You can select multiple images.
- Click Import images to import images from an external source:
- Select From a site, enter the relevant website and click Show images. Select the relevant images and click Import images.
- Select From online platforms, connect the relevant platform and follow the onscreen prompts.
- Click Done.
-
To add new videos to your media library, under the Videos tab:
Click + Upload videos, connect the relevant platform and follow the onscreen prompts.
- Click Done.
Additional actions:
- To duplicate a slide, hover over the slide and click
 .
. - To replace a slide, select the slide and click
 next to "Replace".
 - To delete a slide, hover over the slide and click
 , or select the slide and click next to "Replace".
 - To position the slide, select the relevant directional position.
- To add alt text, enter the required text under "Image alt text tag" or click the
 to use the AI Assistant. The AI Assistant generates alt text in the page’s current language.
 - To add text on the slide, enter the required text in the field provided.
- To add a slide description, enter the required text in the field provided.
- To display or hide a button on the slide, click
 . Enter the text for the button in the filed provided.
 - To add a link on the button, click Add a link and select the relevant option.
- To delete all slides, click Delete all.
Insert images to decorate your site or show off products. You can also set images to act as buttons that link to other pages, files, or popups.
Before you begin
- Sites support up to 15,000 media files.
- The size limit per file is 50MB.
- Avoid spaces or special characters in file names.
- Ensure you have permission to use third-party photos.
- Supported file types:
png, jpg, jpeg, gif, svg, webp, ico.
- Click the widget and select the Content tab.
-
In the "Image picker quick view" popup, search for and select images, textures, or gifs. Alternatively, click + Upload to select photos from your personal files. You can select multiple images.
Click Full view for more image choice options.
- To remove the image background, click
 next to "Replace".
 - To add alt text, enter the required text under "Image alt text tag" or click to use the AI Assistant. The AI Assistant generates alt text in the page’s current language.
- To replace an image, select the slide and click next to "Replace".
- To add a tooltip to the image on hover, enter the required text in the "Tooltip" field.
- To add a caption to the image on hover, enter the required text in the "Caption" field.
- To replace the image on hover, click + Image, select the required image.
- Click next to "Replace" to edit the alternative image. Learn more about the image editor. Click Save.
- Click next to "Replace" to delete the alternative image.
- To add alt text, enter the required text under "Image alt text tag" or click to use the AI Assistant. The AI Assistant generates alt text in the page’s current language.
- Click
- To remove the image background, click
Click the widget and select the Design tab to change the image layout, animations, display options, and styling.
Note:
Disabling image optimization could impact page speed and or performance.
Use the Image slider to display an image carousel on your site for testimonials, FAQs, product presentations, or service sections. This provides social proof and enhances trust with your customers.
Before you begin
Supported files include .svg, .png, .jpg, .gif, and all video formats.
- Click the widget and select the Content tab.
- To add a new image, click Add image.
- Click + Upload images to add images from your computer. You can select multiple images.
- Click Import images to import images from an external source:
- Select From a site, enter the relevant website and click Show images. Select the relevant images and click Import images.
- Select From online platforms, connect the relevant platform and follow the onscreen prompts.
- Select the relevant images and click Done.
- Click X on an image to delete it. Alternatively, click Delete all images to delete all images.
Image settings
Click an existing image to pen the "Image Settings", where you have the following additional iamge settings:
- To replace an image, click next to "Replace".
- To delete an image click next to "Replace".
- To position the slide, select the relevant directional position.
- To add a link on the button, click Add a link and select the relevant option.
- To display or hide an image title, click . Enter the required text in the "Slider title" field.
- To display or hide an image caption, click . Enter the required text in the "Slider caption" field.
- To display or hide a button on the slide, click . Enter the text for the button in the filed provided.
- To add alt text, enter the required text under "Image alt text tag" or click the to use the AI Assistant. The AI Assistant generates alt text in the page’s current language.
Add multiple images at once using the Photo Gallery widget. Visitors can open images in a lightbox gallery or click them to visit links, anchors, or email addresses.
- Click the widget and select the Content tab.
- Click + Image to add a new image.
-
In the "Image picker quick view" popup, search for and select images, textures, or gifs. Alternatively, click + Upload to select photos from your personal files. You can select multiple images.
Click Full view for more image choice options.
- Click Done.
- Select an image to open up its settings:
- To replace an image, click next to "Replace".
- To delete an image click next to "Replace".
- To position the slide, select the relevant directional position.
- To add a link on the button, click Add a link and select the relevant option.
- To display or hide an image title, click . Enter the required text in the "Title" field.
- To display or hide an image description, click . Enter the required text in the "Ddescription" field.
- To display or hide a button on the slide, click . Enter the text for the button in the filed provided.
- To add alt text, enter the required text under "Image alt text tag" or click the to use the AI Assistant. The AI Assistant generates alt text in the page’s current language.
- To replace an image, click
- Optional: Toggle on Enable links on gallery images to enable links on gallery images.
- Click X on an image to remove it. Alternatively, click Delete all images to delete all images.
Add an Instagram feed
Users with a private or public Instagram account (not business accounts) can add an Instagram feed to the photo gallery widget.
Select from a library of more than 1000 ready-made icons, or upload your own SVG file.
Before you begin
- SVG files can be resized without losing resolution.
- To maintain site speed, simplify complex svg code using an optimization tool or convert high-detail vectors into flattened formats like .png, .jpeg, etc.
- Click the widget and select the Content tab.
- Click Change icon to open the icon library.
- Search for and select an icon. Alternatively, click + Upload to add files from a third-party platform.
- To link the icon, click Link Icon, and and select the relevant option.
- Type Alt text for the icon or click to use the AI Assistant to generate alt text. Alt text enables search engines to recognize icon content. Use text that clearly describes the icon.
Click the widget and select the Design tab to change the icon layout, animations, display options, and button styling.
Toggle on Floating to set the icon to a fixed position on the screen.
Upload videos or embed content from YouTube, Vimeo, or Dailymotion. Videos are an effective way to communicate your business value and increase conversions.
Before you begin
- Uploaded files are public. Do not upload confidential information.
- Uploading a video doesn't affect site speed.
- Sites support up to 100 video files.
- The size limit per file is 200MB.
- Click the widget and select the Content tab.
- Click Select video to select a video from the video library. Click + Upload to add files from a third-party platform. Alternatively, paste a URL from YouTube, Vimeo, or Dailymotion.
- Toggle Hide related videos to disable recommended related videos from the platform you've used.
- To delete a video, click Delete.
Click the widget and select the Design tab to customize the video's appearance.
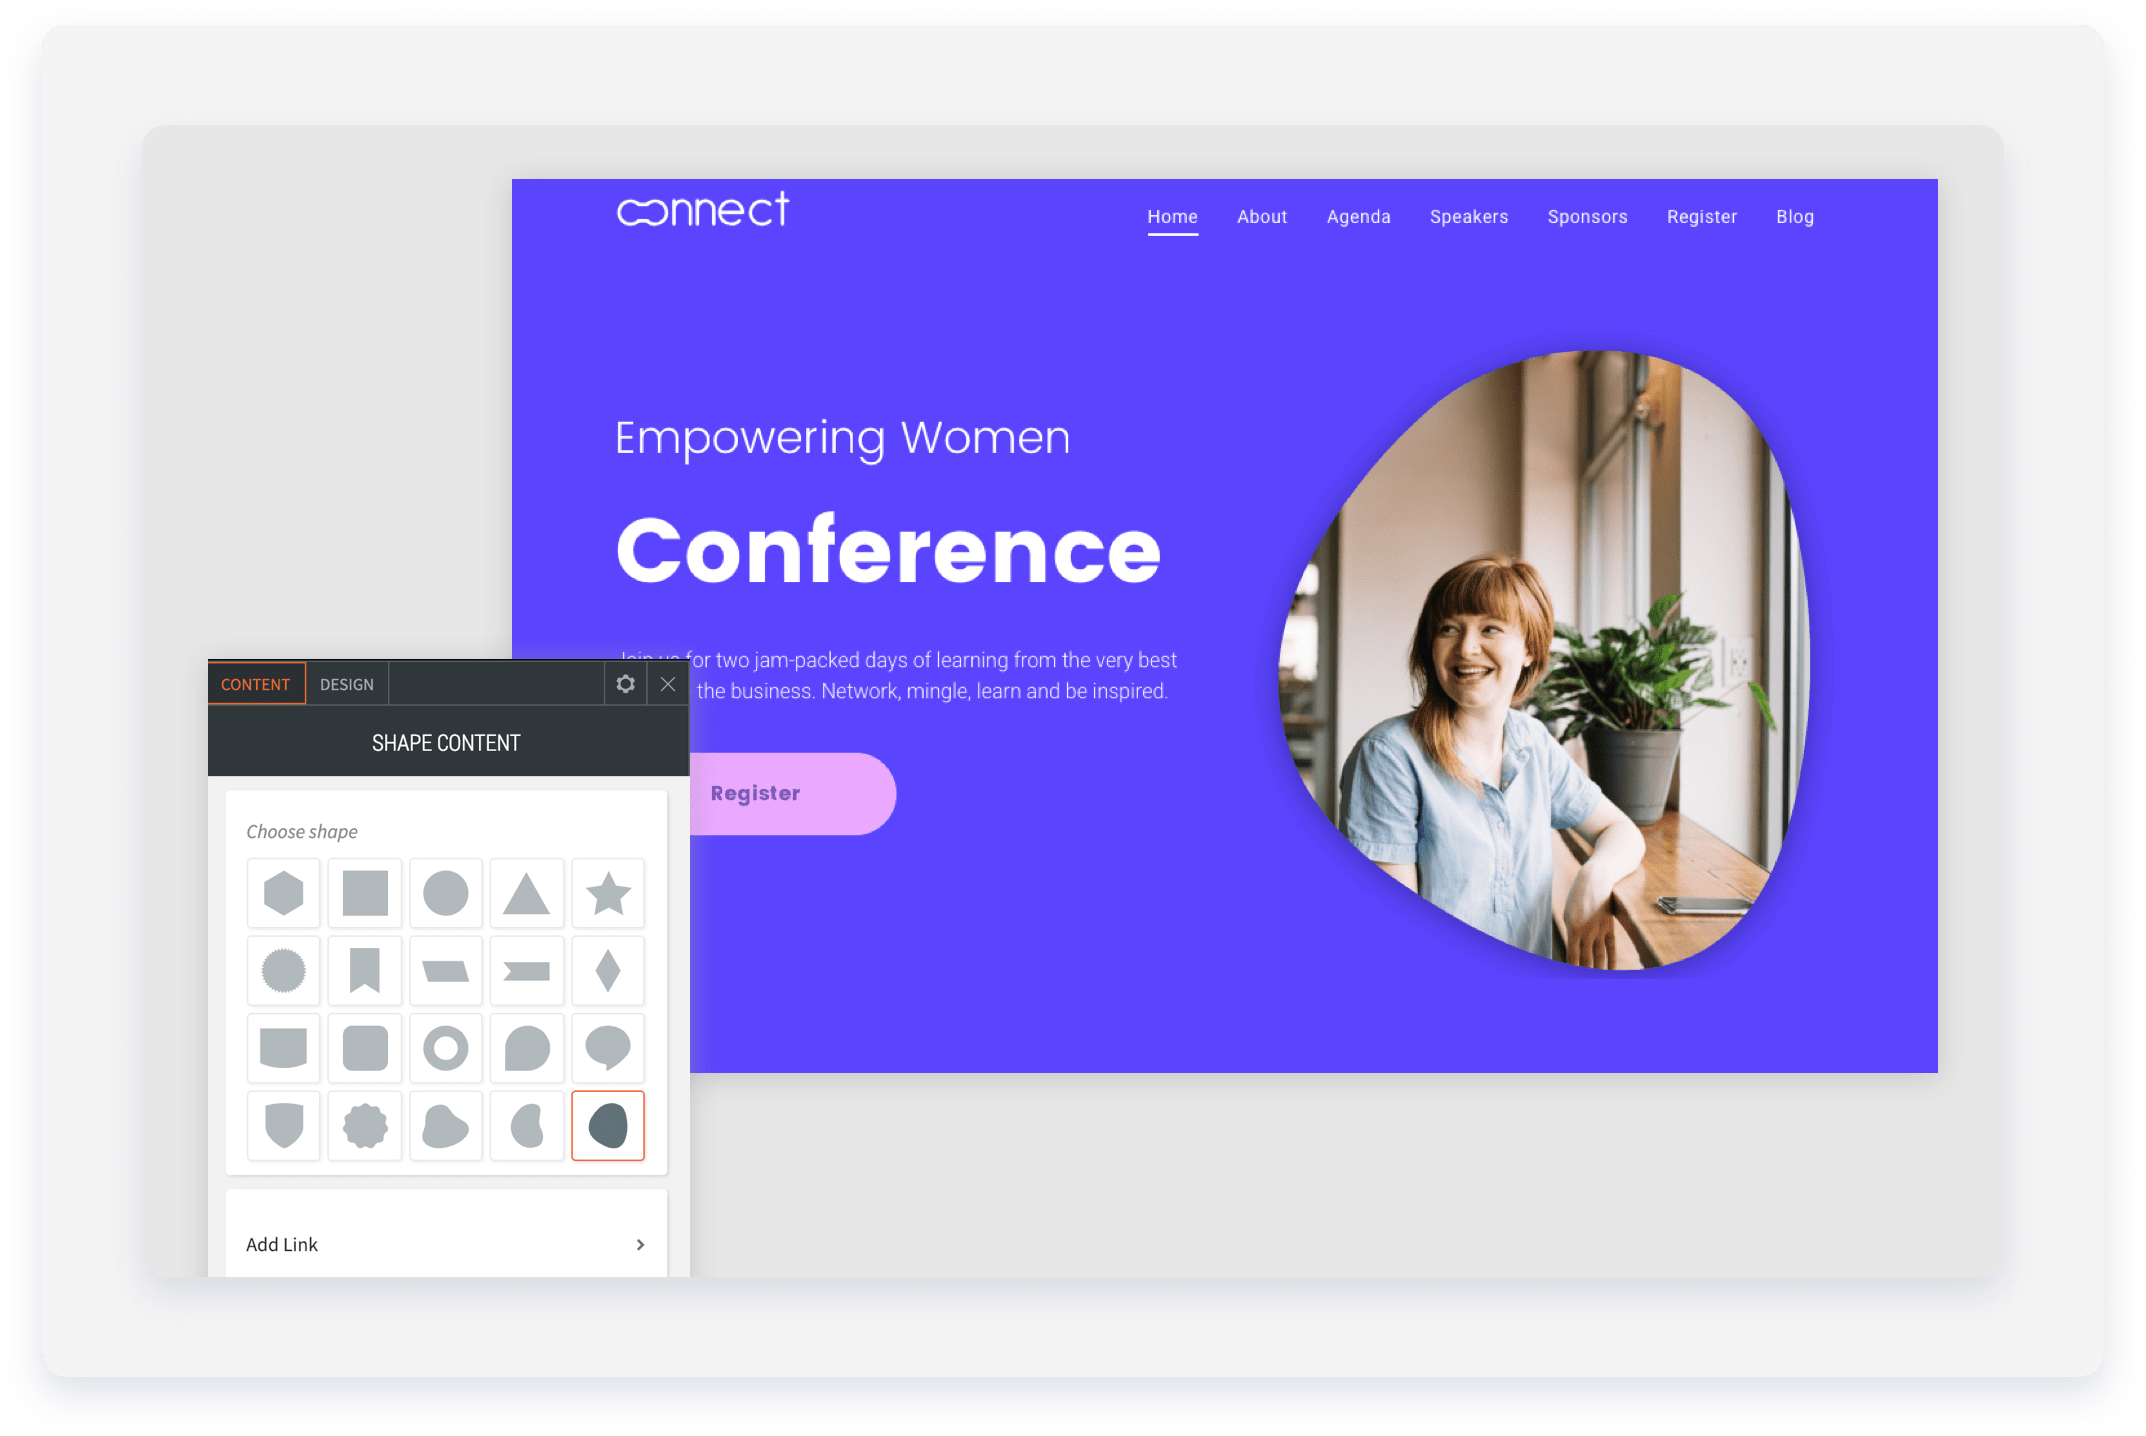
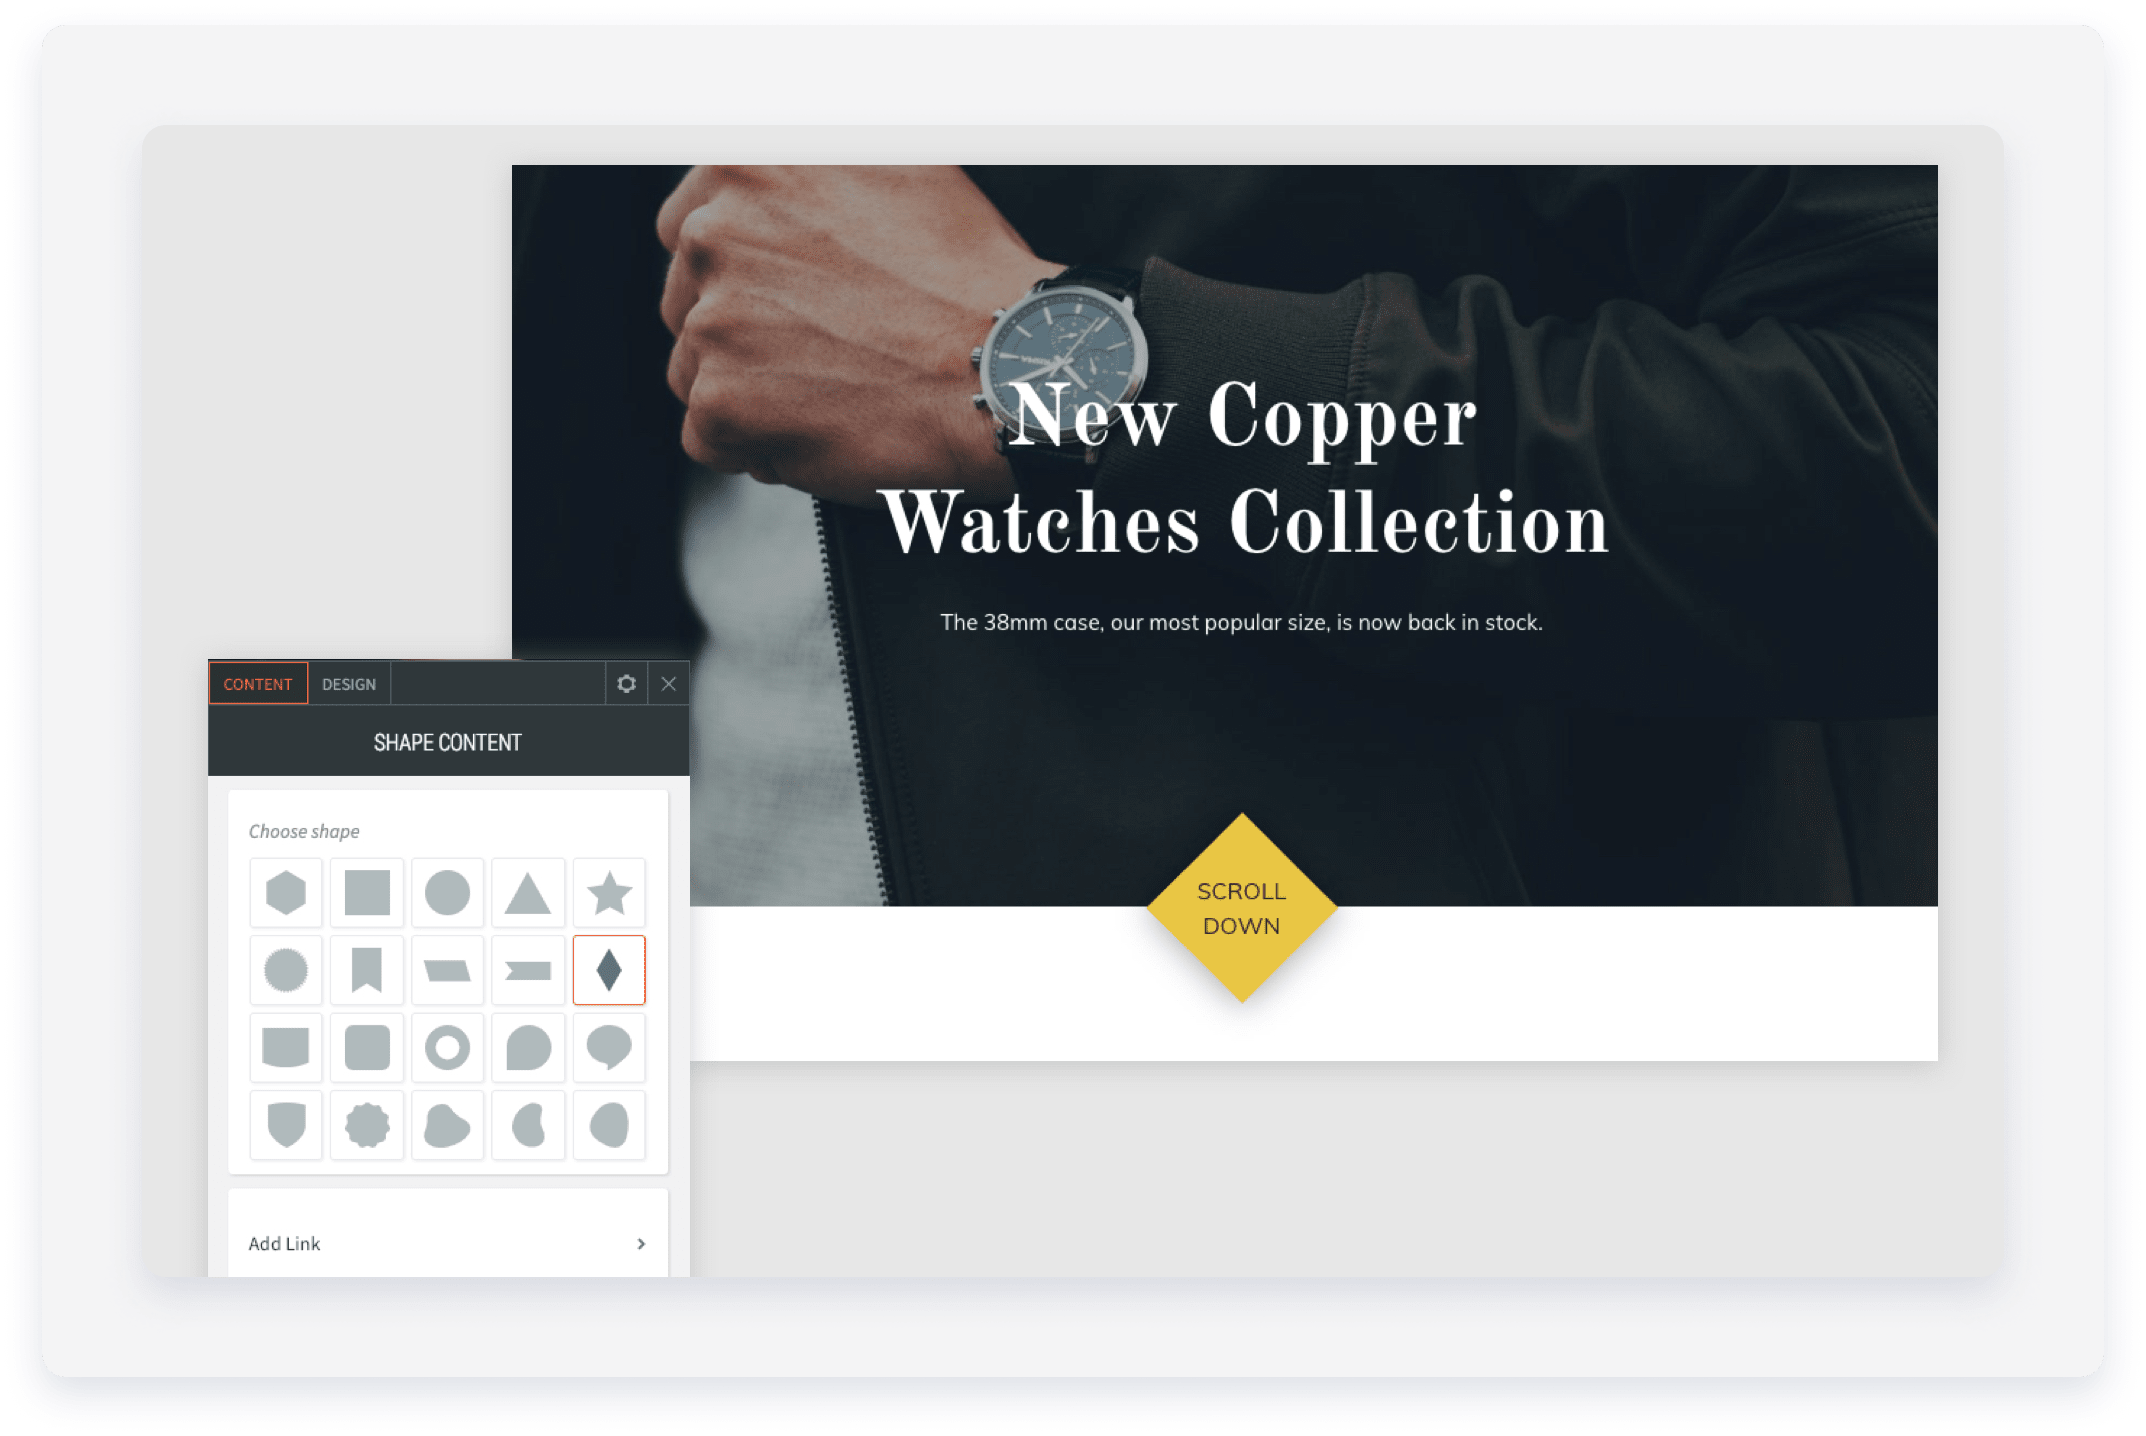
Use the Shape widget to highlight messages, create custom buttons, or call out sale prices. You can add images, text, and shadows to any shape.
- Click the widget and select the Content tab.
- Select your preferred shape.
- Click Add Link to make it actionable. Select the relevant option.
- To display or hide a title, click . Enter the required text in the "Title" field.
- To display or hide a description, click . Enter the required text in the "Description" field.
- To display or hide a tooltip on the slide, click . Enter the text for the tooltip in the filed provided.
- To add alt text, enter the required text under "Image alt text tag" or click the to use the AI Assistant. The AI Assistant generates alt text in the page’s current language.
Click the widget and select the Design tab to customize the icon's appearance.
- Click Spacing to use negative margins if you want to overlap other widgets.
- Toggle on Floating to set the shape to a fixed position on the screen.
To create a shape on the header:
- Create a row with two columns.
- Choose an amorphic shape and add it to the right-side column.
- Make the shape as big as the column.
- In the Design Editor, select the layout with the background image and replace the image with the one you want.
To use a shape as a button by adding a link and hover effect:
- Select the circle shape and add a title and description.
- Select colors for the shape and text.
- To position the shape on the corner of an image, use a negative margin on the left side of the shape (spacing > margin > -50px left & top margin).

To use shapes to highlight a specific plan or service:
- Choose the flag shape and add a title and short description.
- Toggle off Keep proportion so you can adjust only the width.
- Select colors for the shape and text.
- To position the shape so it overlaps the top of a column, use a negative top margin (spacing > margin > -30px top margin).

o use a shape to create a scroll button:
- Choose the diamond shape and add a title.
- Toggle off Keep proportion so you can adjust only the width.
- Select colors for the shape and text.
- To position the shape on top of an image, use a negative top margin (spacing > margin > -50px top margin).
Show an eye-catching visual comparison with the Before & After widget. It includes a slider that visitors use to move between two images.
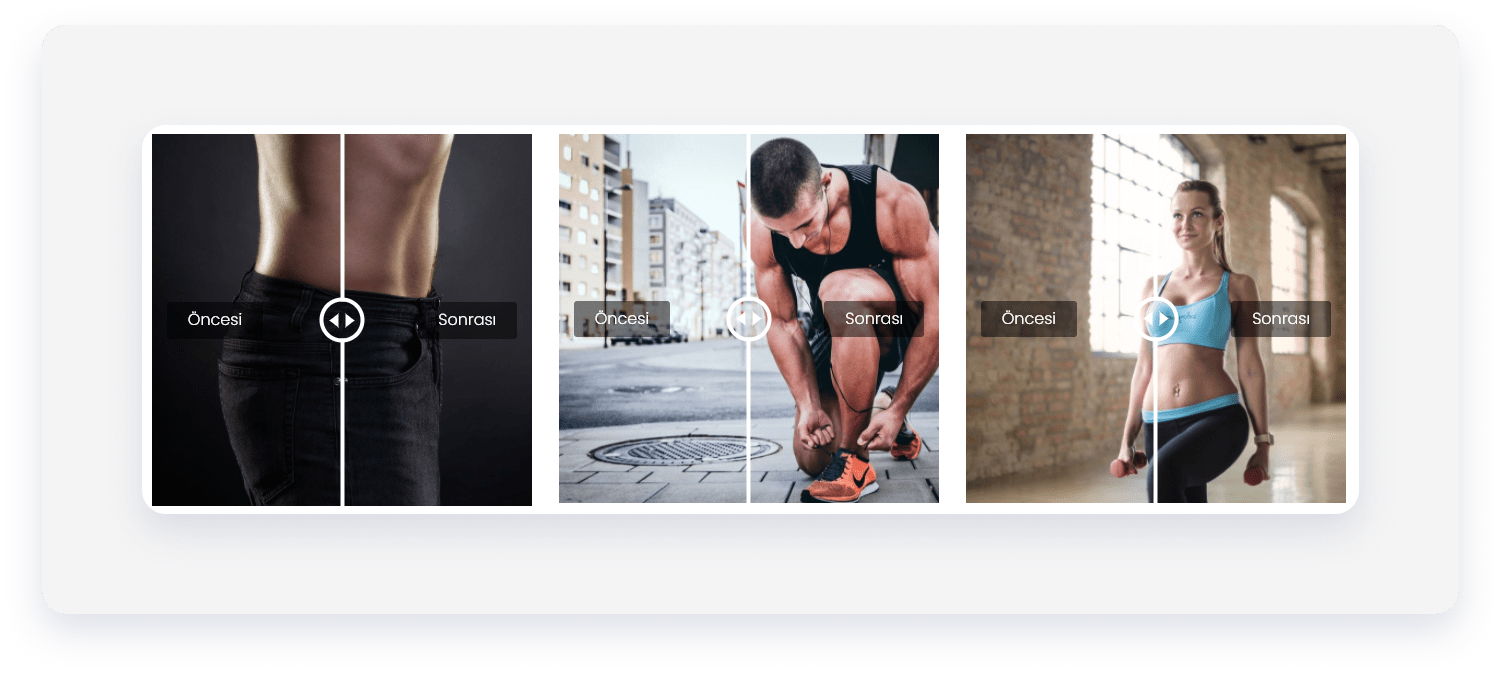
- Click the widget and select the Content tab.
- Before image: Click + Image to select your "Before image".
- After image: Click + Image to select your "After image".
- Select an image to open up its settings:
- To replace an image, click next to "Replace".
- To delete an image click next to "Replace".
- To give the image a label, enter the required text in the "Label" field.
- To add alt text, enter the required text under "Image alt text tag" or click the to use the AI Assistant. The AI Assistant generates alt text in the page’s current language.
- To replace an image, click
Click the widget and select the Design tab to customize the widget's appearance:
- Click Images & Slider to customize the slider's look.
- Use the Labels section to style the text for different devices.
Share podcasts, songs, or tutorials by embedding SoundCloud or Mixcloud files. Copy the link from the source and add it to your site via the widget.
- Click the widget and select the Edit tab.
- Click Select audio to choose an audio file. Click + Upload audio to add an audio file from a third-party platform. Alternatively, paste a SoundCloud or Mixcloud URL into the field.
Click the widget and select the Design tab to customize the widget's appearance.
Layout options depend on the platform used. To keep designs consistent, use the same platform (SoundCloud or Mixcloud) for all audio files on your site.
Add vector-quality animations to your site using the Lottie animation widget. You can browse LottieFiles for existing animations or upload your own JSON files.
- Click the widget and select the Content tab.
- Paste the Lottie Animation URL.
- Select Loop Animation or Animate on click.
- To add a link on the button, click Add a link and select the relevant option.
Note:
If using a free LottieFile, you must include the creator's credentials as per the license agreement.
Click the widget and select the Design tab to resize the animation or lock its proportions.