Connect a custom domain and subdomain to the Guesty Booking Engine via Guesty and your domain host DNS settings, to enhance your branding and provide a seamless booking experience for your guests.
Before you begin
Ensure you have access to your domain host account to update your DNS settings.
Follow the instructions below to connect a custom domain to your Guesty Booking Engine.
Channel-specific instructions
GoDaddy
Connect a custom domain in Guesty
Follow the steps below to connect a custom domain to your Guesty Booking Engine.
Note:
If you use a Guesty Website, your Guesty Booking Engine custom domain must be different from your Guesty Website custom domain.
Step by step:
- Sign in to your Guesty account.
- In the side navigation menu, click
 Marketing and sales to open the dropdown menu.
 - Under Channel management, select Distribution.
- Click the Guesty Booking Engine thumbnail.
- Click
 next to the relevant Booking Engine, and select Edit Booking Engine.
 - Under "General settings" scroll down to the "Custom Booking Engine domain (web address)" section.
-
Enter your custom domain, starting with "www". For example: www.mycompany.com.
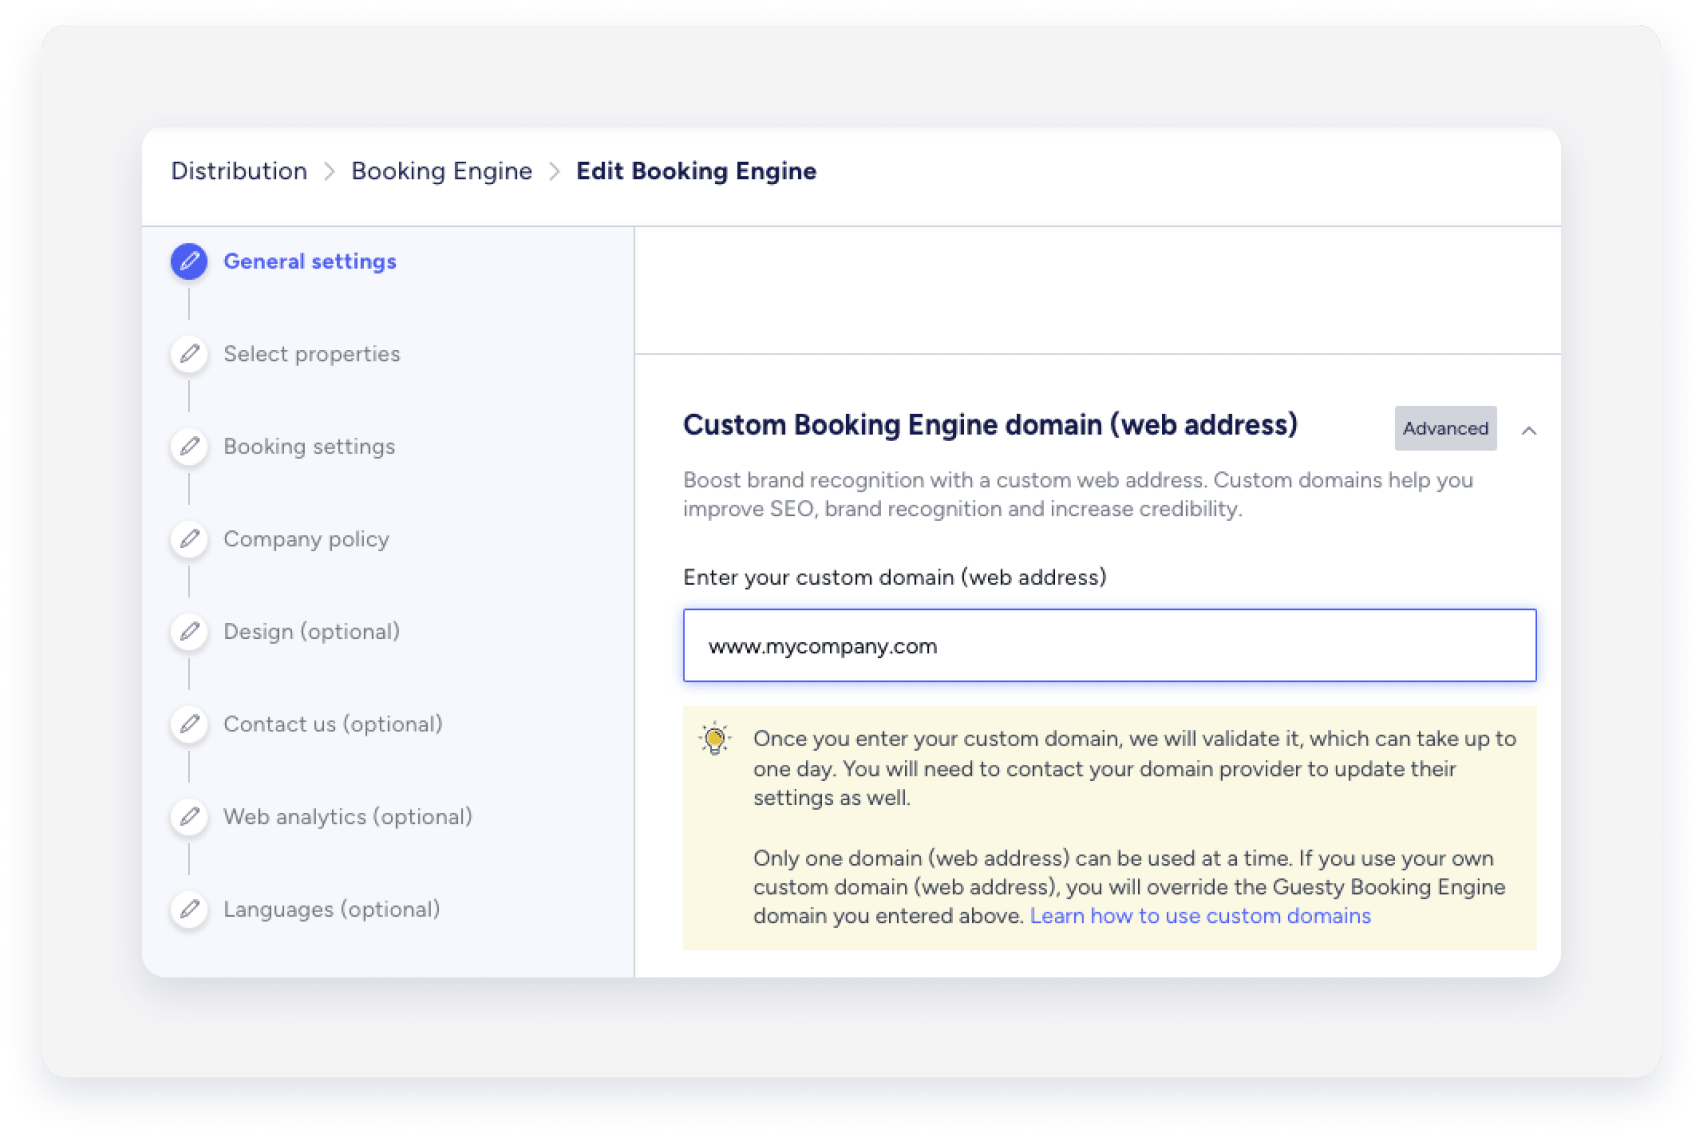
- Scroll back up to "Guesty Booking Engine domain (web address)".
-
Copy the full domain name, ending in guestybookings.com.
Important:
Ensure you copy the Guesty Booking Engine domain and not the Custom Booking Engine domain.

- In the left-side menu, click Languages to navigate to the last action item.
- Click Save Booking Engine.
Connect your custom domain to your host account
Follow the steps below to update your domain provider's settings and link your custom domain to the Guesty Booking Engine. This ensures your website loads correctly when guests visit your URL.
1. Update CNAME Record
Follow the instructions below to configure a CNAME record in your DNS settings. This ensure guests are directed to your Guesty Booking Engine when booking from your custom URL.
Step by step:
- Sign in to your Domain host account.
- Access the domain's settings.
- Edit the existing CNAME record.
- Select the host/name as "www".
-
Paste your Guesty Booking Engine domain copied earlier into the "value" field.
For example, mycompany.guestybookings.com.
Note:
Only the CNAME record is necessary; A records aren't required.
2. Set up a redirect URL
Follow the instructions below to ensure visitors are redirected to your custom domain, even if they enter a slightly different version of your URL.
Step by step:
-
In your Domain host account settings, enter your custom URL that includes
wwwto provide the redirect.For example, if a visitor searches for
http://yourdomain.comthey will be redirected tohttp://www.yourdomain.com. - Select Permanent redirect (301) in your domain host settings if required.
-
Allow several hours for the SSL certificate to update.
If your Booking Engine does not show as secure after 24 hours, contact us.
Configure a subdomain
A subdomain is a domain that is a part of another domain. It is an added prefix to the site's URL to mark a separate section of your website.
For example
| URL | Type | Purpose |
|---|---|---|
| www.mycompany.com | Root domain | Main website |
| book.mycompany.com | Host name | Subdomain where visitors can book properties |
| blog.mycompany.com | Host name | Subdomain where visitors can read your blog |
Add a custom subdomain in Guesty
Follow the instructions below to add a custom subdomain in Guesty.
Step by step:
- Sign in to your Guesty account.
- In the side navigation menu, click Marketing and sales to open the dropdown menu.
- Under Channel management, select Distribution.
- Click the Guesty Booking Engine thumbnail.
- Click next to the relevant Booking Engine, and select Edit Booking Engine.
- Under "General settings" scroll down to the "Custom Booking Engine domain (web address)" section.
-
Enter your custom domain, starting with "www". For example: www.mycompany.com.
- Scroll back up to "Guesty Booking Engine domain (web address)".
-
Copy the full domain name, ending in guestybookings.com.
Important:
Ensure you copy the Guesty Booking Engine domain and not the Custom Booking Engine domain.
- In the left-side menu, click Languages to navigate to the last action item.
- Click Save Booking Engine.
Add a CNAME Record to your domain host provider
Step by step:
- Sign in to your Domain host account.
- Access the domain's settings.
- Click Add a CNAME record.
- Enter your host name (For example: "book.mycompany.com").
- Paste your Guesty Booking Engine domain copied earlier into the "value" field.
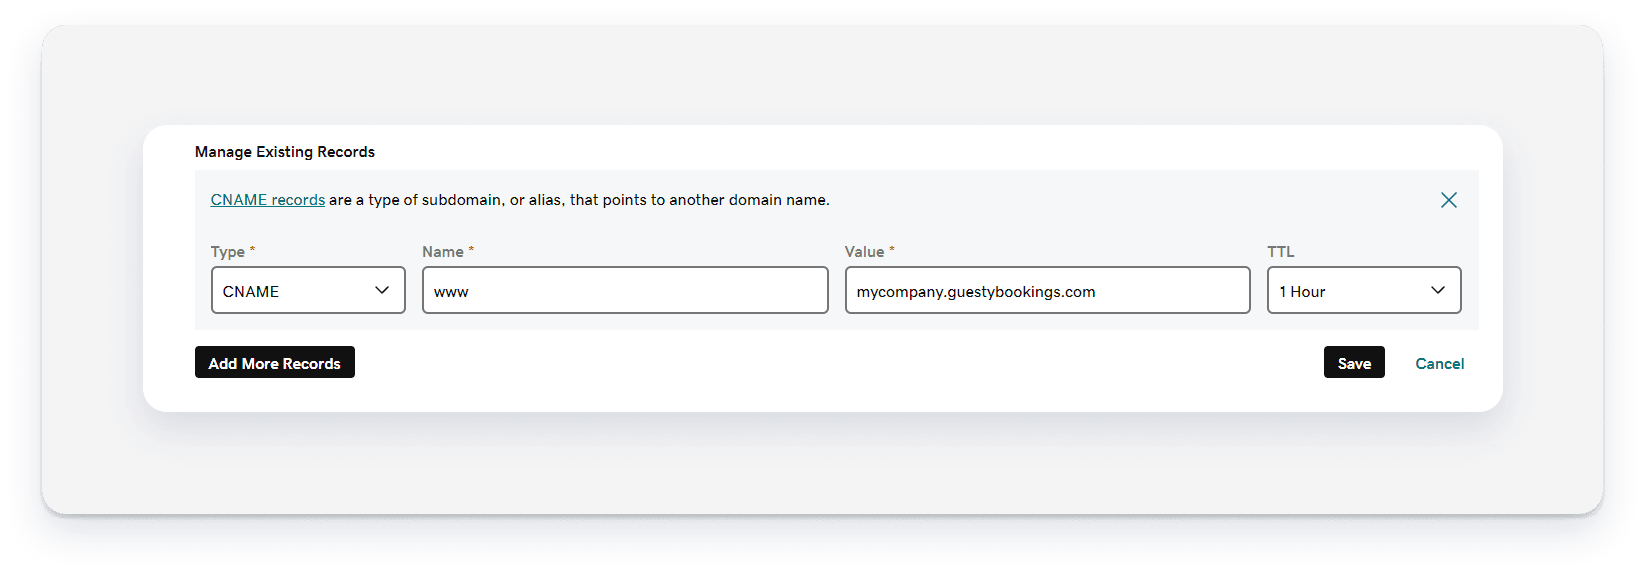
After configuring the CNAME record for your subdomain, you should have the following CNAME record in your DNS settings.
For example:
| Type | Name | Value |
|---|---|---|
| CNAME | book | mycompany.guestybookings.com |
Note:
The SSL certificate is automatically provided within 24 hours. If your site isn't secured after 24 hours, contact us.