This guide covers everything you need to know about filing, viewing, and editing Guesty Damage Protection claims to help you protect your property and secure compensation for damages.
Before you begin
To increase your chances of approval, gather the following information before you begin:
- A detailed description of the damage
- Estimated cost of repair or replacement
- Photos documenting the damage
- Relevant documentation such as receipts, invoices, or estimates
Limitations
- You can upload a maximum of 50 files per claim.
- Claims must be submitted after guest checkout and within 30 days of the checkout date.
- Claims must be at least $25.
File a claim
Follow the steps below to file a Guesty Damage Protection claim.
Step by step:
- Sign in to your Guesty account.
- In the side navigation menu, click
 Integrations to open the dropdown menu.
 - Select Guesty add-ons.
- In the Guesty Shield thumbnail, click Launch.
- In the left-side menu, click Reservations.
- Select the relevant reservation.
- In the "Damage Protection" section, click File a claim.
- Enter the incident details and upload relevant documents, such as photos of the damaged item.
- Click Submit claim, or click Save draft to finish later.
The Guesty Damage Protection team reviews your claim after submission. You will receive email notifications regarding status changes.
View your claims
Track the status of your claims in the reservation page or the Damage Protection page.
Step by step:
- Sign in to your Guesty account.
- In the side navigation menu, click
 Reservations.
 - Select the relevant reservation. You can use the filters above the table to narrow your search.
- Select the Guesty shield tab on the reservation sub-menu.

Step by step:
- Sign in to your Guesty account.
- In the side navigation menu, click Integrations to open the dropdown menu.
- Select Guesty add-ons.
- In the Guesty Shield thumbnail, click Launch.
- In the left-side menu, click Claims.
- Click
 to open the claim breakdown, available once the claim is approved.
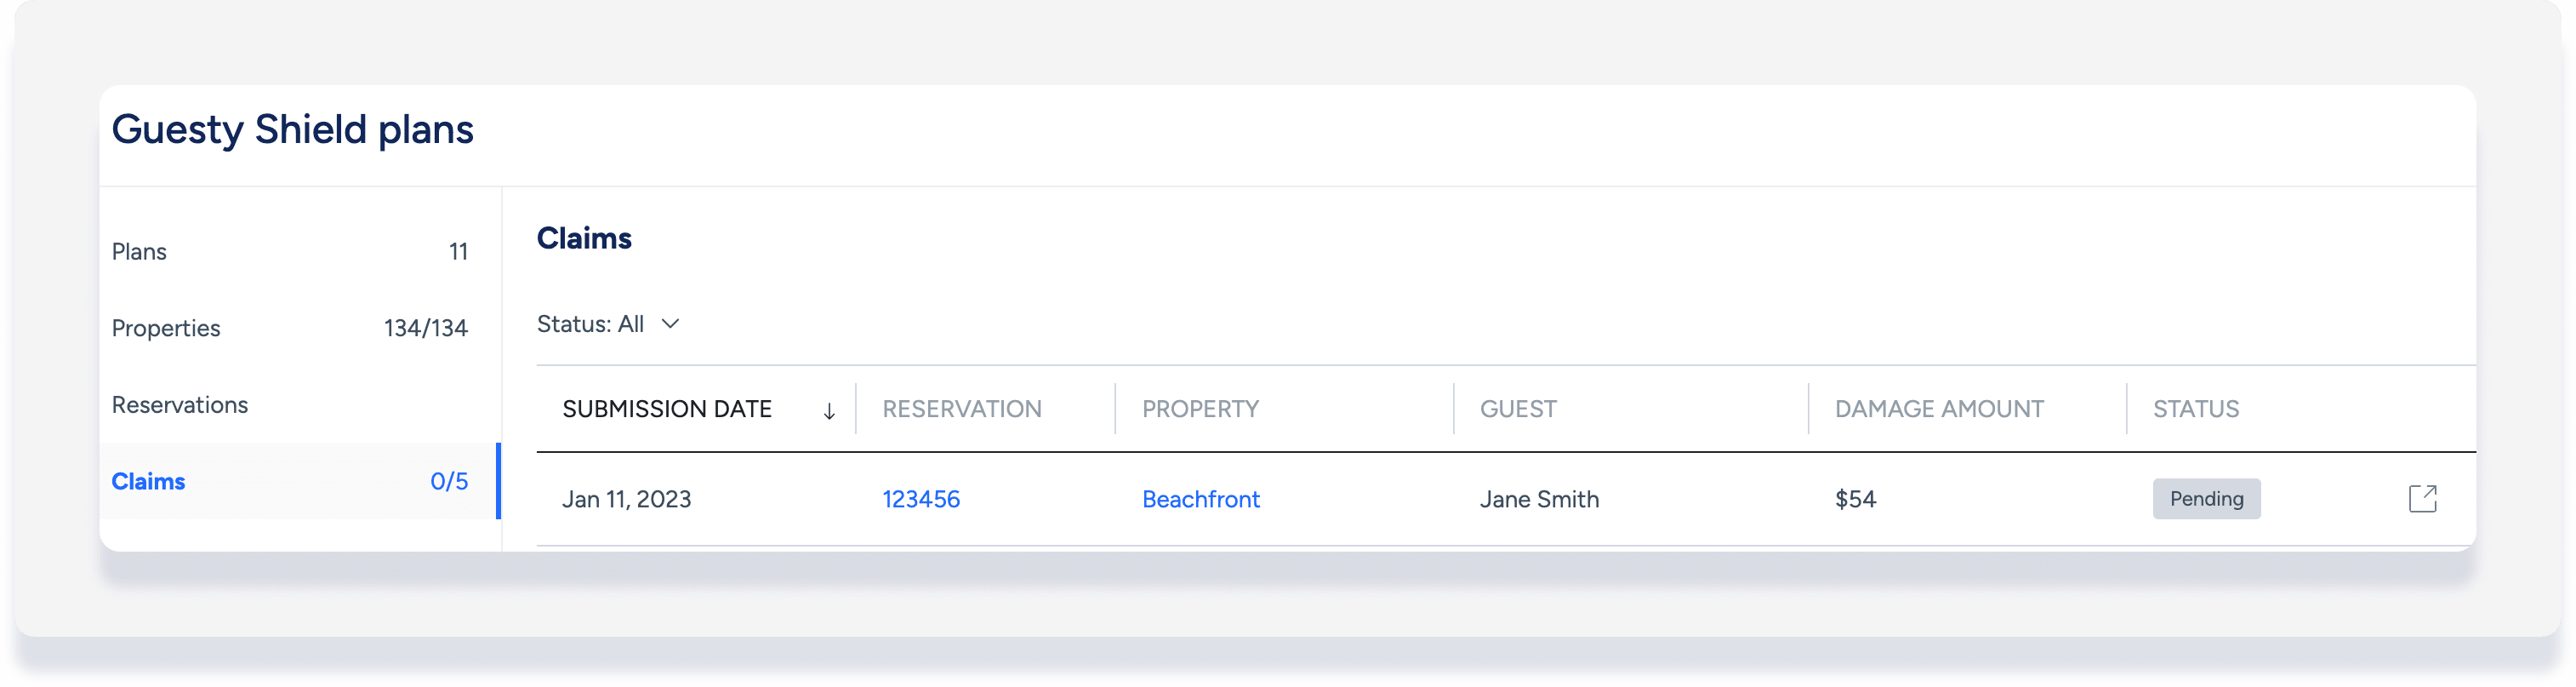
The "Claims" section shows the total submitted and approved claims. The list sorts claims by submission date. Each claim shows the following:
- The reservation number and link to the reservation page
- Property and a link to the property's page
- Guest name
- Damage amount
- Claim status
You can filter the list by status.
Understand claim statuses
Check the status of your claim to understand its progress.
Status |
Description |
|---|---|
| Approved | The claim was accepted. |
| Declined | The claim was denied. |
| Draft | The claim started but was not submitted. |
| Incomplete | More details are needed. |
| Not qualified | The plan doesn't cover this request. |
| Paid | Payment was processed. |
| Pending | The claim is being evaluated. If you have a question about a claim still in "Pending" status for more than a couple of weeks, contact us. |
| Submitted | The claim has been sent for review. |
| Success | The claim was processed and paid or withdrawn. |
| Withdrawn | You or the insurance partner canceled the claim. |
Edit a submitted claim
You can edit a claim if the status is:
- Draft
- Pending
- Declined
- Incomplete
Important:
Only the admin, general manager, owner relations manager, and property operation manager can edit claims. Learn how to assign roles.
Step by step:
- Sign in to your Guesty account.
- In the side navigation menu, click Integrations to open the dropdown menu.
- Select Guesty add-ons.
- In the Guesty Shield thumbnail, click Launch.
- In the left-side menu, click Claims.
- Select the relevant claim to open the reservation page.
- Under the "Damage Protection" section, click Edit claim.
- Edit the necessary details (reservation-related details can't be edited):
- Update the amount
- Add or remove items
- Add or remove documents
- At the bottom of the page, click Resubmit claim.
- In the pop-up, click Yes, resubmit claim.