Assign your listings to a payment processing account in Guesty to collect payments. This lets you process credit card transactions and apply payment automation rules to your reservations. Use Guesty’s internal processor, GuestyPay, or external options like Stripe, Merchant Warrior, or Hyp.
If you connect only one payment account, Guesty sets it as your default. All listings are assigned to it automatically. When you use more than one processor, you can set a default and manually assign listings to other accounts for more control of your funds.
Understanding listing counts
When viewing payment processors, you might notice the number of listings can differ between the main page and the assignment pop-up.
- Payment processing page: Shows the total assigned to the processor, including active and inactive listings.
- Assign listings pop-up: Shows only active listings.
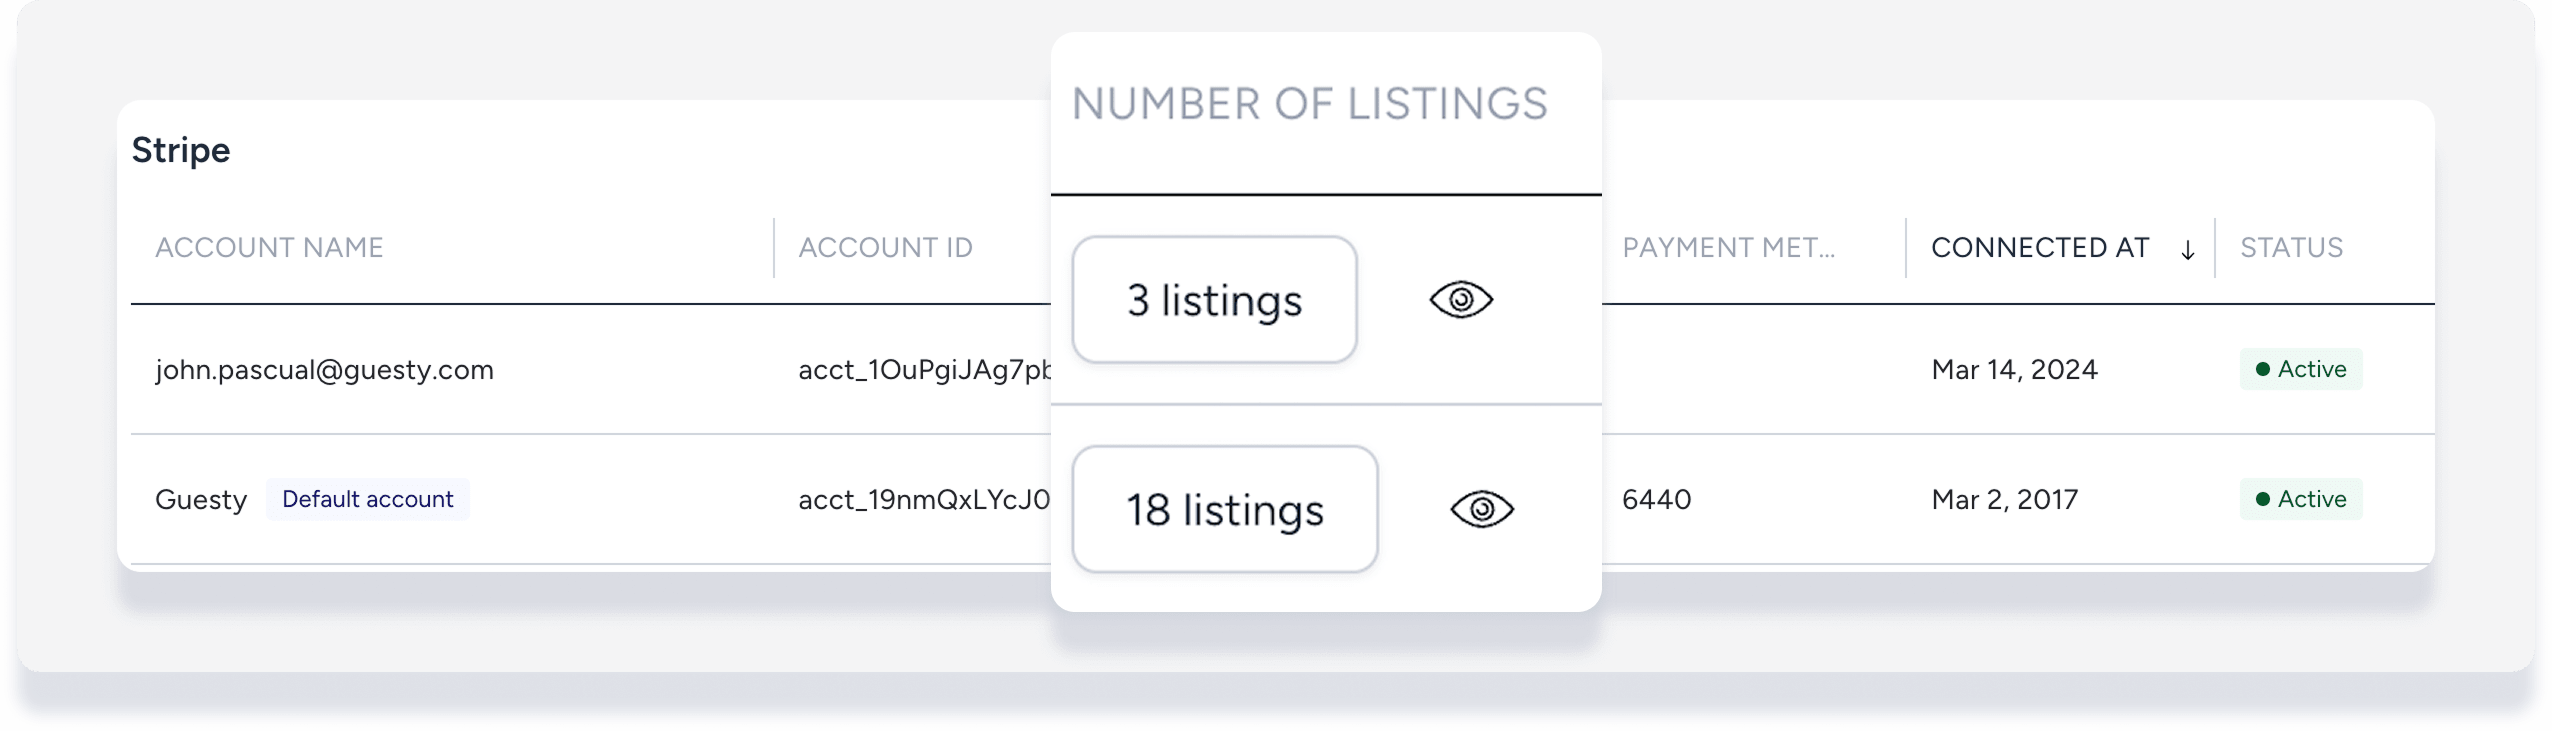
If you see fewer listings in the pop-up than the main page, inactive listings are hidden from the assignment view.
Assign listings to GuestyPay
Follow these steps to move listings from your default processor to GuestyPay.
Step by step:
- Sign in to your Guesty account.
- In the side navigation menu, click
 Guest payments to open the dropdown menu.
 - Under General, select Payment processing.
- In the "GuestyPay" section, click
 at the far right.
 - In the pop-up, click the Assigned to default tab.
- Check the boxes for the listings you want to assign.
- Click Assign.
Assign listings to other payment processors
Use these steps for external processors like Stripe, Merchant Warrior, or Hyp.
Step by step:
- Sign in to your Guesty account.
- In the side navigation menu, click Guest payments to open the dropdown menu.
- Under General, select Payment processing.
- Find the relevant account in the "Other payment processors" section.
- Click Assign listings (or the button showing the number of listings) in the "Number of listings" column.
- In the pop-up, click the Assigned to default tab.
- Check the boxes for the listings you want to assign.
- Click Assign.
Change a listing's payment processing account
To move a listing from one processor to another, you must first return it to the default account before assigning it to a different payment processor. If the listing is currently assigned to "Processor A," it will not appear in the Assigned to default tab for "Processor B."
How to move a listing between processors
Release the listing: Go to the payment processor account currently assigned to the listing.
Unassign: In the assigned listings list, find the Listing Nickname and reassign it to the Default Account.
Reassign to the new processor: Navigate to the new target payment processor.
Complete the move: Go to the Assigned to default tab, select the listing, and click Assign.
What happens to existing reservations?
Switching a listing’s payment processing account affects only future payments.
Important:
If a reservation already has a credit card on file, Guesty processes future charges using the original processor—even after you reassign the listing. To use the new processor for existing reservations, recollect the guest’s card details by sending a guest invoice or manually re-adding the payment method.