Unified domains improve SEO and guest satisfaction by providing a single, cohesive URL shared between your Guesty Website and Guesty Booking Engine. Set up and track your unified domain directly from your Guesty Website dashboard, without the need to schedule a call or set it up manually.
Before you begin
- Create a Guesty Website.
- Ensure you have access to your domain's DNS settings if you are using a third-party provider.
- Have your login credentials ready as you’ll be required to update your DNS settings.
Unify your domains
Follow the instructions below to unify your Guesty Website and Guesty Booking Engine domains.
Step by step:
- Sign in to your Guesty account.
- In the side navigation menu, click
 Marketing and sales to open the dropdown menu.
 - Click the Guesty Websites thumbnail.
- To the right of the relevant website, click
 .
. - Select Unify domain and confirm the action in the popup.
-
Click Start.
Note:
Have your login credentials ready to update your DNS settings.
- Select your unified domain from the list.
- Click Next.
- Choose your verified domain:
- If you choose to Connect an external domain:
- Enter your domain URL (e.g., www.example.com).
- Configure your DNS settings by pointing your CNAME record to the target provided.
- Verification can take up to 45 minutes.
- If you choose your Guesty domain:
- Review the final unified domain URL.
- Click Send request (Unification can take up to 10 days).
- If you choose to Connect an external domain:
- Click Finish.
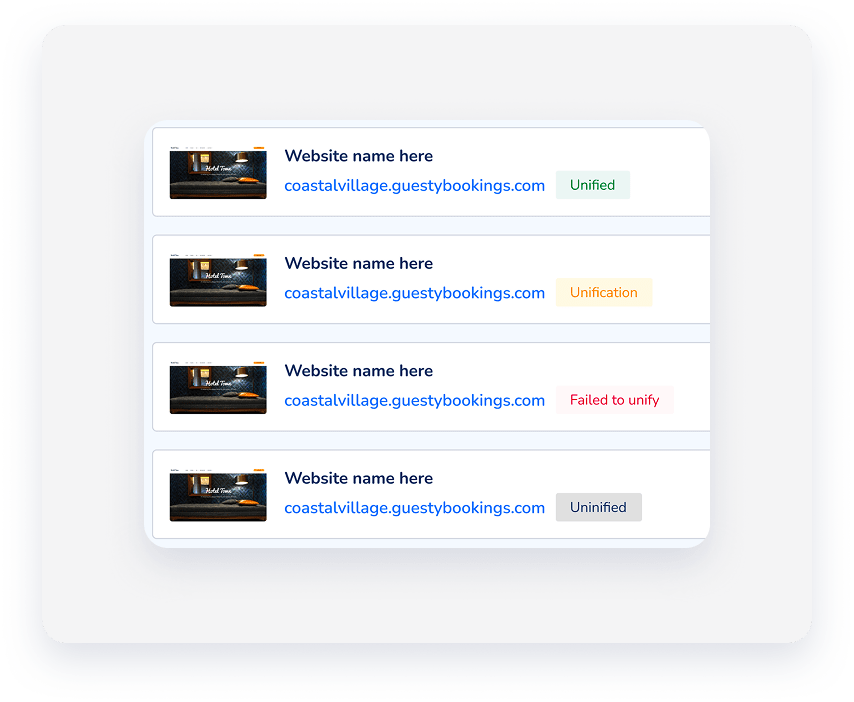
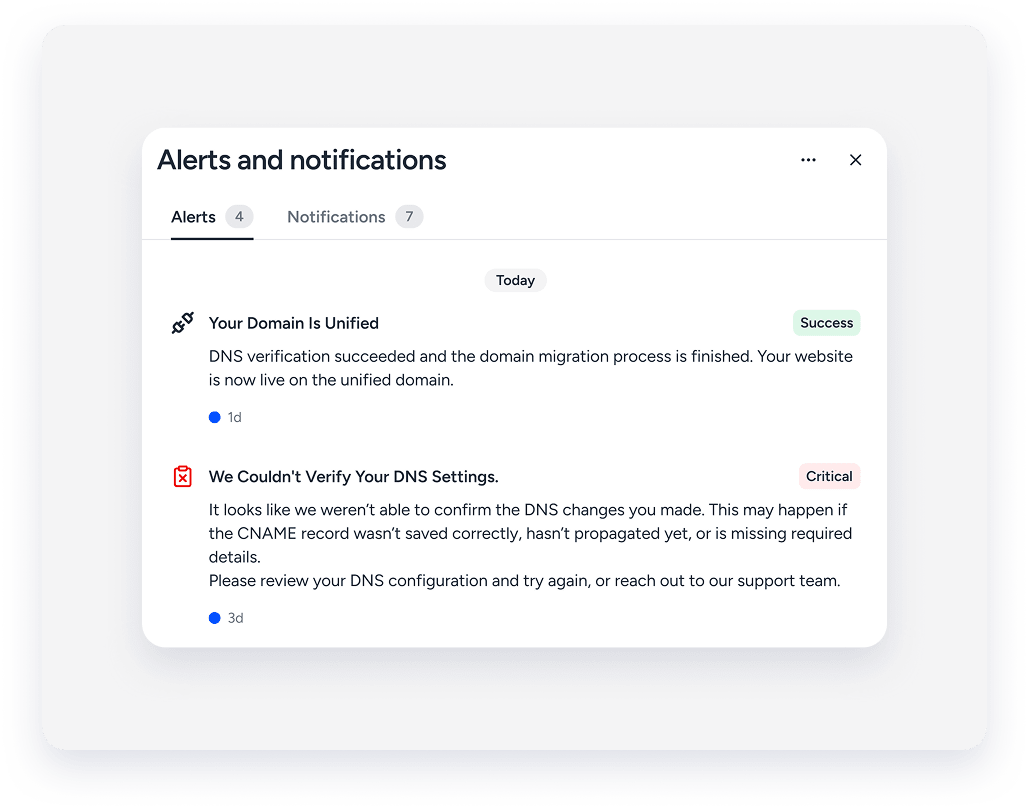
The notification center displays the success or failure of your unification process.
View the real-time status in your Guesty Website dashboard.