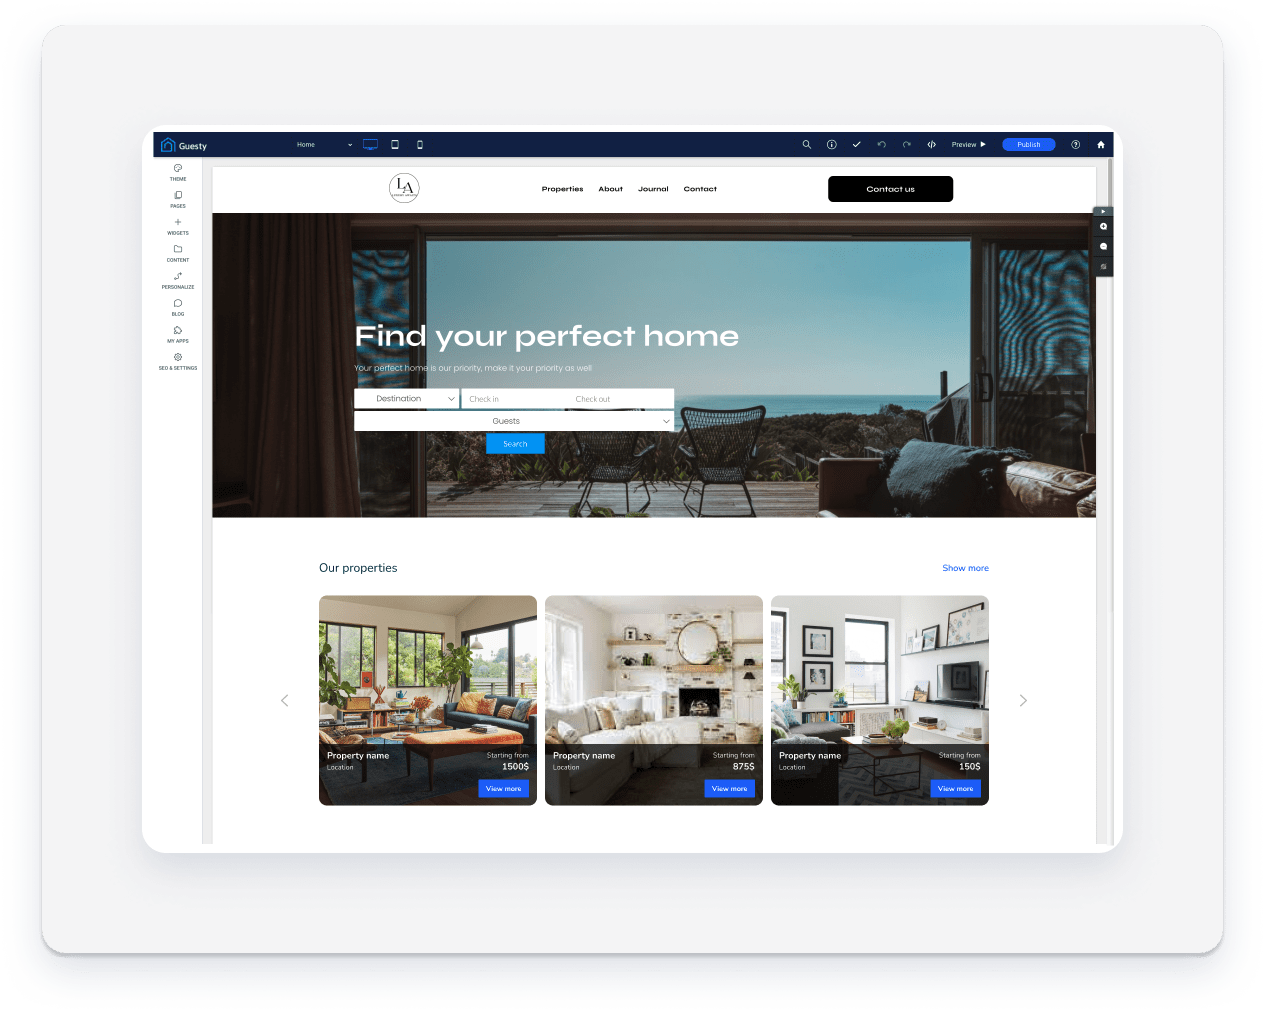
With this feature, you can now sync your properties directly to your Advanced Website, on top of using the Booking Engine search widget.
After syncing, you can design template and present your properties on a landing page with a unique URL, that can be shared for marketing purposes and increase the website’s SEO score.
You can also create a properties gallery widget that can be used in a dedicated section in your website.

Note:
Your current Booking Engine search widget filtering will not be affected by setting up the featured properties widget, these features are completely seperate.
To add the featured properties widget, follow the steps below:
Step by step:
- In the left panel, click Widget.
- Click and drag the Properties widget into your site.
You can drop the widget anywhere on your website or on a dedicated landing page. - In the "Content" tab at the top right under "All listings", click Add filter. Then select a category to assign to your listing: Amenities, Location and Property type, which your guests can filter by.
- In the "All listings" tab, select which properties to display. You can choose up to 30 properties per widget. The listings status must be "Listed".
- In the "Selected" tab, you can drag the properties to change the order in which they are displayed.
- Click Design and select the layout (vertical or horizontal) and the number of columns (default is 3).
To learn more about adding widgets to your site, see Add widgets.
Tip:
You can add multiple properties widgets and set up different groups of featured properties to present on each.